Tuesday Tutorials- Danishes!
/
When I was little my parents had it all figured out. They decided when we were very young, that we could make our own breakfast. And on Saturdays, starting when perhaps parents would decide was too young today, we walked the block and a half to Second Cup and bought breakfast. It was a tiny cafe, part of a larger franchise in Canada, but one where they did all the baking in house. And every Saturday in the summer we would get a cinnamon danish with peach drink, and every Saturday in the winter we would get a peach danish and a hot chocolate. We were creatures of habit.
The couple that owned it were endlessly sweet to us, and we adored this little tradition. Then they hired an extremely rude girl who would serve the adults instead of us and be mean to us kids, so we wrote a very stern letter and we wrote each line in a different colour marker, so you know we meant business. And we never went back. For a few months we tried different cafes that were close to us, but it was never the same. Not long after we started making our own elaborate breakfasts which was, in fact, the beginning of a whole other exciting era. BUT there was a very sweet couple of years in which my sister, my next door neighbour and I ate danishes every Saturday. And it was a wonderful time.
Which is all a long way of saying that I love danishes. An awful lot.
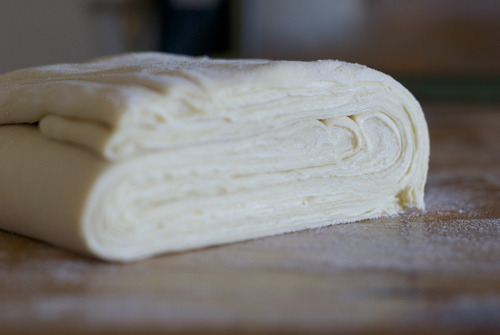
Danish dough is what’s called a laminated dough, because you roll out the dough with a big block of butter in the middle. And then you fold the dough, and roll and fold and roll and fold, and as you do this the butter laminates the layers of dough. This is the same premise behind puff pastry, but here the dough is also yeasted so it rises even more, and has more flavour. The dough is similar to a croissant dough, which I might do a tutorial for soon -let me know if you’d like that in the comments!
Danishes
Makes 32 danishes
3 1/2 tsp Dry yeast
1/2 cup Sugar
1 cup +2 tbsp Milk, warmed
7-8 cups AP Flour
1 tbsp Salt
1/2 cup Butter, soft
2 Eggs
1 1/2 lb (3 cups) Butter
Egg wash (1 egg yolk and 2 tbsp milk/cream)
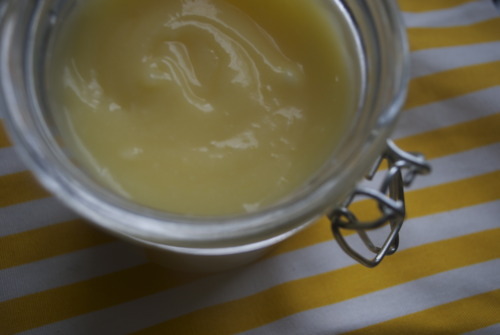
And your filling! I used raspberry jam- about 2 cups of it.
*This makes a very large batch, which I like because then I freeze half of it, but you can half this easily as well.
Make sure the milk is not to warm, it should just be body temperature. If it’s too hot it will kill the yeast.
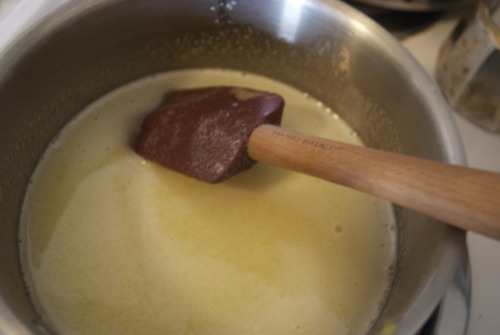
Mix the milk, yeast and sugar together. Let it sit until it gets foamy on the top, about 5 minutes. If it doesn’t get foamy it means the yeast is dead, start over!
In the bowl of a standing mixer or in a large bowl if you’re planning on doing it by hand, combine the dry ingredients, only 6 cups.
Add in the yeast-milk mixture in and combine until it starts to come together. If it is still very wet add in a bit more of the flour until the mixture is still soft but not sticky.
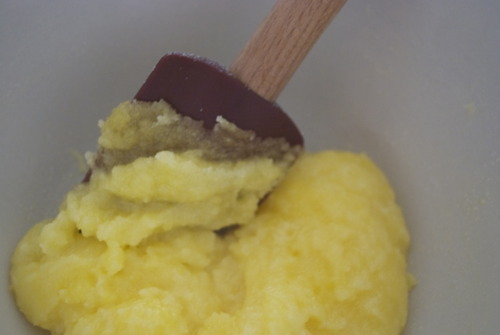
Add in the 1/2 cup soft butter bit by bit until it is fully combined, and keep mixing until the dough does the window test- when you take a small bit of dough and stretch it slowly in your hands, it gets so thin you can see through it. If it doesn’t keep mixing!
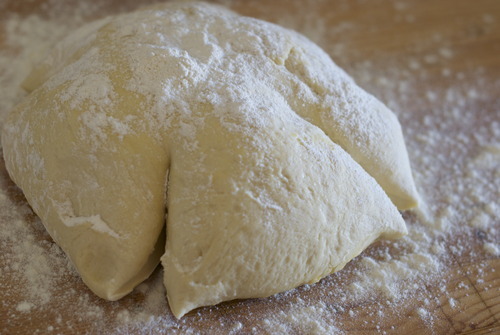
Now form the dough into the a ball and put it in a clean bowl, cover it with a clean tea towel and let it rise until it has doubled in size, about an hour.
In between two sheets of parchment roll out the butter into a square about 1 1/2 inches thick, put it in the fridge.
On a well floured surface place the ball of dough. Cut 4 slits into the dough at 12-3-6-9 o clocks, about half way in.
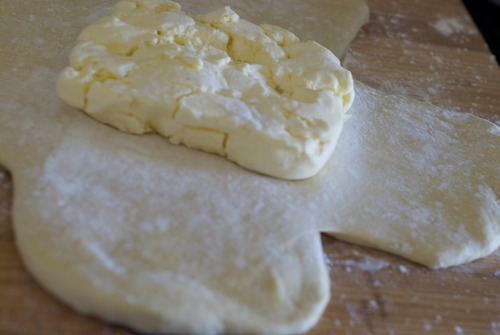
Now roll it out- so that you form a large x shape.
Put the block of butter into the middle
 and fold the other pieces on top of it to seal it in.
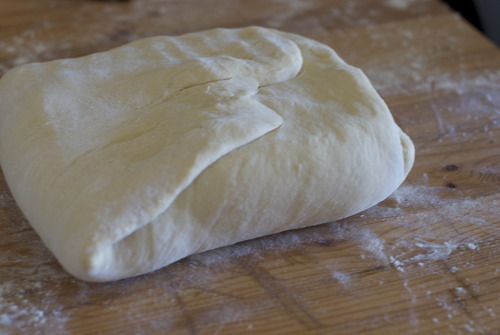
Flour your surface again and place the folded side down.
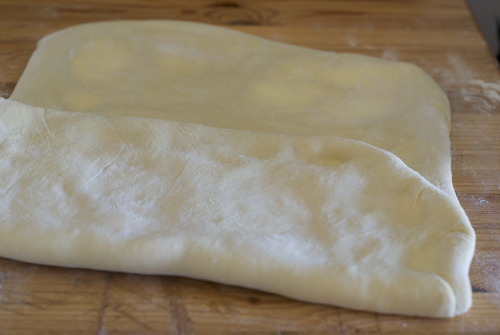
Roll out the dough to a large rectangle, being careful to make sure the dough is rolled evenly and keeps it’s rectangular shape.

Now fold the dough in thirds like you were folding a letter.
Wrap up this piece of dough, put it on a baking sheet and put it in the fridge for twenty minutes.
After it has chilled repeat this twice more, rolling, folding, and chilling.
Let the dough chill for another 40 minutes.
At this point I cut the dough in half and put half of it in the freezer, but if you are making a large batch you can use it all!
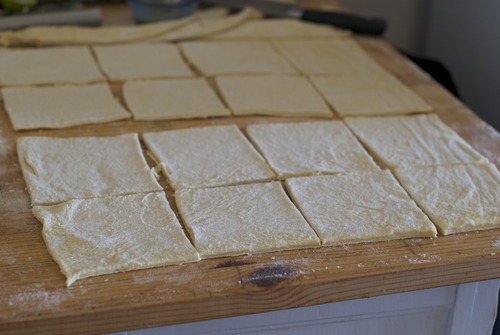
Now roll out the dough! Roll it until it’s about 1/3 inch thick into a large rectangle. You can make any number of shapes with this dough now. Here is how I like to do it best.
Cut it into squares- half a batch of this dough will make 16 danishes.
IMPORTANT! The way you cut the dough will make or break your danishes. You must cut straight down. DO NOT twist a cutter or slice through. Cut straight down. Otherwise your layers will be sealed together.
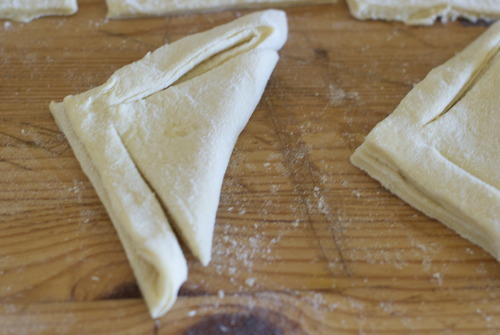
SO I cut them into squares, then fold them diagonally.
Cut slits in them so that the outsides are disconnected from the middles except on two opposing corners. Unfold them and put them on a parchment lined baking sheet.
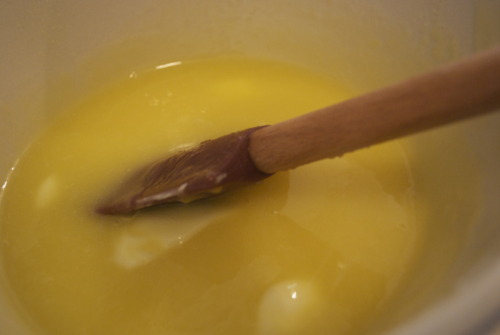
Brush with egg wash like I’ve shown here
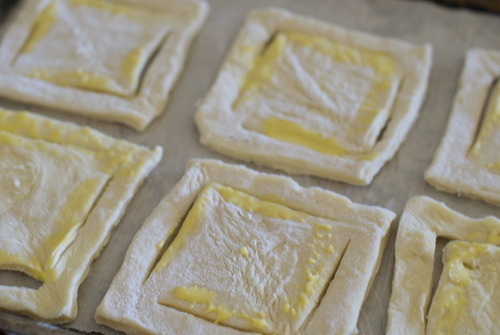
And fold the pieces over.
Now fill them up with whatever filling you have. I used raspberry jam.
Let them sit until they have puffed up nicely, about another 45 minutes.
If there are some scrappy bits of dough from the edges, I recommend sprinkling some cinnamon and sugar on them and rolling them up into straws. You can proof and cook them along with the others no problem.
Meanwhile, preheat the oven to 375F
Use your egg wash once again to brush the tops of the danishes.
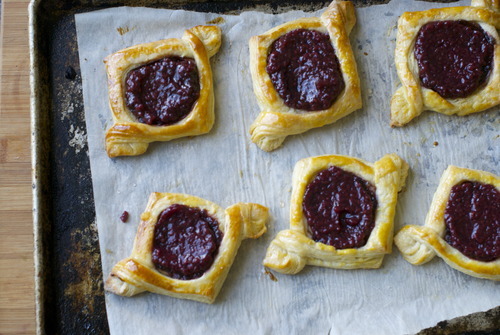
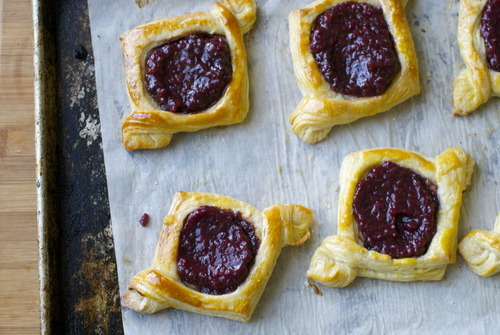
Bake until the dough is nicely browned, about 20-30 minutes.
Allow to cool a bit before eating- and I like to top up the middle with some more jam!
And that’s that!