Entertaining- Late Summer Provence Menu

image

There is little I like more than having friends over for dinner. There is the prepping, the cooking and the baking, things I love and do every day. But that is followed up with wine, and eating, and laughing. It is the most satisfying thing to me. I love entertaining.

Here’s a secret too- I kind of think I’m awesome at it.

I know that sounds like I’m blowing my own horn, and that’s totally because I am. But I have a cute little apartment, and I can bake a mean cake, and Jordan- the handsome man who lives with me- stirs a great cocktail. We have people over fairly often, and I think we’re good at it.

image

There are reasons for that though, and mostly it’s because I have cooked, and currently bake, professionally, and Jordan used to bartend. After cooking for a hundred people a night for 5 years making dinner for a few friends doesn’t seem so hard. And when you paid your way through school keeping people liquored up, it’s almost second nature in your own home to keep wine glasses filled.

I’m often surprised though when we head over to other peoples houses how stressed out they get. They often make things fussier than they ought to be, or doubt their skills, or find themselves rushing around at the last second.

So I thought that I might start writing about throwing a great party. About planning a menu that is simple and elegant, what you can make in advance, and little ways to make your dinner table pop. And, with the help of Jordan, I think I’ll also give some suggestions for drinks.

And so, without further ado, here is our first Entertaining section!
image

Menu

Warmed Spiced Olives

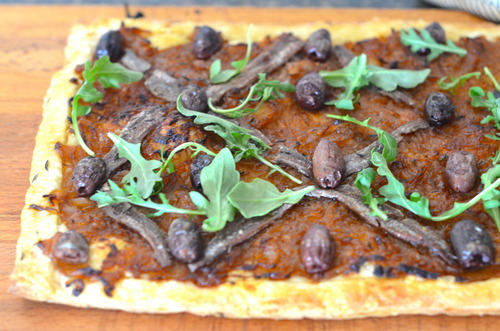
Pissadierre with Arugula Salad

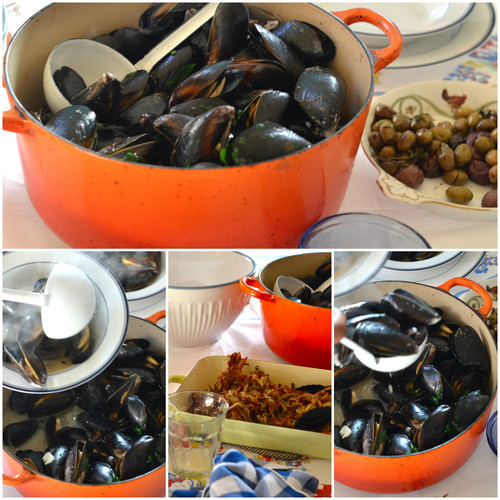
Local Mussels with Bacon, Garlic, and White Wine

Baked Frites with homemade Aoli

Hazelnut and Fig Jewel Cake

To many of you this might seem like the simplest and most basic thing, and it is, but when I’m thinking of a menu I try to stick to one geographical area. No “Around the World” dinners, I keep it simple by staying in one region. For this dinner everything was inspired by the South of France.

I also hate serving food in the kitchen and bringing it to the table. I love family style meals, I don’t want to pretend I’m in a restaurant when I’m at home. Plus, this way you don’t have to ask your host for seconds!

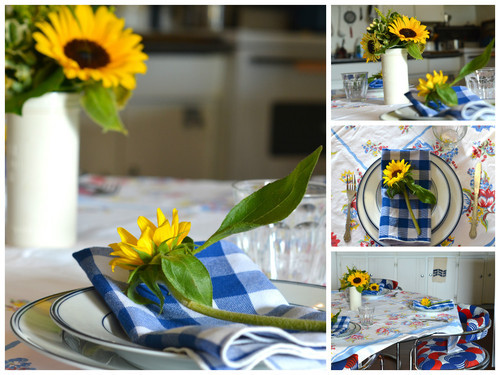
In the theme of the South of France as well I wanted a relaxed table setting, I had a small bouquet of sunflowers in the centre, a floral tablecloth and my blue gingham napkins. I set each setting with appetizer and dinner plates and I marked each spot with an additional sunflower.

I love sunflowers, and while they may not be abundant in Provence, they are aplenty here. And they go beautifully with my “flame” coloured pot that I served the mussels in.
image

To help make sure you know what to do when;

Timeline:

Two Days Before Hand:

  • Get all ingredients

  • Make Puff Pastry

  • Spice Olives

  • Caramelize Onions

The Day Before

  • Clean your house

  • Do small things like iron your tableclothes and make sure you have enough clean napkins. You don’t want to worry about things like that when your guests are arriving.

The Morning Of:

  • Make the puff pastry

  • Make and bake the cake

  • De-beard the mussels

  • Make Aoli

Now go clean yourself up, do another tidy (I sweep my flour about a thousand times before guests arrive, as I am always dropping things!) and pour yourself a glass of wine.

An hour before your guests arrive:

  • Bake your pissaldierre

  • Make your salad dressing

  • Set your table up nicely.

When Guests Arrive

  • Warm up and serve the olives

All the rest can be done as you’re ready- from tossing the salad and serving it up with the tart, to cooking the mussels for the main.

Recipes:

Spiced Olives:

1lb Mixed Olives (I like to get a mix of green and black, but I always try to find nicoise olives, the tiny Italian black olives. Ooh I love nicoise olives!)

1 tsp Edible Lavender Flowers

1 tbsp Fresh Thyme

1 tbsp Olive Oil

1 tsp Fresh Rosemary, finely chopped

Mix all the ingredients together and let sit as long as possible, for at least 1 day.

When you’re ready, warm them in the oven (they are very forgiving, any temperature between 300 and 450) for about 5 minutes.

Serve with an additional bowl for the pits.

Pissaladiere

1 cup Cold Unsalted Butter, cut into cubes

2 cups AP Flour

1/2 tsp Salt

1/2-3/4 cup Ice Water

4 medium Onions

1 tin Good Quality Anchovies in Olive Oil

15 Pitted Nicoise Olives or other good quality black olives.

1 tbsp Olive Oil

Sa;t ad Pepper

(To see my full tutorial for the dough click here.)

On a clean countertop toss the cubes of butter into the flour and salt.

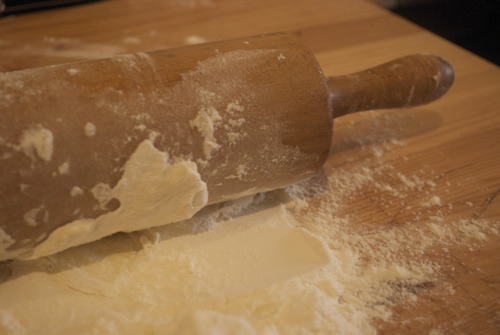
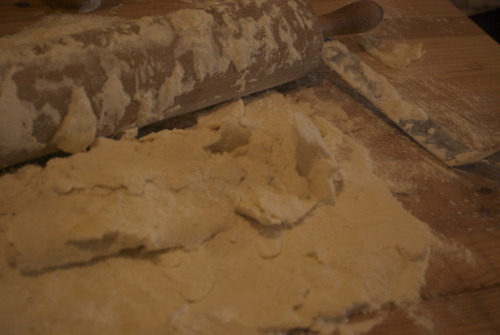
With a rolling pin roll out the butter, flipping it over often with a spatula or pastry scraper.

Continue to do this until all the butter is in long thin strips.

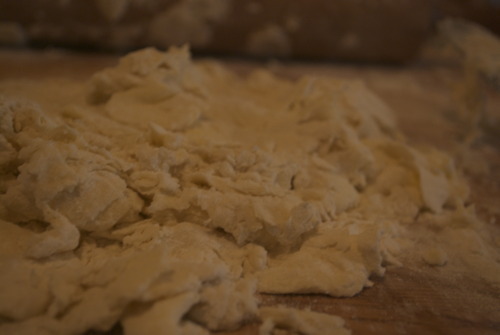
Pour 1/4 cup of the water on top and gently fold the butter mixture on top of it.

Continue doing this, adding more water as needed until a cohesive dough is formed.

Chill the dough for at least an hour, or up to two days.

Slice the onions thinly.

In a medium pot over medium heat warm the olive oil.

Cook the onions, stirring regularly, for about 10 minutes.

Lower the heat and let the onions cook until very soft and a light even brown color. The onions should be soft enough that you squish them in half when you pinch them with your fingers.

These can be kept in the fridge for up to 5 days.

To Assemble:

Preheat the oven to 400F

Roll out the dough on a well floured surface, to a rectancle about 1/4 inch thick (it can be square or circular in a pinch!)

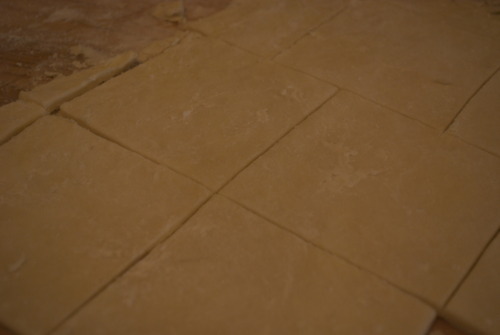
Carefully cut the edges of the dough- you don’t want to drag the knife- that can seal the layers together. Instead cut straight down.

Now do the same thing about 1 inch from the edge of the dough, creating a border. You do not want to cut all the way through.

Put the dough on a parchment lined baking sheet.

Spread the onions on the pastry- keeping clear of the border.

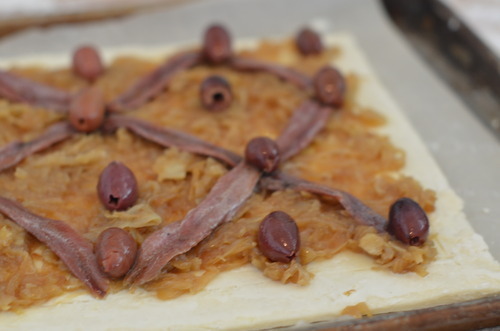
Now put the anchovies in a lattice pattern over the onions, and then place an olive at the point where the anchovies meet.

Bake for about 35 minutes or until the crust is a uniform brown colour.

Allow to cool for at least 30 minutes before serving.
image

Arugula Salad

3 cups Baby Arugula

1 cucumber, thinly sliced.

Juice of 1 Lemon

1 tsp Dijon

3 tbsp Olive Oil

Mic the lemon, dijon, and olive oil. Season to taste with salt and pepper.

Add arugula and cucumber and toss. Serve immediately.

Mussels with Matchstick Frites

8 thick slices of Double Smoked Bacon, cut into 1/2 inch pieces

1 cup White Wine

2 cloves of Garlic, minced.

4 lbs Mussels

1/4 cup Unsalted Butter

Debeard the mussels- each mussel has a hairy bit sticking out of it- this is like it’s arm to attach to rocks etc. Pull it off- this is done easily enough by hand but is extra easy with the help of tweezers.

In a large pot over medium heat cook the bacon until it is very crispy.

Strain off the fat.

Add the garlic and cook until it is fragrant, but not browning.

Add in the mussels and the wine and immediately put a tightly fitting lid on top.

Shake the pot vigorously and cook for about 3 minutes.

Take off the lid. When the mussels are all opened add in the butter and shake again.

When butter is melted you’re ready to serve!

Frites

3 lbs Yukon Gold Potatoes

1/4 cup Olive Oil

1 tbsp Rosemary, finely chopped

1 tbsp Salt

1/2 tsp Pepper

Preheat oven to 450F

With a mandolin (or a lot of patience and practise) cut the potatoes into matchstick sized pieces.

Coat with the olive oil, rosemary, salt, and pepper.

On a parchment lined baking sheet spread out the potatoes

Bake, stirring every 15 minutes or so until the potatoes are evenly cooked, about 45 minutes.

Garlic Aoli

1 Egg Yolk

1/4 Extra Virgin Olive Oil

1/4 Canola Oil

1 tsp Dijon

1 tbsp Lemon Juice

Salt and Pepper

(For my full tutorial click here!)

In a small bowl mix together the yolk and dijon.

Slowly whisk in the olive oil, drip by drip, whisking vigorously to keep it emuslified.

If it starts to get thick add in some lemon juice.

Add in the canola oil the same way.

Season with salt and pepper!

Fig and Hazelnut Jewel Cake

1/2 cup Butter, softened

1/2 cup Brown Sugar

1/2 cup White Sugar

1 tbsp Vanilla Extract

2 Eggs

3/4 cup AP Flour

1/2 cup Ground Hazelnuts

1 tsp Baking Powder

1/2 tsp Salt

about 10 Figs, cut in half

Coarse Sugar for Sprinkling.

Preheat oven to 350F

Butter and flour a 10 inch tart pan, or round cake pan with a removable bottom.

In a large bowl cream together the butter and sugars.

Add in the eggs one at a time. Add the vanilla.

Mix in all the dry ingredients, except the coarse sugar. Stir until just combined.

Spoon the batter into the prepared pan and smooth the top with an offset spatula.

Place the figs in a circular pattern around the pan, like a flower.

Sprinkle with the coarse sugar and bake until an inserted skewer comes out with only a few crumbs, about 35 minutes.

Tuesday Tutorials- Danishes!

When I was little my parents had it all figured out. They decided when we were very young, that we could make our own breakfast. And on Saturdays, starting when perhaps parents would decide was too young today, we walked the block and a half to Second Cup and bought breakfast. It was a tiny cafe, part of a larger franchise in Canada, but one where they did all the baking in house. And every Saturday in the summer we would get a cinnamon danish with peach drink, and every Saturday in the winter we would get a peach danish and a hot chocolate. We were creatures of habit.

The couple that owned it were endlessly sweet to us, and we adored this little tradition. Then they hired an extremely rude girl who would serve the adults instead of us and be mean to us kids, so we wrote a very stern letter and we wrote each line in a different colour marker, so you know we meant business. And we never went back. For a few months we tried different cafes that were close to us, but it was never the same. Not long after we started making our own elaborate breakfasts which was, in fact, the beginning of a whole other exciting era. BUT there was a very sweet couple of years in which my sister, my next door neighbour and I ate danishes every Saturday. And it was a wonderful time.

Which is all a long way of saying that I love danishes. An awful lot.

Danish dough is what’s called a laminated dough, because you roll out the dough with a big block of butter in the middle. And then you fold the dough, and roll and fold and roll and fold, and as you do this the butter laminates the layers of dough. This is the same premise behind puff pastry, but here the dough is also yeasted so it rises even more, and has more flavour. The dough is similar to a croissant dough, which I might do a tutorial for soon -let me know if you’d like that in the comments!

Danishes

Makes 32 danishes

3 1/2 tsp Dry yeast

1/2 cup Sugar

1 cup +2 tbsp Milk, warmed

7-8 cups AP Flour

1 tbsp Salt

1/2 cup Butter, soft

2 Eggs

1 1/2 lb (3 cups) Butter

Egg wash (1 egg yolk and 2 tbsp milk/cream)

And your filling! I used raspberry jam- about 2 cups of it.

*This makes a very large batch, which I like because then I freeze half of it, but you can half this easily as well.

Make sure the milk is not to warm, it should just be body temperature. If it’s too hot it will kill the yeast.

Mix the milk, yeast and sugar together. Let it sit until it gets foamy on the top, about 5 minutes. If it doesn’t get foamy it means the yeast is dead, start over!

In the bowl of a standing mixer or in a large bowl if you’re planning on doing it by hand, combine the dry ingredients, only 6 cups.

Add in the yeast-milk mixture in and combine until it starts to come together. If it is still very wet add in a bit more of the flour until the mixture is still soft but not sticky.

Add in the 1/2 cup soft butter bit by bit until it is fully combined, and keep mixing until the dough does the window test- when you take a small bit of dough and stretch it slowly in your hands, it gets so thin you can see through it. If it doesn’t keep mixing!

Now form the dough into the a ball and put it in a clean bowl, cover it with a clean tea towel and let it rise until it has doubled in size, about an hour.

In between two sheets of parchment roll out the butter into a square about 1 1/2 inches thick, put it in the fridge.

On a well floured surface place the ball of dough. Cut 4 slits into the dough at 12-3-6-9 o clocks, about half way in.

Now roll it out- so that you form a large x shape.

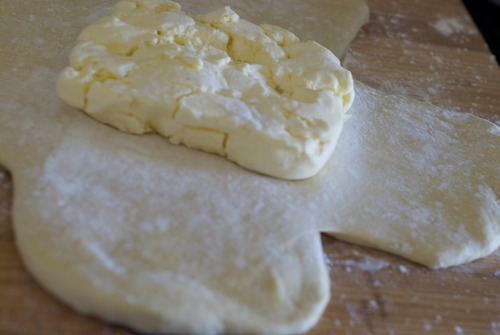
Put the block of butter into the middle

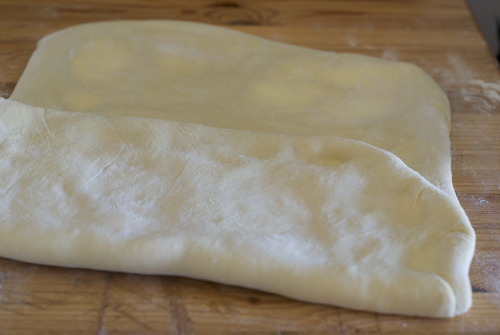
and fold the other pieces on top of it to seal it in.
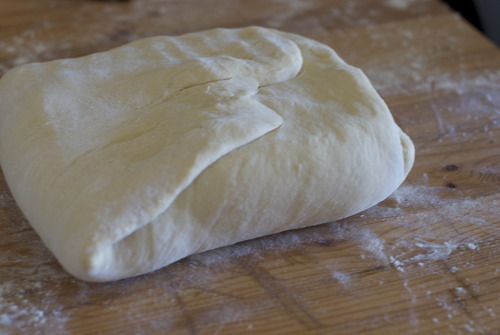
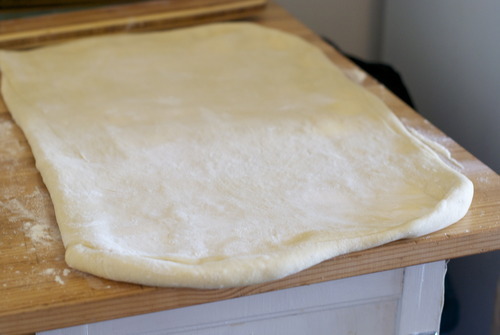
Flour your surface again and place the folded side down.

Roll out the dough to a large rectangle, being careful to make sure the dough is rolled evenly and keeps it’s rectangular shape.

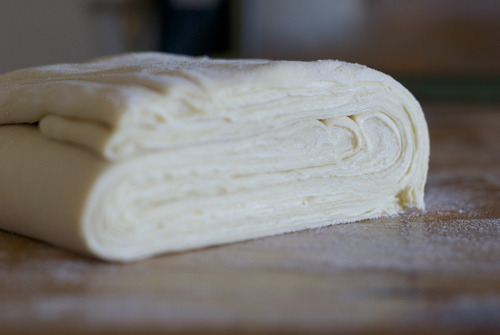
Now fold the dough in thirds like you were folding a letter.

Wrap up this piece of dough, put it on a baking sheet and put it in the fridge for twenty minutes.

After it has chilled repeat this twice more, rolling, folding, and chilling.

Let the dough chill for another 40 minutes.

At this point I cut the dough in half and put half of it in the freezer, but if you are making a large batch you can use it all!

Now roll out the dough! Roll it until it’s about 1/3 inch thick into a large rectangle. You can make any number of shapes with this dough now. Here is how I like to do it best.

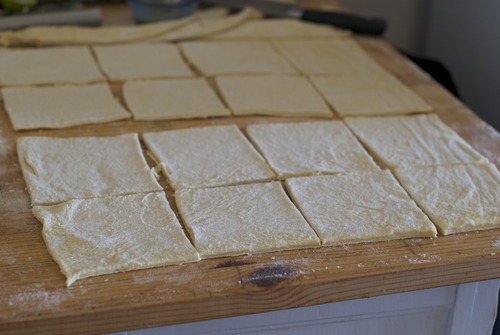
Cut it into squares- half a batch of this dough will make 16 danishes.

IMPORTANT! The way you cut the dough will make or break your danishes. You must cut straight down. DO NOT twist a cutter or slice through. Cut straight down. Otherwise your layers will be sealed together.

SO I cut them into squares, then fold them diagonally.

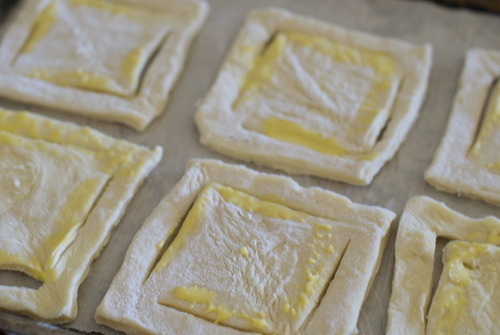
Cut slits in them so that the outsides are disconnected from the middles except on two opposing corners. Unfold them and put them on a parchment lined baking sheet.

Brush with egg wash like I’ve shown here

And fold the pieces over.

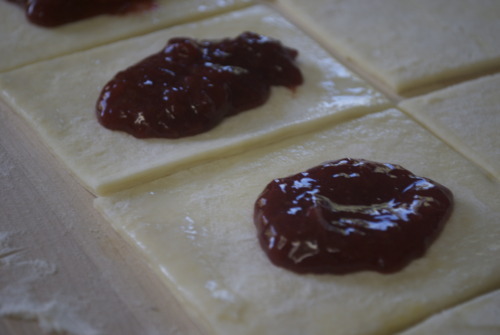
Now fill them up with whatever filling you have. I used raspberry jam.

Let them sit until they have puffed up nicely, about another 45 minutes.

If there are some scrappy bits of dough from the edges, I recommend sprinkling some cinnamon and sugar on them and rolling them up into straws. You can proof and cook them along with the others no problem.

Meanwhile, preheat the oven to 375F

Use your egg wash once again to brush the tops of the danishes.

Bake until the dough is nicely browned, about 20-30 minutes.

Allow to cool a bit before eating- and I like to top up the middle with some more jam!

And that’s that!

Rhubarb Strudel

If you don’t live in Vancouver you probably can’t get rhubarb any more. That first stalk that sprouts in the Spring and paves the way for the strawberries and raspberries that you’re probably eating now. The sign of Summer that hasn’t had time to ripen in the sun so it’s so tart you can’t even imagine eating without heaps of sugar?

But us Vancouverites can. Heck, the way this weather is going we’re going to be eating rhubarb in August. 

It’s the coldest June on record here. I can’t keep the windows open in my apartment and I start to shiver without my slippers on. I have yet to go outside without a sweater on this year. 

So I’ve retired to the kitchen, where the oven is nearly always on and that keeps the water in the kettle warm for when I need a cuppa. And I bake. I bake with rhubarb. 

Rhubarb Strudel

Adapted from this recipe

Dough

1 1/3 cups unbleached flour
1/8 teaspoon salt
7 tablespoons water, plus more if needed
2 tablespoons vegetable oil, plus additional for coating the dough
1/2 teaspoon cider vinegar

Filling

5-6 Stalks of Rhubarb, cut into 2 inch pieces.

3 cups of Sugar

1 cup Breadcrumbs

2 tbsp Butter, melted

In the bowl of a standing mixer fitted with a dough hook- or in a regular bowl if you want to knead by hand) mix all the ingredients together and knead until the dough is smooth and elastic. When in doubt keep kneading. You can’t really over knead this dough, 

Wrap with cling film and let it sit for about 30- 60 minutes. 

Preheat your oven to 400F and line a cookie tray with parchment or a silpat. 

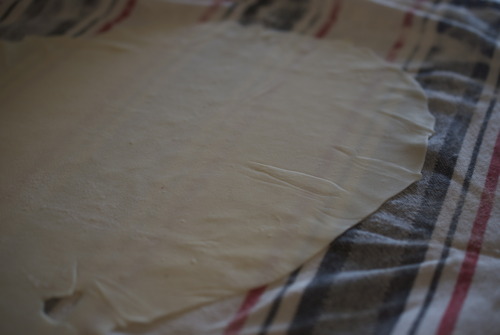
Once the dough has rested take a linen dish cloth and sprinkle it with flour. Get some flour on your rolling pin as well. Cut the dough in half, put one half on the cloth and start rolling. You want the dough to be as thin as you can possible get it. It should be see through, if it tears a bit don’t worry.  I didn’t roll my dough out enough so don’t look at mine as an example. It was delicious but it wasn’t quite as light as it should have been. 

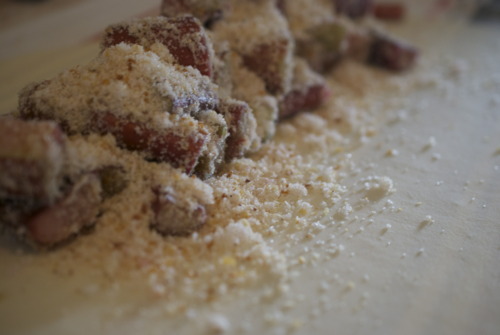
Carefully move the dough onto the pan (folding it over your rolling pin helps for this) and in a thin line spread half of the rhubarb, sugar, and breadcrumbs out.

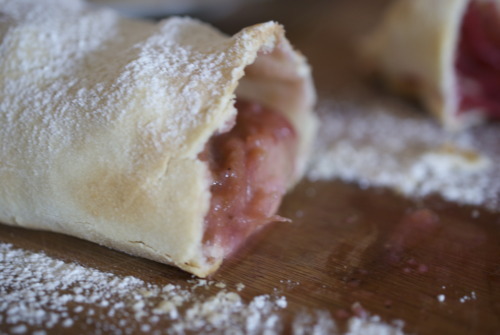
Carefull bring the dough up on 1 side and then roll it gently so that the rhubarb mixture has been wrapped several times with the dough. 

Repeat with the other half of the dough. Brush with the melted butter.

Bake until the rhubarb is cooked, about 45 minutes. 

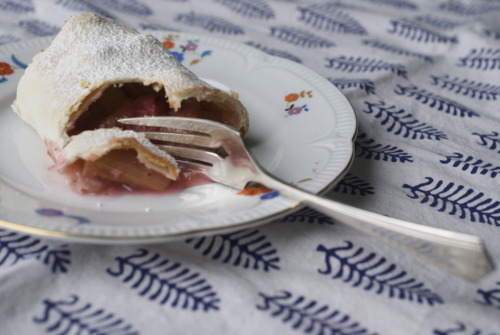
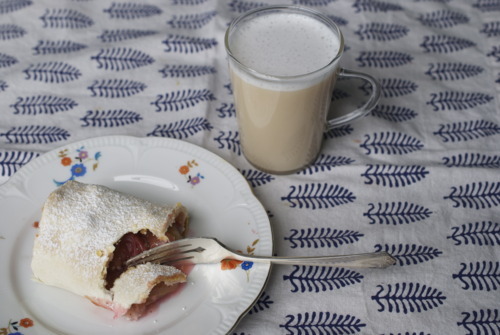
Let it cook for at least 10 minutes before slicing into it, dust with icing sugar and serve!

Blackberry Galettes!

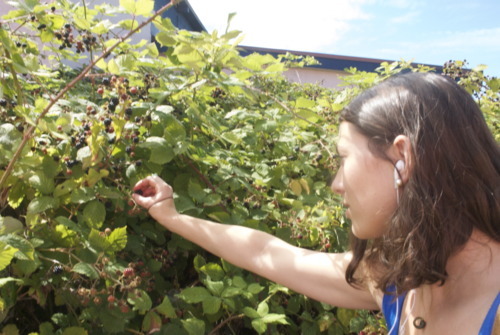
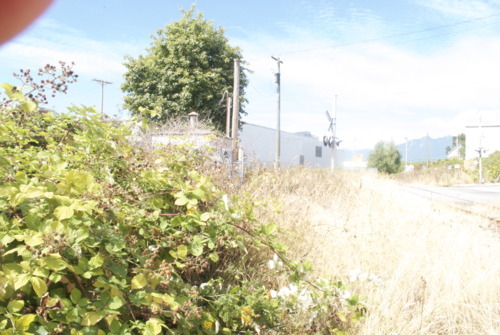
Here’s the thing, I`ve always heard about blackberry bushes in Vancouver. People say they`re at the train tracks, and I`ve seen them there in the springtime with bright red berries on them in Kitsilano around the train tracks at Granville Island.

And then I had an epiphany.

There are train tracks 10 blocks away from my house that I bike past everyday.

I know, I know, I`m a little slow on the uptake.

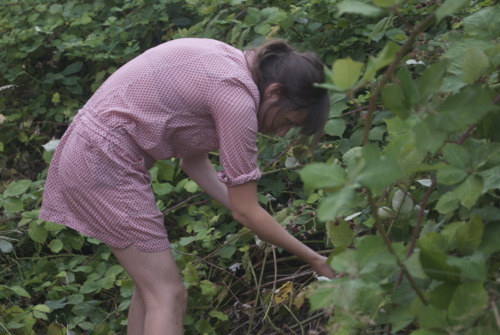
So I`ve now gone blackberry picking 3 times this week. I am a very happy girl. I love blackberries.

A lot.

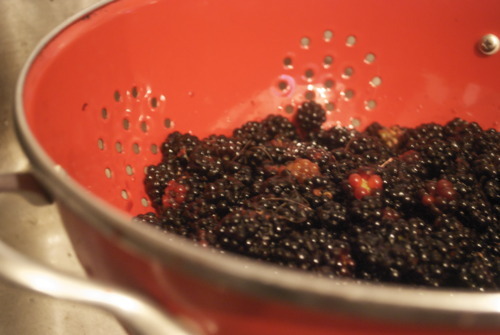
So does my beautiful friend Liz, so the other day we spent the day picking berries and wildflowers and pretending we weren`t in the middle of the city, just half a block from a major road. And then we walked back with blackberry juice dripping out of our bags and staining our shoes laughing and just generally being very content in the city that we live in.
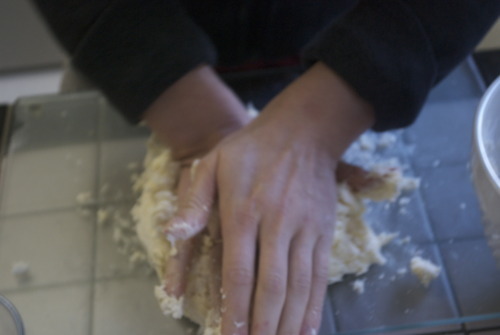
So I`ve made many many blackberry things lately that I`ll be sharing up here, but the first thing I did was make blackberry galettes, and they were so good, and so light and so fresh tasting I thought you should get this recipe first.

It`s a little showy but mostly it`s simple, elegant and very satisfying. And, while I made them for desert, I saved one for breakfast this morning, and it was the perfect start to my day!

1 cup (2 sticks, or half a pound) of Unsalted Butter, very cold

2 cups AP Flour

1 tsp Salt

1/4 cup-1/2 cup ice water

9 tbsp Coarse sugar (if you have it, otherwise regular old white sugar will do!

2 pints Blackberries

Make the dough:

Put the salt and flour onto your counter top. Put the butter in the middle and break them up and make sure they’re all covered in flour.

Using a rolling pin roll out the butter into long strips, using a spatula or bench scraper to scrape the butter off the bottom and move in the flour from the sides.

It will look like a big mess, don’t be alarmed!

Add in the water and again, using the spatula or bench scraper, fold in the water until a dough just barely starts to form. You may need to adjust the amount of water depending on the humidity.

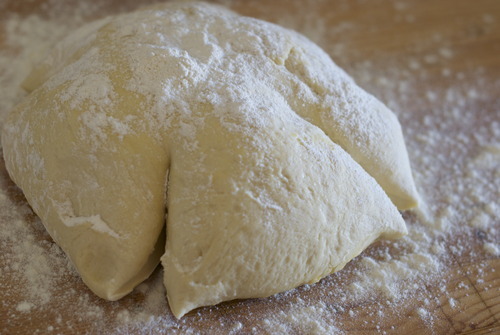
Once it starts to come together use your hands to fold it in half, flatten it out a bit, then fold it again, continue to do this until the dough becomes something you think you could roll out without it falling apart but not so long that the dough becomes tough.

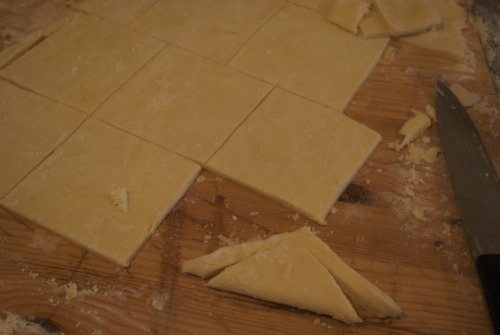
Roll out the dough to about 1/4 inch thick and cut it into squares that ate 3 inches by 3 inches.

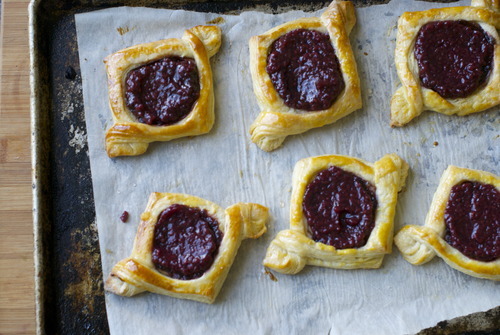
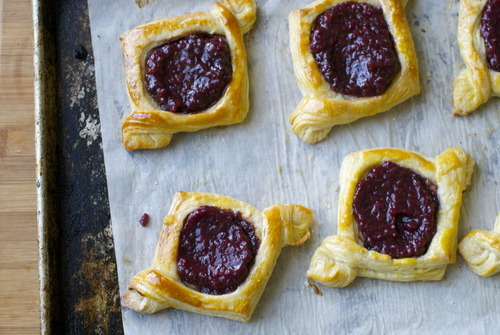
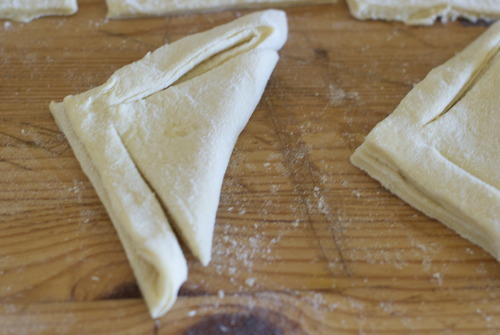
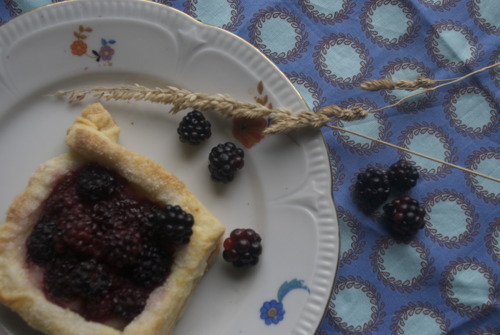
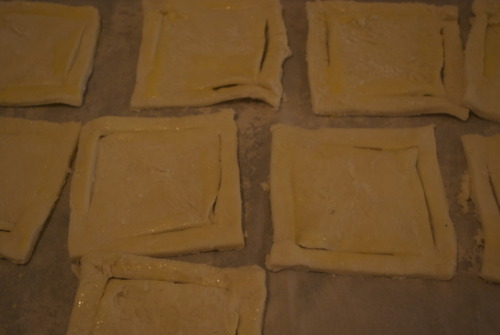
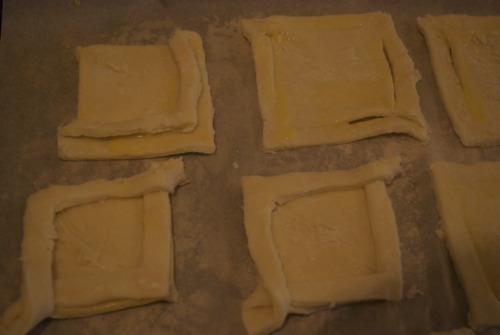
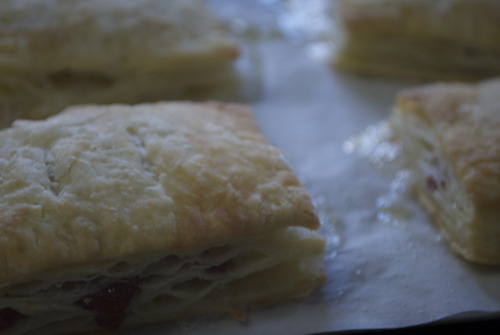
Fold each square in half on an angle to form a triangle. Cut 2 slits each triangle paralelle to each side leaving a space at the end so that it is connected at 2 ends. I know this sounds confusing but its really easy, just look at the pictures!

Then fold the sides over each other to form a pretty little diamond. Like this:

Chill the dough for 30 minutes in the fridge. You want the butter to be very cold so that when it goes into the hot oven it produces steam and the steam is what makes those lovely puffy little layers of dough, so the colder the better!

Preheat your oven to 375F

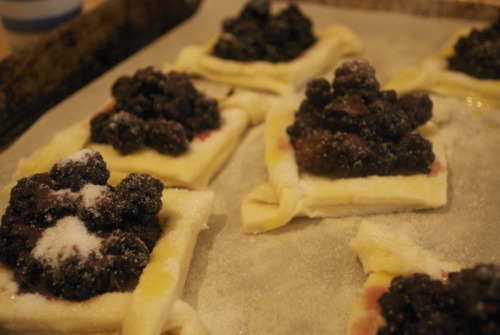
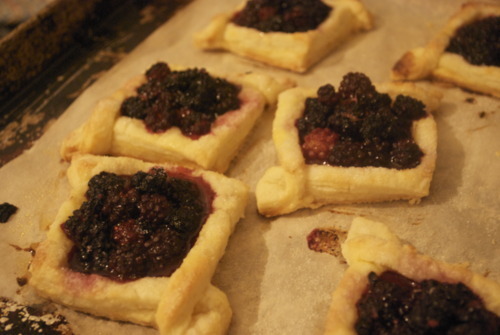
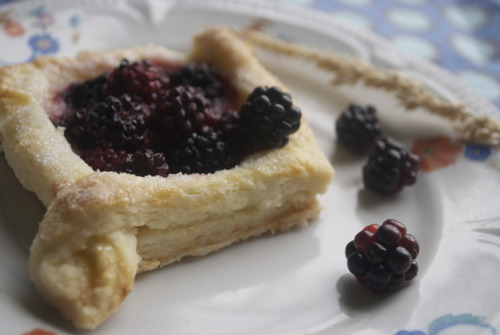
Egg wash the tops of the dough, and then fill the middle square with heaps of blackberries.

Sprinkle a tablespoon of sugar onto each tartlette making sure you get lots on the pastry. It will give it a wonderful crunch!

Bake them until they are a lovely golden brown on top and the berries are bursting and juicy.

And then eat and be very very happy!

Pop Tarts

I have never eaten a pop tart. I’ll even go further, I have never wanted a pop tart. Oh that’s probably not true, I’m sure they were popular for a while when I was in middle school or something but the point is, I can’t remember ever wanting one.

In a recent discussion about breakfast though I realized I am the only one in our household of two that way.

I am the only one in our household of two that feels that way about a lot of junk food. I’ll admit I’m a little evangelical about eating local, seasonal, unprocessed food.

But I am not unreasonable, friends. I do not allow pop tarts, McDonalds or powdered garlic into my house. BUT I will make pop tarts, burgers, and I am actively looking for a way to make powdered garlic that doesn’t  involve a dehydrator.

See? I’m a totally rational human being. I swear.

I made these pop tarts almost entirely from the recipe I found on Smitten Kitchen, which is a fantastic blog. The pastry is very flaky but also sturdy enough to hold as your running out the door with a coffee in your hand, which sounds like an oxymoron but I promise this works beautifully.

It’s crisp and light and great. Jordan thinks they are more like a toaster streudel. I’ve never eaten one of those either.

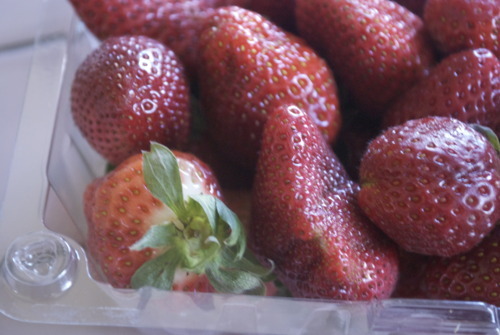
The dough is just like a pie dough but it has an egg in it so it holds its shape better and the filling is just jam with a little cornstarch to make sure the bottom pastry doesn’t get soggy. I made the jam (with local strawberries! Yeah!!)  but you could use any jam that you have with a little extra cornstarch, or even nutella inside if you don’t have the time.

I won’t judge.

Stawberry Filling:

1 quart Strawberries

1/2 cup Sugar

1 tsp Cornstarch

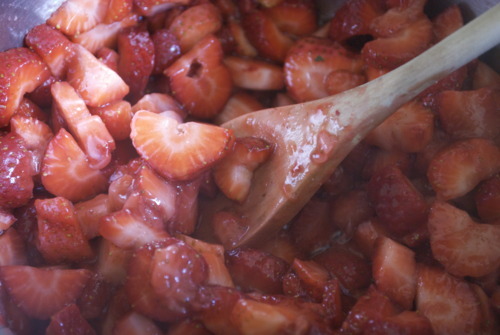
Cut up strawberries and get them in a pot on the stove

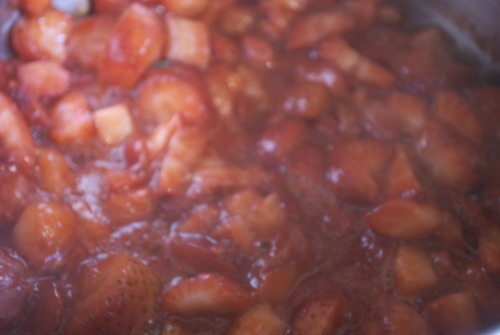
Let them simmer for about 15 minutes until nearly all the liquid is gone.

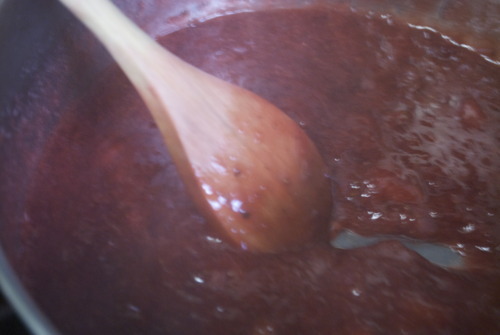
Add in the sugar and continue to simmer for another 20 minutes or so until it’s nearly dry again.
Mix the cornstarch with 1 tsp of water and then mix it into the jam. Bring to a boil and then take it off the heat and get it into a bowl in the fridge.

Pastry
2 cups (8 1/2 ounces) all-purpose flour
1 tablespoon sugar
1 teaspoon salt
1 cup (2 sticks or 8 ounces) unsalted butter, cut into pats, very cold.
1 large egg
2 tablespoons (1 ounce) milk

In the meantime make the pastry:

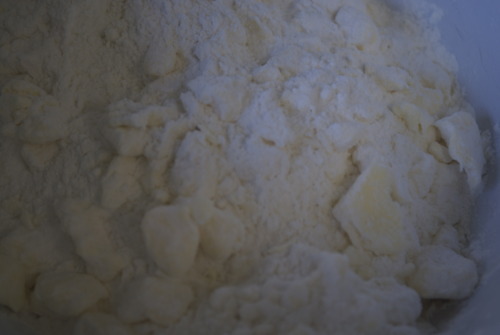
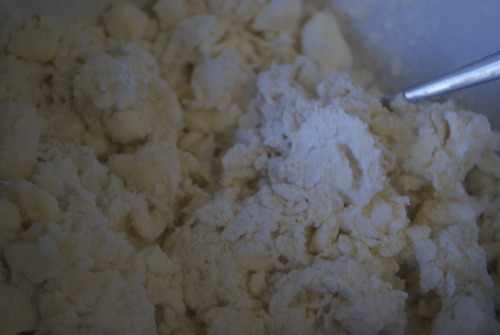
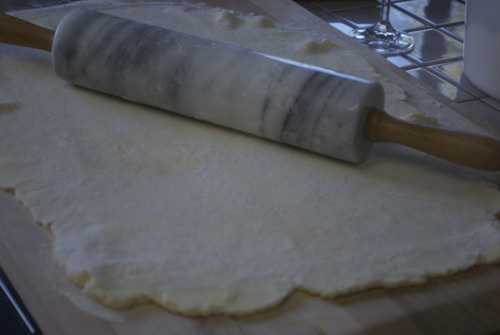
Mix the butter, sugar, and salt in a bowl. Cut in the butter. That means break it up with your hands until the butter is in pea sized pieces. It should look like this

Add in the egg and the milk. it should be quite dry but if it doesn’t come together add in another bit of milk.

On a lightly floured board push the dough into a flat rectangle and then fold it in half. Push it down, fold it in half and and keep doing it until it starts to feel a little tough and it doesn’t quite want to be folded. Then wrap it up and put it in the fridge.

Preheat the oven to 375F

After about half an hour in the fridge and once the jam is cold you can roll out your dough.

Roll it out into a long rectangle about 1/4 inch thick. Cut with a non-serated knife into rectanlges of your choice! I did mine about 4-3 inches.

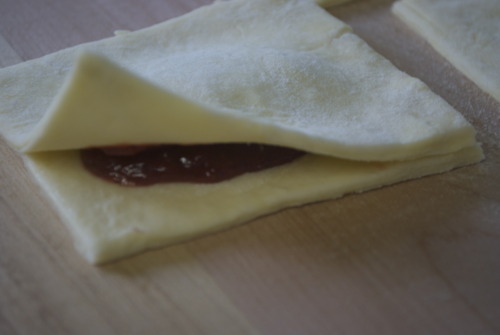
Put a dollop of jam on top of half of the rectangles, about a teaspoon each. Brush some water on the bottom edges.  These will be the bottom pieces.

Cover the bottom pieces with the remaining rectangles.

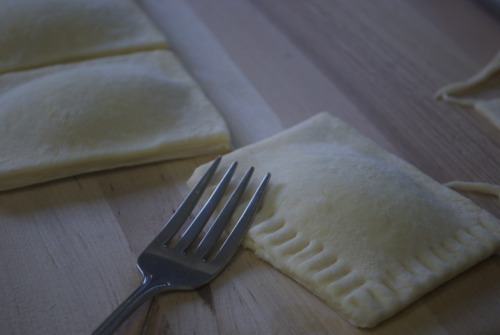
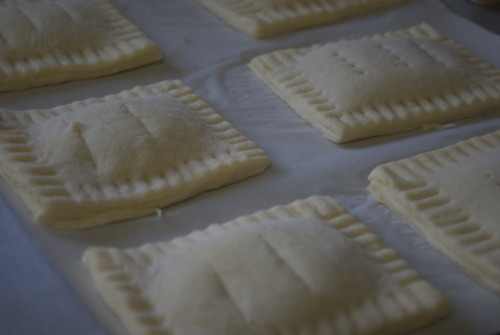
Press down the edges with a fork. This will help make sure the jam doesn’t shoot out the sides. Poke the top of them too to let some steam out.

Get them on a tray and bake them! About 20 minutes, and they are deffinatly best served hot, or perhaps, out of a toaster.

Morning Pastries in a Pinch

Is there anything better then morning pastries hot out of the oven? The smell of brioche waiting to be dripping in butter and jam, the perfect crispiness of fresh croissants, the steam as you open a hot cinnamon bun?

The only problem with morning pasties is that you need to prep for a couple hours the night before and relinquish your sleep in to let them proof and bake. Which in my books is a big problem. I want to sleep in, read the Sunday paper for a bit and then skip over to the kitchen throw something together and have it smell like a bakery. Which may not be realistic.

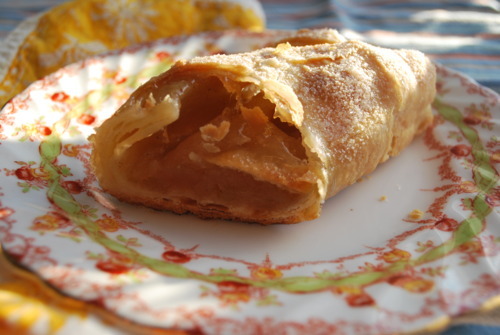
But I can sleep in, bake for 30 minutes, read the Sunday Times and half an hour later have fresh apple strudels, which is a pretty okay compromise I think.

Strudels are not hard to make. You make a very easy dough and let it sit for half an hour. While its sitting you chop up a few apples and stew them in some sugar and cinnamon until they get nice and translucent. Then you roll out the dough very thin which is surprisingly easy, it’s a very easy to work dough. You top on your apples roll the whole thing up and put it in the oven.

And then the smell starts.
The cooking dough, caramelizing apple breakfast pastry smell.

And you just sit there and read your paper and drink your coffee until the smell gets almost overwhelmingly wonderful. And then you pop it out of the oven and let it cool just a little and theny ou slice it up and eat it and feel like the queen of the universe. Or maybe that’s just me.

Dough

1/4 teaspoon salt
1 1/2 cups flour
1 egg, slightly beaten
1/3 cup warm water
1/2 cup butter, melted

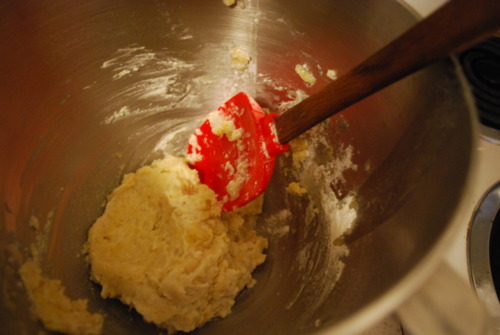
Mix all ingredients together with a wooden spoon or spatula.

Knead like bread until dough begins to come together, I did this in my mixer with the dough hook but you could easily do it by hand. Don’t go to crazy, just knead for a couple minutes.

Put it aside, somewhere warm, maybe near your oven.

In the meantime make your apple filling.

Apple filling

4 cooking apples, I used ambrosia but whatever kind you like best.

1/2 cup sugar

1 tsp Cinnamon

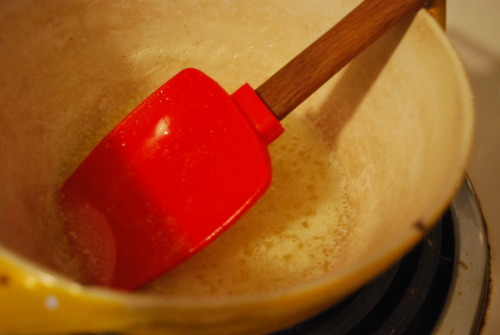
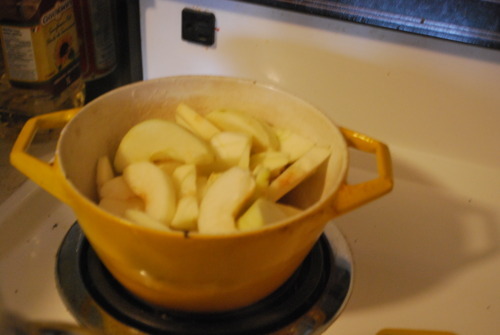
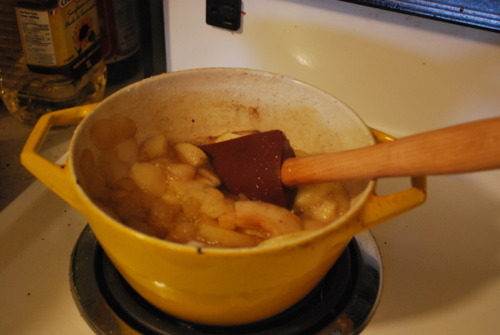
Slice up your apples put them in a pot and simmer until they start to simmer a bit.

Add in the sugar and cinnamon and cook a bit longer. Don’t worry if it’s a bit soupy, you can take leave the liquid behind and just use the slices.

Preheat the oven to 400F

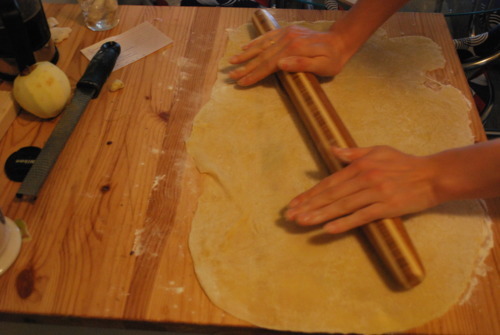
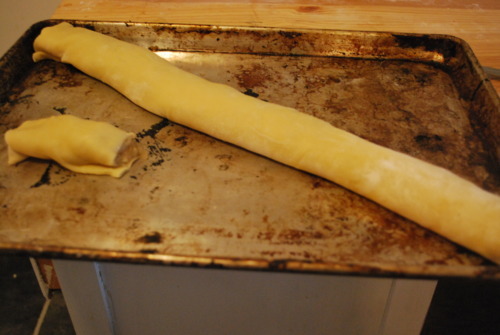
Now roll the dough into a long rectangle.

It will be very easy to roll and roll it as thin as you possibly can. I could easily see the wood grain of my counter top through the dough.

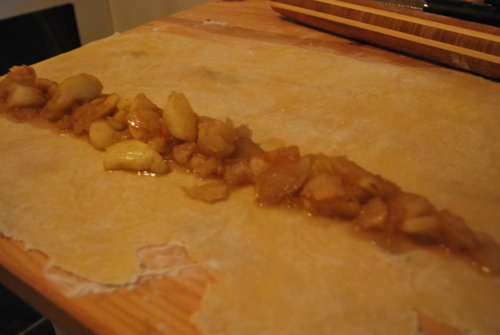
Spoon the apple mixture into a line all along the dough along one of the long ends.

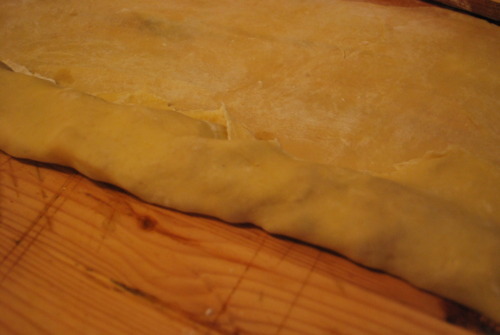
Carefully fold the dough over the apples

 and then roll the dough with the apples until all the dough is wrapped around the filling.

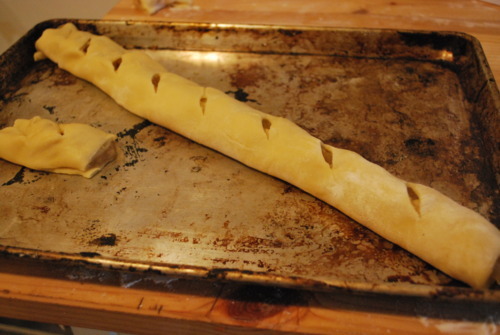
Carefully transfer to your baking sheet.

Cut the ends and score the top to allow steam to escape.

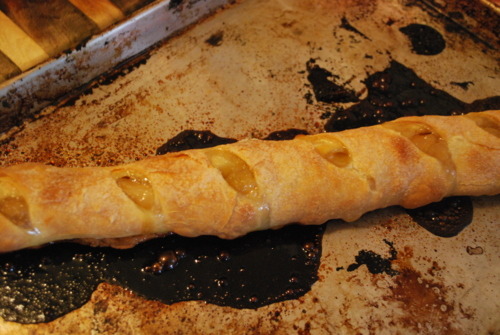
Now bake for 20 minutes, turn the oven down to 300 and bake for twenty more.

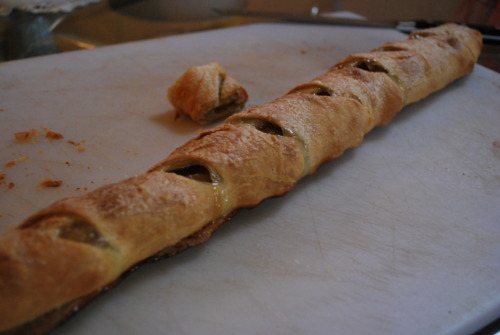
Then get it on a cuttin board, slice them up and it it while its still hot and glorious!

That wasn’t so bad was it? And seriously how good does your house smell….

More Rhubarb


Are you sick of rhubarb recipes yet friends. I’m not! I know I know, I’ve posted about it 2 times already this month but rhubarb season is so fleeting and I think it will still be a couple more weeks before we start seeing local strawberries and blueberries and other kinds of fruit that, when I first see them, make me start dancing in the aisles of my local green grocers.

Which is all to say that there are another couple weeks, if we’re​​​ being optimistic, it would probably be more realistic to say a month or so but I am nothing if not an optimist, before we have any other fruit and so I feel a huge need to make the most of rhubarb season.

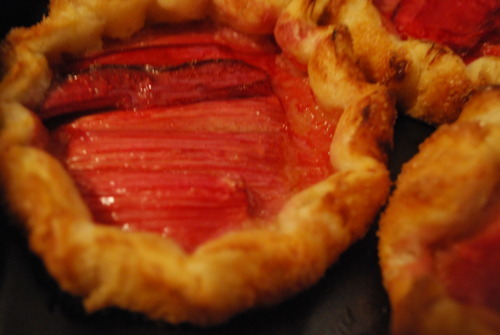
This is a tart that I`ve been making for a long time. My first ever restaurant job introduced me to both brown butter, butter that`s been cooked until the milk solids turn a pretty walnut colour and it starts to smell like hazelnuts, and brown butter pastry, when you mix that wonderous stuff with eggs and sugar and vanilla and a tiny bit of flour to hold it all together .

Some of you may be intimidated by the short crust pastry, or pie dough, but I really encourage you to try it. It is way easier then you think, and I made sure to take pictures at every step so you have a visual.

​​​

Tart Dough

1 cup (half a pound) of Cold Unsalted Butter, cut into chunks

2 cups of AP Flour

about 1/4 cup ice cold water

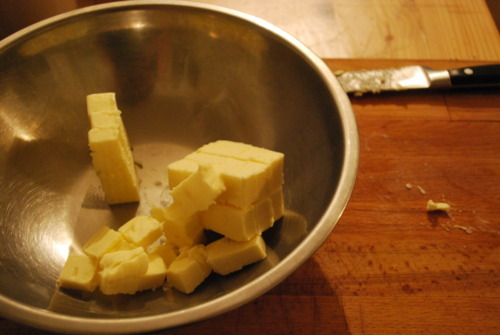
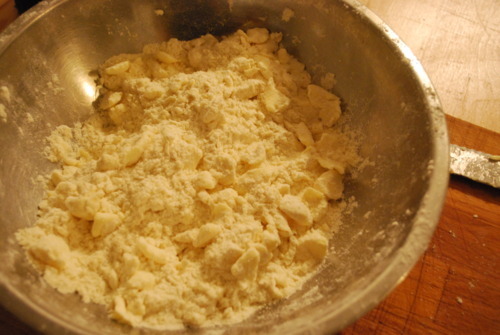
Cut the butter into the flour. That means break it up into pieces. Your not trying to mix the butter and flour, your simply trying to get chunks of butter throughout. If your worried about it, err on the side of making it to big.

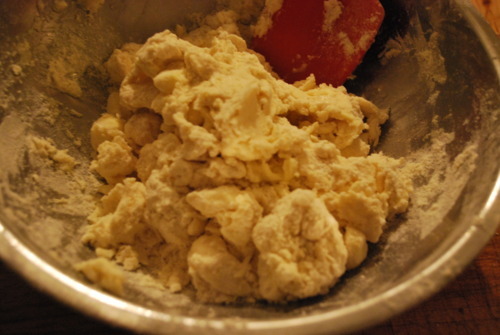
Add in the water, just a tablespoon at a time until it is just barely barely combined. It’s best to have it on the dry side, but if you add a little to much just add a little more flour.

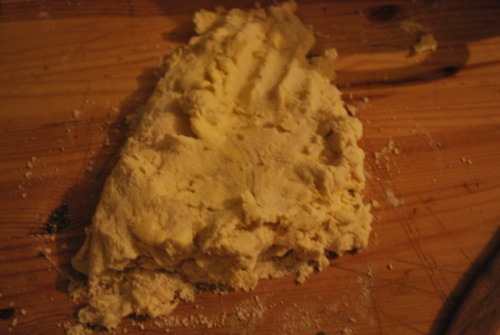
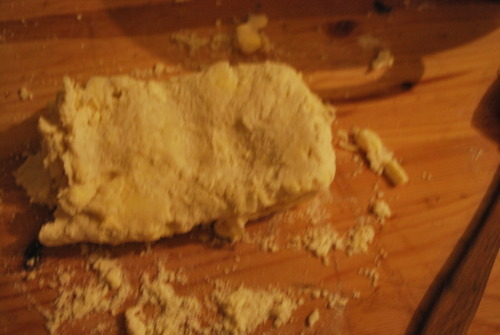
Now flour your counter space and carefully press it into a rectangle. The fold it in half and do it again.

And again, and again, until it starts to feel firm. Your adding layers at this point, making your tart almost in between a pie dough and a puff pastry, which is to saw your making your dough delicious.

Now get it in the fridge for at least an hour, or until it really sets up.

In the mean time:

Roasted Rhubarb

4 cups of chopped rhubarb, about 10 stalks

1 1/2 cups sugar

Preheat the oven to 400F

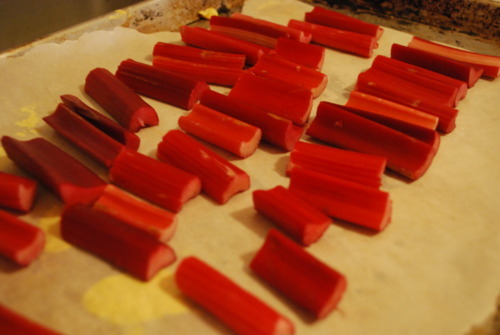
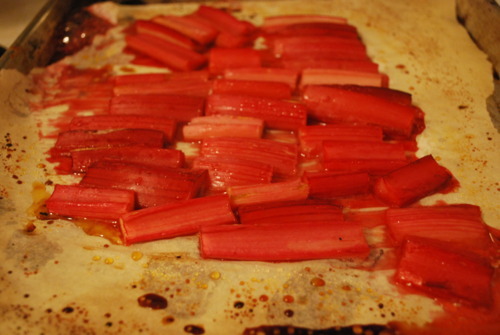
Lay the rhubarb on a parchment lined tray.

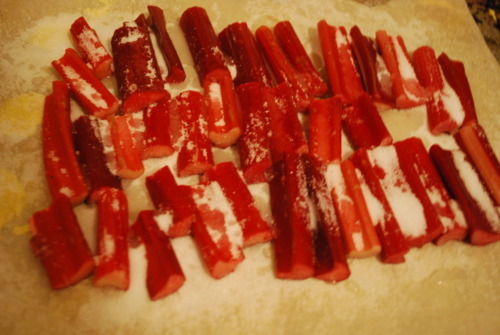
Sprinkle the sugar ontop.

Get it in the oven! Roast it until it starts to get soft but before it breaks down, anywhere between 12-25 minutes depending on the size of your rhubarb

Now make the brown butter pastry

1/2 cup Sugar

2 Large Eggs

1/4 cup AP Flour

1/2 cup Butter

1 tbsp Vanilla

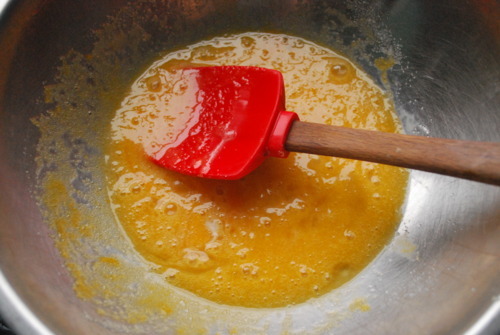
Get your butter in a pot, not a frying pan, it will sizzle up, and cook it on medium heat.

It will get all foamy, then it will get clear again. The it gets foamy again, and you won’t be able to see the bottom well but swirl the pan around and smell it lots. The smell will be like hazelnuts and the bottom will start to get a pretty brown. As soon as this happens get it out of the pot and into a bowl, or it will burn

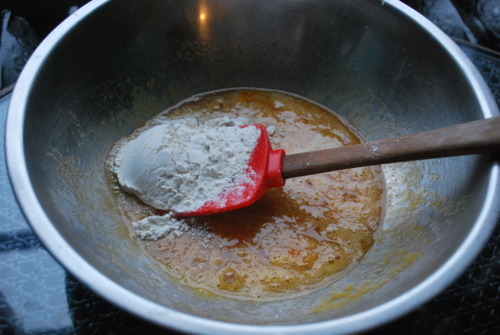
In another bowl get the eggs and the sugar combined. Add in the vanilla.

Add in the butter and then the flour

And now your ready to assemble!

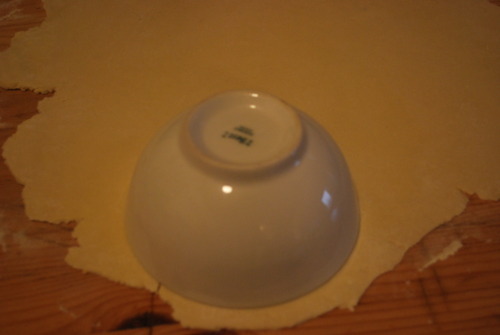
Roll out the dough and cut it out. I didn’t have a round cutter that was big enough so I used a bowl

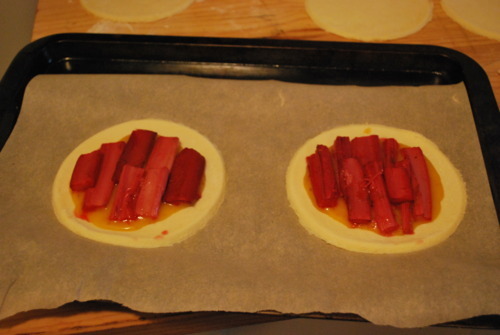
Put about a tablespoon of brown butter mix in the center of the circles. The fill up the space with rhubarb. Make sure you leave space to fold the edges over.

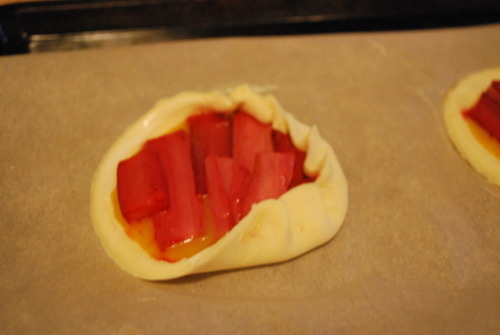
Now fold up the edges

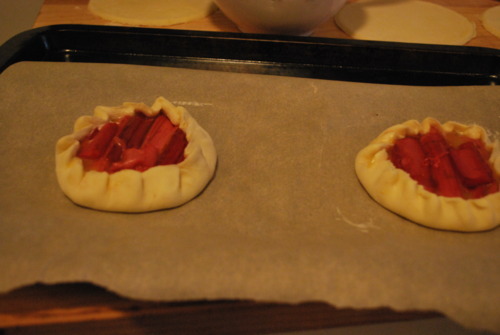
And then finish and put them back in the fridge for another twenty minutes

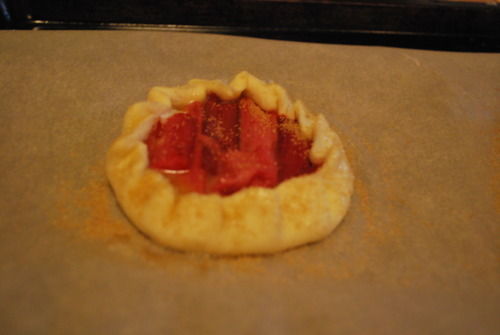
Beat an egg and brush it on the tops of the pastry, then sprinkle some sugar on top.

and bake it up! The pastry will get a lovely brown the rhubarb will caramelize and you will be in pastry heaven!