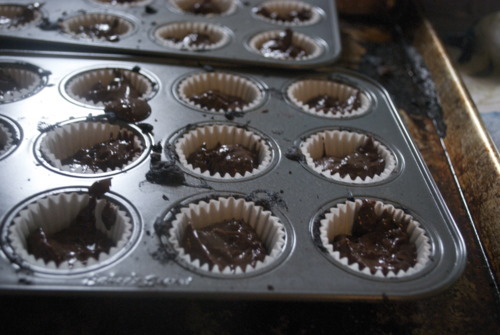
Cupcakes and Shoes

If you like discount shoes and delicious homemade cupcakes check out the John Fluevogs stores on both Granville st. and the Gastown location! Cupcakes made by me, in my tiny apartment in my totally ill equipped kitchen! So here are a few notes, tips and thoughts on making cupcakes, both big batches (like yesteday’s 400) or small.

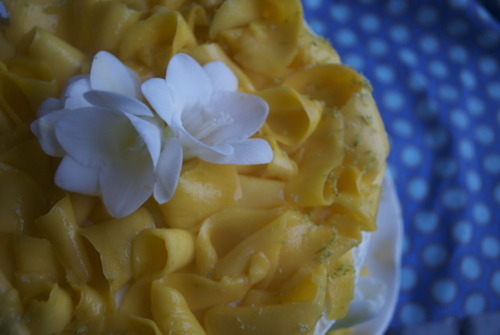
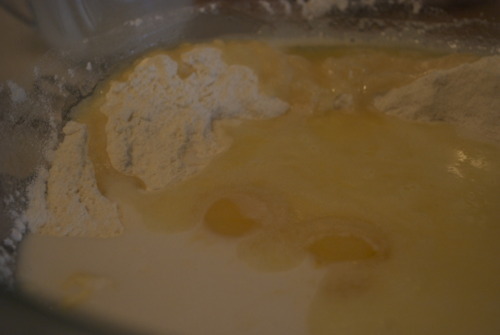
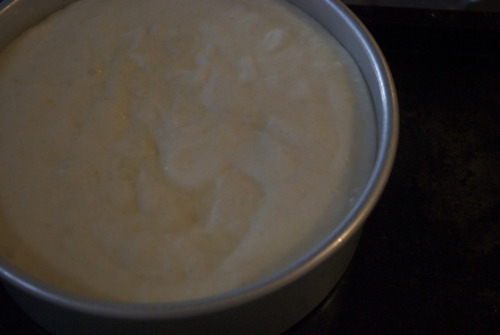
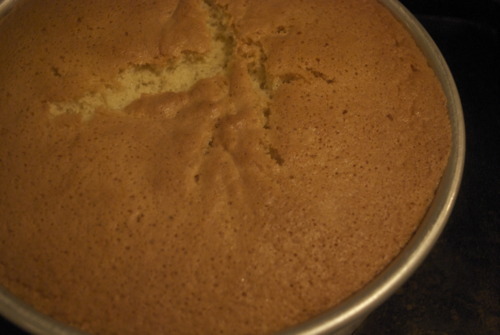
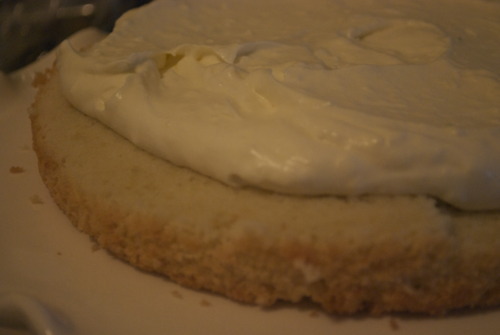
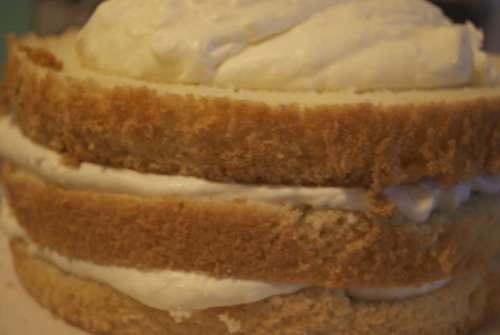
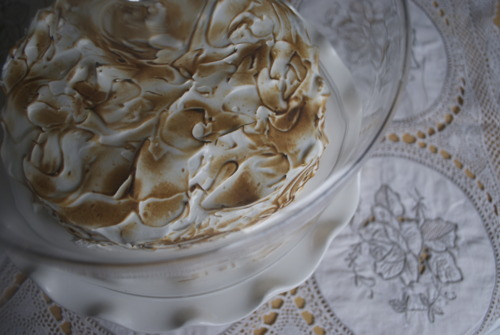
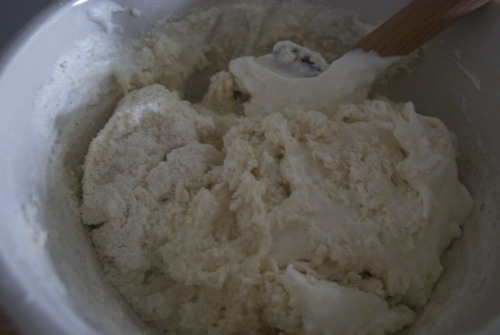
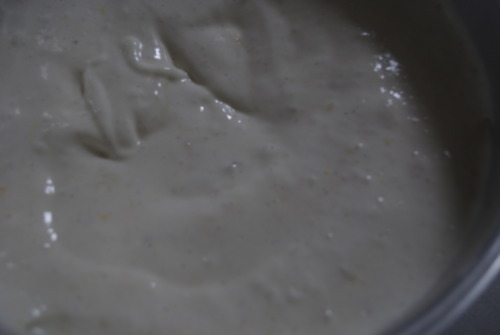
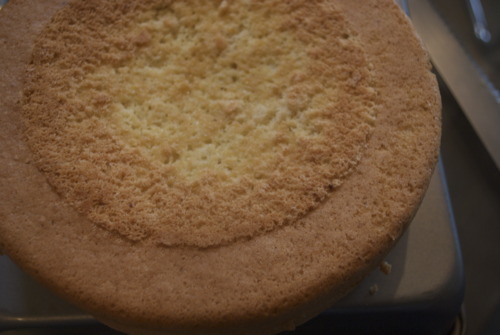
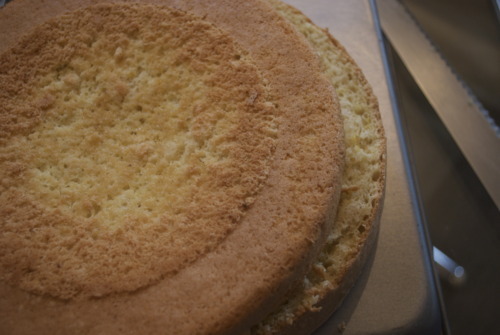
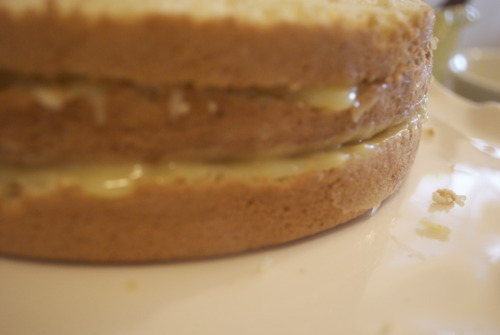
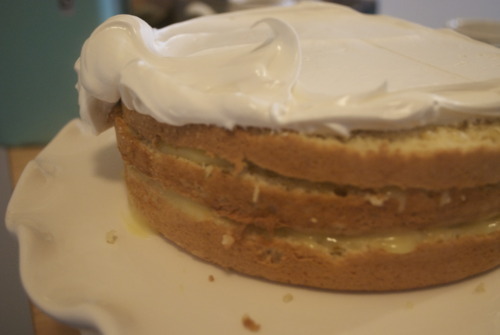
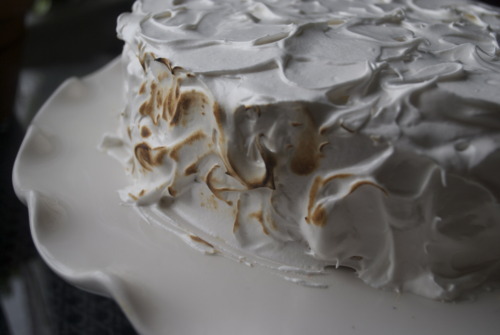
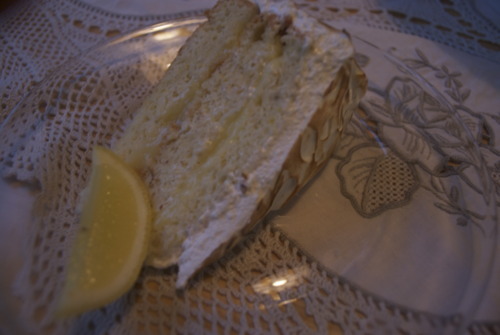
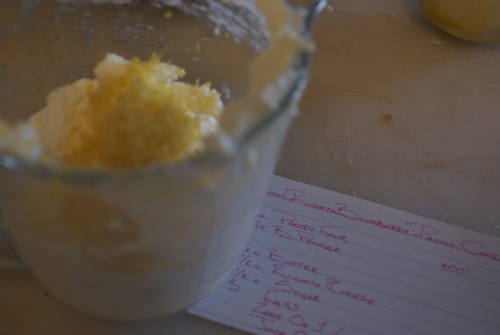
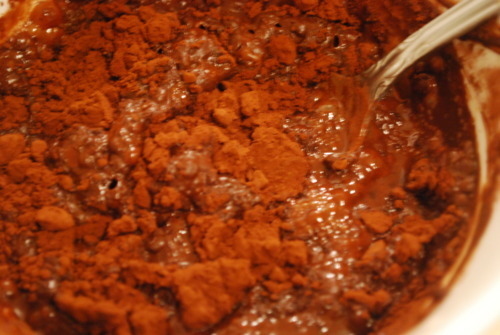
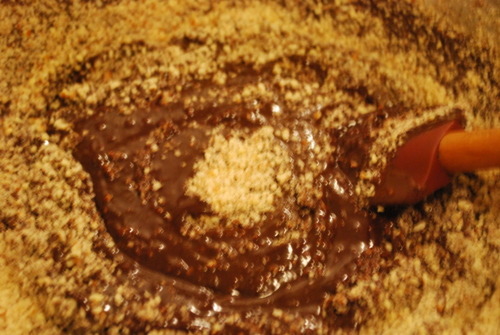
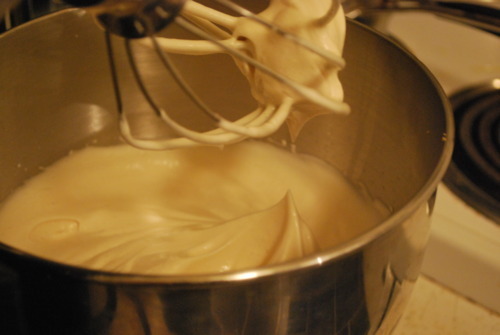
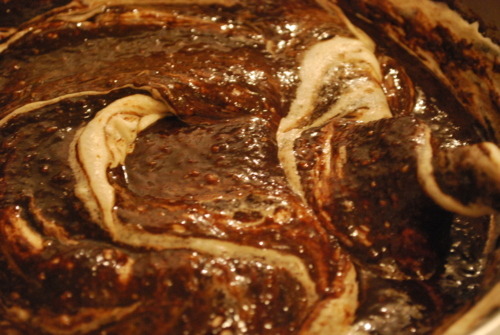
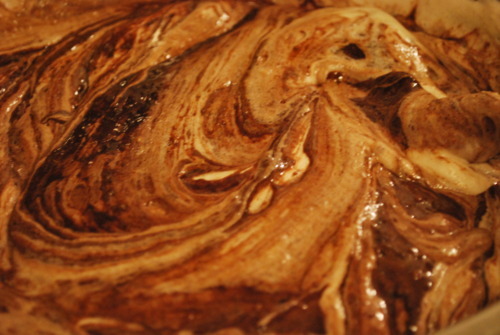
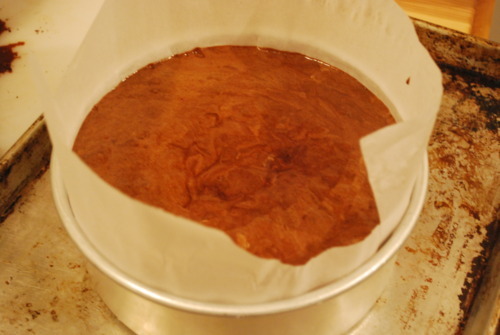
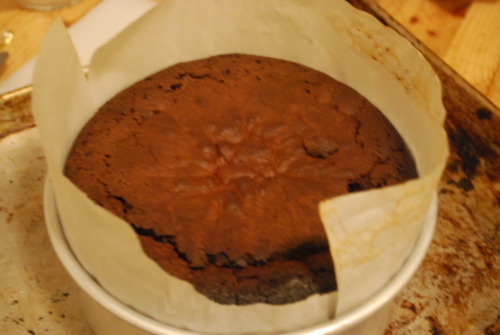
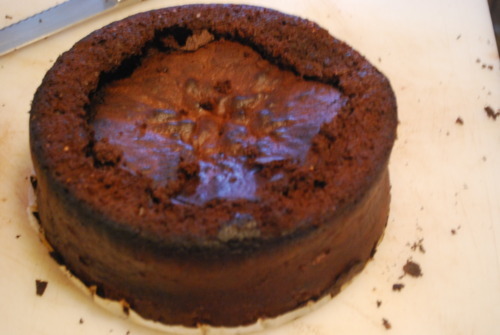
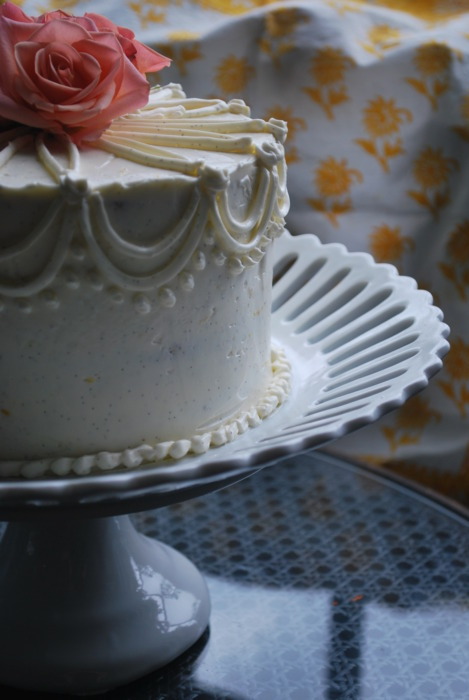
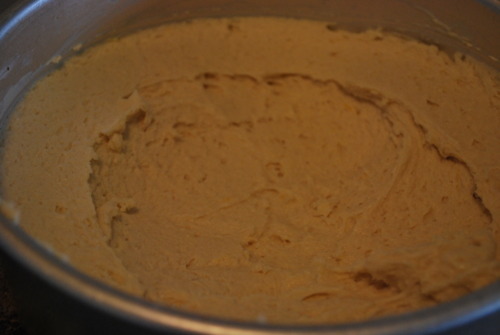
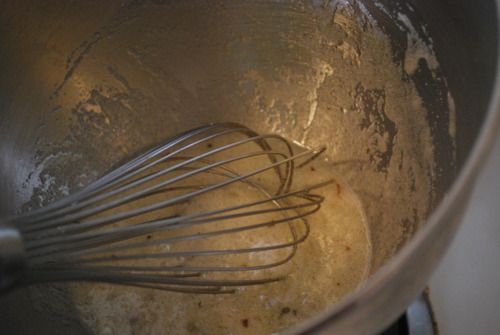
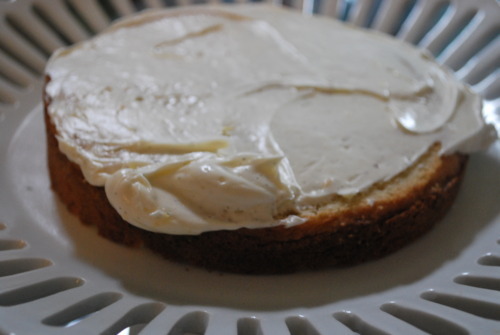
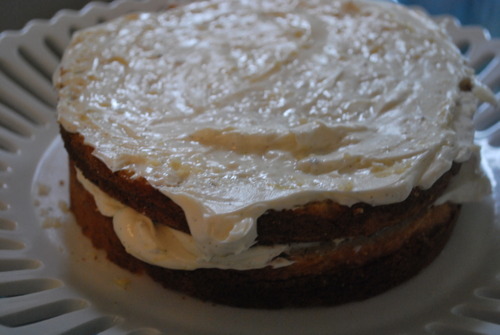
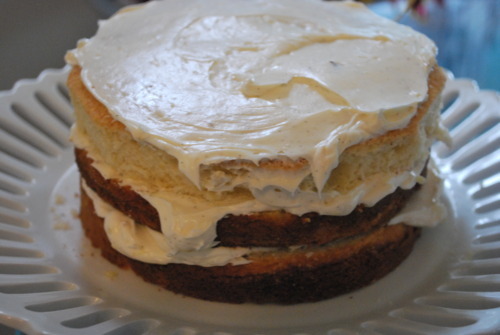
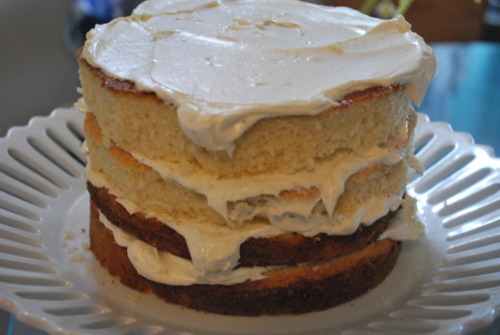
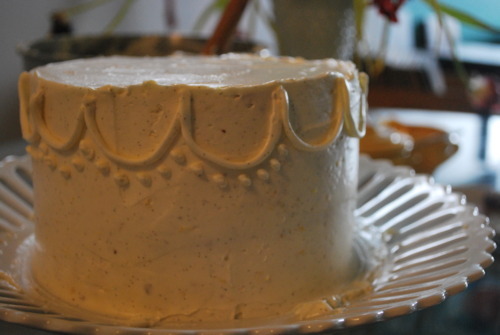
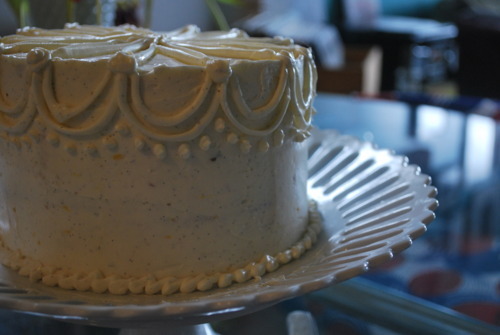
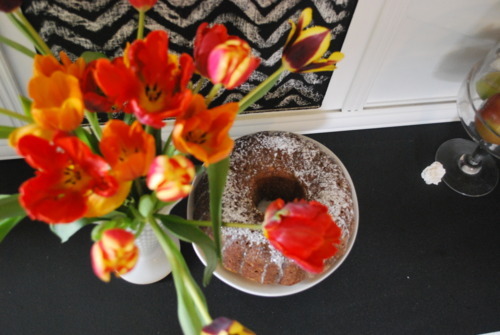
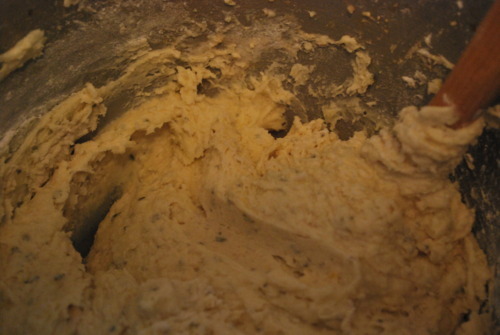
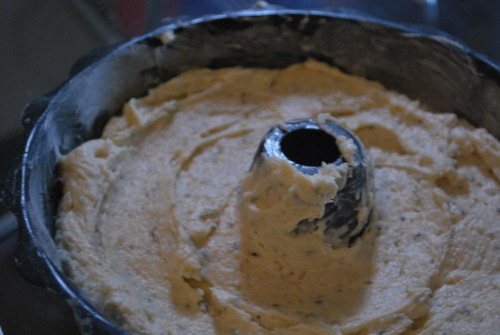
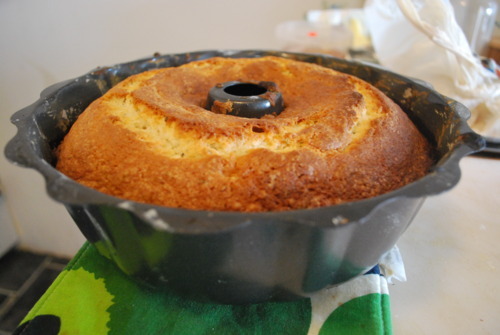
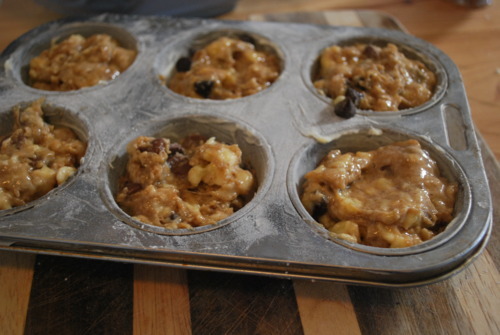
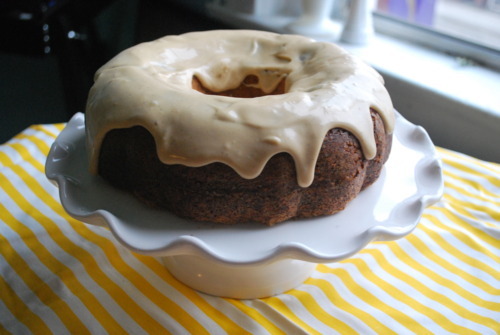
I made recipes that are all on this webiste already, the Red Velvet, Dark Chocolate with Satled Caramel Icing and Vanilla Pound Cake with Vanilla Buttercream.

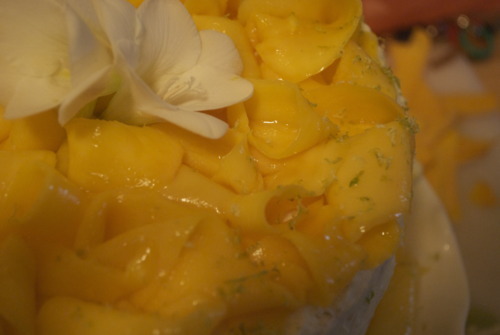
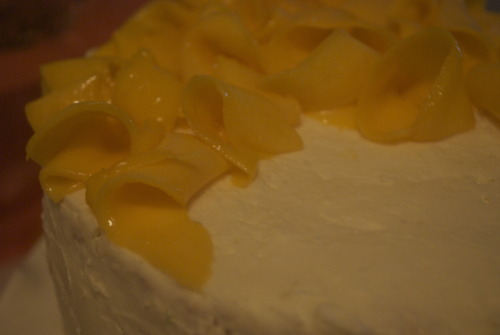
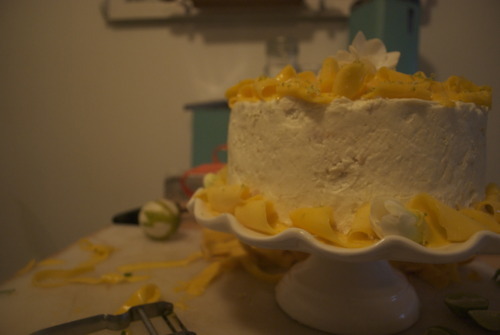
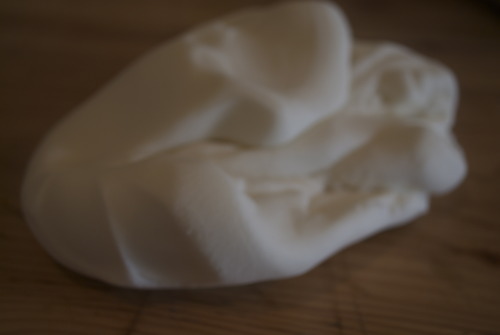
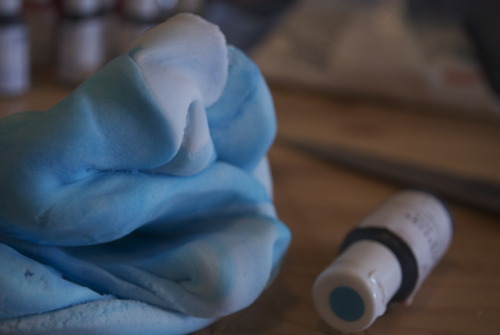
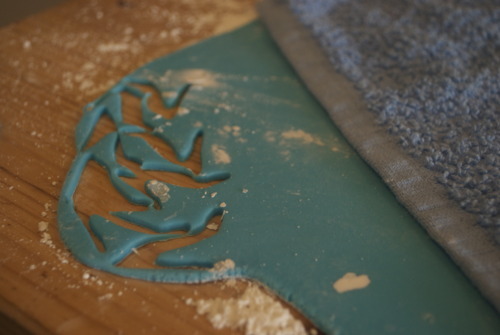
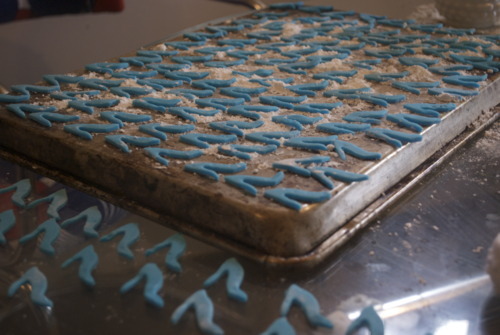
I also cut dyed some fondant blue and rolled it out and cut out little high heels, but this is a really easy way to make a cupcake, or anything, extra cute with, honestly, little skill. It can be time consuming, but its really not hard!

I buy fondant, because I have made it before, and its less consistant, a totaly nuisanse, and not any better. It is cheaper, but I would rather have a product I know I can depend on.

Knead the fondant! Work it, and then work it some more. This process is going to get you a smoother and easier to work with product.

Always use paste food colourings, you’ll get a nicer color and a better texture with your fondant.

Roll out the dough and start cutting, leaving half the fondant covered so it doesn’t try out. Use a metal cookie cutter because they are stronger, thinner and sharper.

And keep going, and keep going, and keep going!

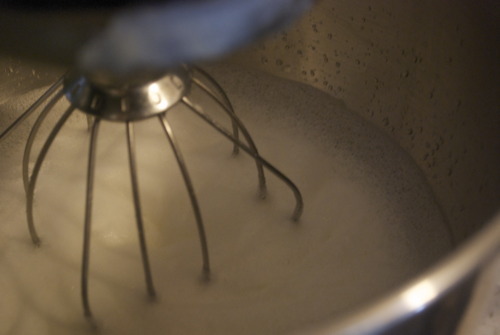
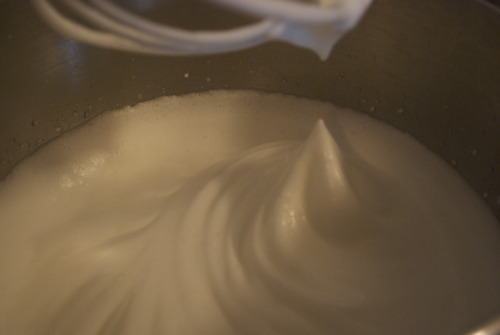
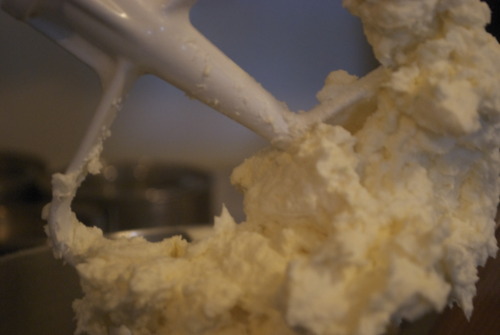
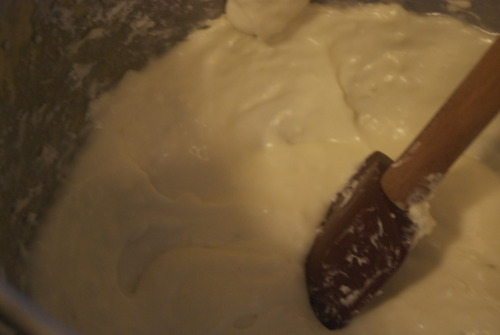
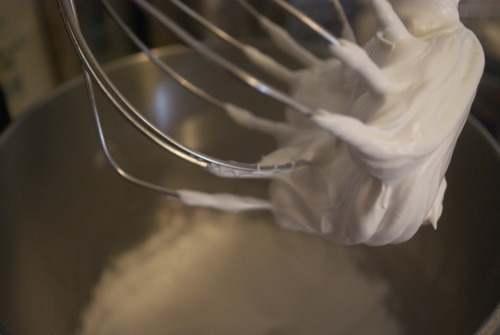
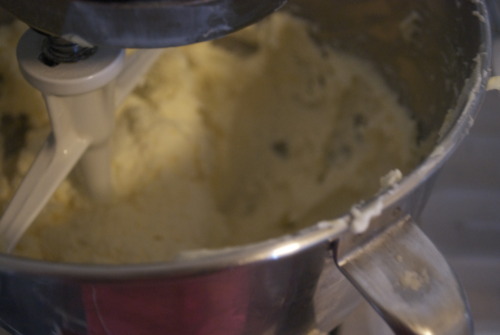
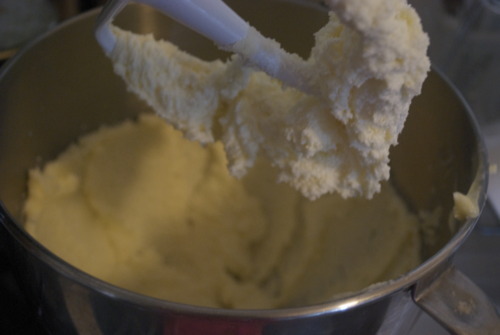
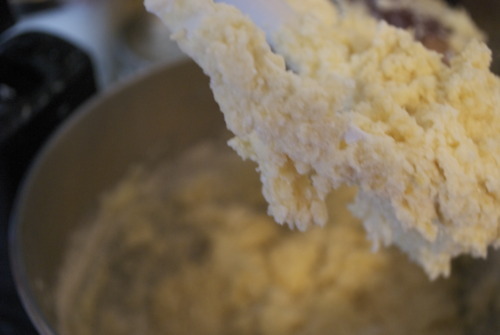
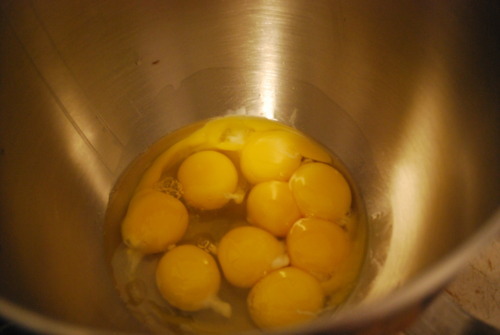
The most important thing is to be organized. What can you do in advance? Icings, fondant cuttings, even weighing out ingredients, this are things that make your life infinitely easier if your doing large batches. Use recipes that you’ve used before and your comfortable making.

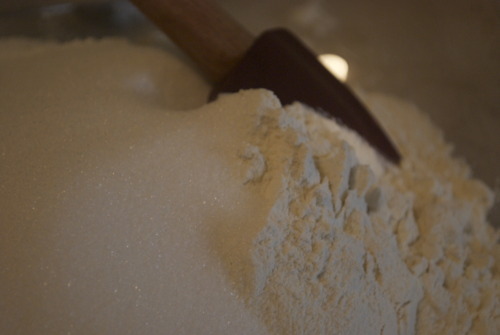
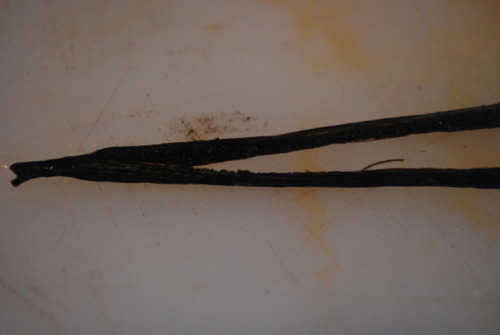
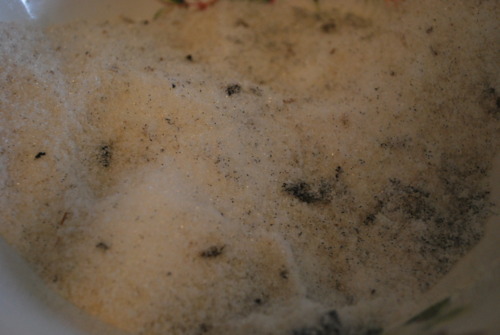
And don’t cut corners. Use real butter, buy good quality vanilla and cocoa powder when ever you can. If you live in Vancouver some tips: I buy my butter at Save on Foods, sometimes its as low as $3.50! I buy my vanilla at Homesense, which is weird I’ll admit, but they often have non perishable food items super discounted, including my favourite brand of vanilla extract.  And I buy my cocoa powder from Dutch Girl Chocolates, just as her for some and she’ll give you a good rate. It’s cheaper then the cheap brands and it’s really really good quality!

Cinco de Mayo Cake

I’ve been a bad blogger lately. I’m sorry friends, I really am.

I’ve been busy. Like, super busy, but thats not a good excuse, everybody’s busy.

I’ve been working lots and lots, and I’ve been eating a lot of take out. I’ve been getting home from work at 6 and going to bed at 9. I haven’t been much fun thats for sure.

BUT I did at least put on a pretty dress and an alarming amount of under eye concealer and go to a Cinco de Mayo Party on Friday. I ate tacos and caught up with girlfriends who I have been neglecting along with my blog. And I made a cake.

It was a good cake.

I had a bunch of coconut buttercream still in my fridge from making these macarons, and so I thought that was thematic enough and made a coconut cake. I was going to frost it with the straight up buttercream but then it wasn’t quite right so I added in some cream cheese a la the Barefoot Contessa. But then it was to heavy so I added some gelatin and folded in some whip cream. The result of this experiment was delicious, and light and very flavourful almost closer to a mousse or a bavarois then icing. So good in fact that’s what I ate for dinner Thursday night.

I was feeling quite pleased with myself until I realized I didn’t take into account that the frosting would set up because of the gelatin and so I put it in the fridge not very smooth thinking I would let it set a little before smoothing it perfectly, but it never did. Fortunately I had a a couple ripe mangos so I peeled them into slivers and put them on top. And then it was very festive, and very pretty, and very delicious.

I’ve toned down the icing a bit, you don’t need to make the buttercream, just a regular cream cheese frosting will do just fine.

Coconut Cake

2 1/4 cup AP Flour

1 1/2 cup Sugar

2 tsp Baking Powder

1/4 cup Butter, Melted

6 Egg Yolks

1/4 cup Water

3/4 cup Coconut Milk, unsweetened

10 Egg Whites

Mix your flour, baking powder, salt and half the sugar together

Mix in all ingredients except egg whites and the remaining sugar.

In the bowl of your standing mixer, or with a good amount of arm muscle, beat the egg whites until frothy.

Then slowly add in the sugar, a tablespoon at a time until stiff peaks form and the meringue is beautiful and glossy.

Fold the whites into the rest of the batter being careful not to over mix. Pour into your prepared pan.

Bake for about 45 minutes, or until an inserted skewer comes out with only a few moist crumbs and it looks like this:

Cool and cut the cake into 3 horizontal layers.

Coconut Syrup

1/2 cup Coconut Milk

1/3 cup Sugar

Zest of half a lime,

Mix all ingredients in a pot and bring to a simmer until all the sugar is dissolved, cool.

Cream Cheese, Coconut, Icing-Mousse

120z Cream Cheese

1/2 cup Butter, Room Temperature

3 Cups Icing Sugar

1 cup Shredded Unsweetened Coconut

1/2 cup Coconut Milk

1 cup 35% Cream, whipped to stiff peaks

Cream butter and sugar together. Slowly add cream cheese piece by piece until all combined. Mix in coconut.

Soak gelatin in coconut milk for 5 minutes.

In a small pot heat them until the gelatin has dissolved.

Slowly add the gelatin mixture into the cream cheese mix.

Fold the cream into the frosting. Use immediately.

Immediately get the bottom of layer of cake onto your cake stand or plate.

Brush with the coconut milk mixture and then spoon on a big glop of the icing.

Keep going with all the layers.

And then do the outside!

Then smooth it as best as you can, I mised that step as you can see.

Take  a couple mangos and peel them with a vegetable peeler. And then keep peeling them into strips.

Then artfully twist and twirl the mango on to the the top of the cake and the bottom around the edges.

I then grated some lime zest around the edges and put some flowers on the top. Et voila!

Lemon Meringue Cake

When I was about 7 or 8 and at the height of my Fimo Clay stage (before the water colour phase but after the decoupage stage, and concurrent with the make your own hair clips phase) my sister was at the height of her Martha Stewart phase.

Oh Martha.

I’m not sure an 11 year old has ever loved Martha like my sister.

So, when the Easter edition of the magazine came out that year with Peter Rabbits Garden cake on the cover, a simple carrot cake, with Oreo crumbs on top and carefully placed vegetables made out of marzipan in artful rows, we knew we had met our match.

Nina baked the cake and made the fondant white picket fence while I painstakingly dyed all the veggies (we couldn’t find paste food colouring so I would mix the colours really brightly and then let them dry out for a few hours and then go back to making them so the consistency would be better.) I painted the bottoms of cabbages a deep purple and let the edges stay a crisp green, I laboured for weeks on that cake.

When it was done we brought it over to our Aunt and Uncles house, and when it arrived to the table, my sister told them that she had done it all.

So I did what I always did in such occasions, I ran and locked myself in the bathroom crying hysterically and promising never to come out.

Which is all a long way of saying that every Easter after that my mom made a basic white cake in a cake mold shaped like a lamb and covered the whole thing with shredded coconut and called it a day.

So when I volunteered to bring desert for Easter dinner last week I had no idea what to bring. Was coconut cake traditional? There’s nothing fresh to make pies with, no fruits to fill layers of angel food cakes, no anything really. Until I realized of course that I have lemon curd in my fridge.

So it may not be overly festive but hot damn this cake was good.

It will last a day or two in the fridge so you can make it the day before and relax about it. It’s quite showy with the burnt edges but it’s really beautiful without, if you don’t have a blow torch, or the patience to do it all with a BBQ lighter. But most importantly, it’s fresh, and light, and not to sweet and not to heavy, so it makes a wonderful end to a big meal.

Lemon Meringue Layer Cake

Angel Food Cake- recipe follows

1 cup Lemon Curd- you can half this recipe for it.

Italian Meringue- Recipe follows

Angel Food cake

10 Egg whites

1 1/2 cups Sugar

1 cup Pastry Flour

1/2 tsp Salt

1/2 tsp Cream of tartar

1 1/2 tsp Vanilla

Zest of 1 Lemon

Tip: when your seperating this many eggs at once, have 2 bowls for your whites and one for your yolks. As you separate them, put the yolks in the bowl and then transfer the whites over individually. That way if one of the yolks breaks and it gets in the white, you only lose one egg instead of the whole batch.


Preheat oven to 350F

Sift 1 cup of sugar with the pastry flour and the salt.

In the bowl of a standing mixer fitted with the whisk attachment whisk the egg whites, cream of tartar, vanilla, and lemon zest until soft peaks.

Slowly add in the sugar teaspoon by teaspoon until all the sugar is incorporated and the when you bring the whisk up the egg stands at stiff peaks.

Carefully fold the flour into the meringue.

And pour it into an unlined ungreased 9 inch round pan without a detachable bottom.

Bake for about 30 minutes or until it has risen nicely and an inserted skewer comes out with only a few moist crumbs. Immediately turn the cake upside down and let it cool completely inside the the cake pan, upside down. When cooled remove.

Cut the cake into 3 layers.

Spread a thick layer of curd in between each layer.

Italian Meringue

3 Egg Whites

1/2 cup Sugar

Over a small pot filled with an inch of simmering water whisk the egg whites and the sugar until it is quite hot to the touch. (Sorry, I forgot to take a picture of this stage.)

Pour the mixture into the bowl of your standing mixer fitted with the whisk attachment and whisk until nearly cooled and very light and glossy.

Immediately smooth over cake.

Be generous in your icing and allow for lots of artful swoops.

Then carefully with a blow torch on medium or a BBQ lighter burn the edges of the cake.

And then eat!

Leftovers

The inimitable MFK Fisher who revolutionized food writing from the 1930’s all the way to 1990’s wrote a wonderful essay about leftovers. Of course now that I am looking for it to quote it, it is lost somewhere in a book shelf and I can’t give you anything concrete but the basic idea of it was, that anyone can go to the store, buy ingredients, follow a good recipe and make a good meal. And this is true. But, she argues, it takes a good creative cook to look into her fridge and say, “Well, I’ve got a little bacon, some leftover squash, a tomato, and half a bottle of wine” and turn it into something delicious. And then, in her wonderful honest, not at all pretentious way, tells us that its a better way to cook, a more exciting way to cook, and a more satisfying way to cook.

Ever since reading that I think about it all the time. It’s so nice to make a meal out of things you thought you might throw away!

So yesterday when I looked in my fridge and saw half a bag of frozen blueberries, three quarters of a tub of ricotta that expires in 2 days, a lemon past it’s prime and 4 things of butter with a few tablespoons in each, I knew I could make it into something. In fact, I might just start keeping these things around to make this cake again but it was seriously good.

It is very very moist, not to sweet from the lemons, and the blueberries add a little something that makes it taste like summer.

So here it is, Blueberry Ricotta Bundt Cake.

3/4 cup Butter, Softened

1 1/2 cup Sugar

3 Eggs

1 cup Ricotta

1 1/2 cup AP Flour

1 tbsp  Baking Powder

1 tsp Baking Soda

Juice of 2 Lemons

Zest of 1 Lemon

Cream butter and sugar until light and fluffy

Add in ricotta and lemon zest.

Add in the eggs one at a time, scraping down the sides of the bowl in between each addition.

Add in the ricotta and the lemon zest.

Add in the lemon juice, and then the dry ingredients. Do not over mix.

Mix in the blueberries and spoon into the prepared pan.

Bake until an inserted skewer comes our with only a few moist crumbs, about 45 minutes.

Flip it out onto a a plate and let cool, slice it and eat it up!

Gluten Free and Better For it!

Gluten free has a bad name. And maybe rightly. There are so many terrible wheat free alternatives out there. Bread made with rice flour just isn’t good, I’m sorry celiacs it just isn’t. Foods that shouldn’t be gluten free but try almost always fall flat. However, there are lots of traditional french baked goods that aren’t supposed to have wheat, that use things like ground almonds that are amazing. They don’t try to be something that they aren’t, and they’re better for it. Such is the case for this sensational flourless chocolate hazelnut cake.

I have long debated putting this recipe up here because it isn’t my recipe, it is an extremely talented woman named Mary McIntyre who owns a wonderful cafe called Little Nest. But then I realized that she in fact has already published it in a a book which makes me feel that it’s okay.

I have made a couple changes, I use hazelnuts instead of almonds, and I use more vanilla extract. But this is a a very forgiving recipe, it’s super dark and intense without being fudgy, it’s still light somehow, its just generally wonderful. Seriously, make this cake.

Chocolate Hazelnut Cake

6 eggs, seperated

2 cups Brown Sugar

225g Butter

225g Good Dark Chocolate

1/2 cup Cocoa Powder

1/2 cup Hot Water

1 1/2 cup Ground Hazelnuts

Preheat oven to 350F

Line an eight inch round spring form pan with parchment paper

Melt butter and chocolate in a double boiler.

Add in the egg yolks.

Add in one cup of sugar, the ground hazelnuts, and cocoa powder.

Add sugar and hazelnuts.

In an electric mixer with the whisk attachment whip egg whites until soft peaks form. With the mixer still on slowly add in the brown sugar until it’s shiny and stiff peaks form.

Scoop one third of meringue into chocolate batter and fold in.

Add in the rest of the meringue and fold until barely combined.

Pour batter into prepared pan,

Cook until an inserted skewer comes out with only a couple moist crumbs about an hour.

Allow to cool in the pan. It will sink, do not panic!

Turn it upside down and your in business!

Cake and Roses


I have lived in Vancouver for 4 years now but I’d be lying if I said I didn’t miss Toronto sometimes. I miss the hot hot summers, the bustling streets and the art galleries and museums. But not even a tiny part of me misses Toronto in March. It is a hideous time in Toronto, all sludge and grey sky’s and, while we may have clouds in Van, we also have cherry blossoms. It is overwhelming how beautiful the streets of East Van are these days. Whole streets are pink with petals. East Vancouver may have a bad reputation but my goodness there is no nicer place on earth in early spring than the side streets of Commercial Drive.

So when I was asked to make a birthday cake this weekend I knew it would be have to be girly and floral, because all I can smell is flowers and all I can think of is summer. So here is a pound cake with vanilla rose buttercream. It’s unbelievably moist with lots of vanilla and just a hint of lemon. And a hint of rose too. Because it’s spring, and there’s something very romantic about spring.

Vanilla Pound Cake

1c Butter

2 1/4 cup Sugar

3 3/4 cup Pastry Flour

1 tsp Salt

2 tbsp Vanilla

Zest of 1 Lemon

3 Eggs

1 cup Buttermilk

Preheat oven to 350F

Butter and flour 2 7 inch cake pans

In a mixer with the paddle attachment cream Together butter and sugar until light and fluffy, about 5 minutes

Add in the eggs one at a time beating well between each addition.

Add in the zest and the vanilla extract beating again for another minute.

Add in one third of the dry ingredients, then half the buttermilk.

Repeat again until all the ingredients have been just combined, do not overmix.

Spoon into prepared pans

Vanilla-Rose Buttercream

1lb Butter, room temperature

8ox Sugar

4oz Egg Whites

2 Vanilla Beans

2 tsp Rose Water

Zest of one Lemon

Split the vanilla beans in half and scrape our the seeds out.

Break up the beans in a metal bowl with the sugar. Just squish them together, the abrasiveness of the sugar will do this easily.

Mix the egg whites into the sugar and set over a small pot of water on medium high heat on the stove. Whisk.

Keep whisking until it is frothy and is hot to the touch.

Remove from heat and pour mixture into the bowl of an electric mixer. Whisk on high for about 5 minutes or until stiff peaks appear and the mixture is very glossy.

On medium speed whisk in butter knob by knob. If it starts to look split don’t panic, just add in a big chunk of butter and it should come back. Add in the lemon zest, the rose and a bit of vanilla if you think you need more. Taste and make sure the rose is strong enough for you (sorry I forgot to take a picture at this point)

Now cut the cakes in half lengthwise.

Put a dob of icing down on your cake stand and put your first layer of cake down. put a thick layer of icing on top and spread it out with a spatula.

Then coat the outside with a thin layer of icing and refridgerate until cool and solid.

Now ice it however you’d like!

Fresh Herbs Baking

This past week, after realizing how much money we spend on fresh basil, parsley and rosemary, we planted an herb garden. Our window in the living room is now ful lof cute pots and mason jars turned into holders for the basics like rosemary and mint but also hard to find herbs like chervil, lemon thyme, and lavender. I am thrilled.

So imagine my joy when I open my Martha Stewart and there’s a whole article on cooking with fresh herbs! Oh Martha, you always know whats best for me.

There were some good looking recipes, like the Vietnamese pork with mint, but the one I was dying to try was the rosemary pound cake. Simple and not over complicated it’s the perfect cake with tea or maybe a spoon of creme fraiche if your the sort to keep that around.

I did make some changes, I didn’t add the egg white in, mostly because I forgot but I think it turned out beautifully without, I added in some lemon zest and more vanilla, and then changed the glaze around a bit. But it was delicious.

I made it yesterday morning and brought in half of it to work and then came home and pondered what to do with the rest (for the sake of my arteries keeping it at home seems like a bad option) and then our amazing friends called us up last minute for dinner and I felt like a 50’s housewife “Oh perfect! We can bring this cake I just happened to bake this morning” And that friends, is ridiculous.


Rosemary Pound Cake

1cup Butter

2 1/4cup Sugar

2tbsp Chopped Rosemary

Zest of one lemon

1tbsp Vanilla

3 Eggs

3 3/4 cup Pastry Flour

1tbsp Baking Powder

1 cup Milk

Rosemary Honey Glaze

1/2 cup Honey

2 Springs Rosemary

1/2 Lemon

1 cup Icing Sugar

To bake cake:

Preheat oven to 325F

Butter and flour a bundt pan or 2 leaf pans

Cream butter and sugar together until light and fluffy.

Add in rosemary and zest until completey combined.

With your mixer on medium high speed add in the eggs one at a time beating well between each addition.

Bring the mixer down to low speed and pour in 1 third of the dry ingredients. Then add half the milk and vanilla. Continue alternating until all the ingredients are mixed ending with the dry. Do not overmix.

Spoon into pan and bake until an inserted skewer comes out with only a few moist crumbs, about 45 minutes.

Turn out of the pan and cool

Meanwhile For the Glaze:

Put rosemary and honey in a pot and let simmer for about 10 minutes

 Allow to cool.

Take out rosemary and add in lemon. Sift in icing sugar and stir.

Add more lemon or milk if nescassary until a good runny consistency happens.

Pour over cooled cake and eat right away.

Chocolate for Breakfast

We got a car this weekend! Well, the man of the house got a car this weekend. Clearly, as I don’t even have my learners permit, I am not using the car much, BUT it does mean that we can go hiking and and canoeing and kayaking and really start enjoying the great outdoors that Vancouver is so famous for. Which is tres exciting. I can not wait to be spontaneous about hopping in the car and getting out to the ocean or up into the mountains and just generally living a healthier life style. Which is great because perhaps it will start to balance out my daily butter intake.

Which is all a long way of saying that I’m feeling inspired to get at least my breakfasts on a healthier track. Que the banana muffin.

It’s moist, it’s full of chocolate chips, it lasts at least 4-5 days without tasting stale if you keep it in a closed container. And on top of all that these are made with whole wheat flour and of course bananas which make them pretty healthy. The icing on the cake is that they’re also delicious. Pun intended.

I used whole wheat pastry flour. If you can’t find it you can sift regular whole wheat flour to sift out the whole wheat germ. Or you can keep it in but it will be denser and chewier.

Banana Muffins

1 1/2 cup Whole Wheat Pastry Flour

1 1/2 tsp Baking Soda

1 tsp Cinnamon

1 tbsp Vanilla Extract

1 1/2 cups Mashed Bananas (about 4)

3/4 cup Brown Sugar

1/2 cup Butter

1 Egg

1/4 cup Buttermilk

1 cup Chocolate Chips

Melt Butter in a pan. Continue to cook until it gets brown on the bottom and it starts to smell like hazelnuts. Immediately remove from heat and pour into a container.

Preheat oven to 350F

Line 12 muffin cups with liners or butter and flour them.

Mix all dry ingredients except chocolate chips in a bowl

Add in all wet ingredients and mix until barely combined

Add in chocolate chips and fold in until just mixed through.

Spoon batter into prepared muffin tins about 3/4 full

bake until an inserted skewer comes out clean, about 20 minutes.

Eat Eat Eat!

Olive Oil


Sometimes I worry that, despite never gaining weight, Jordan will die at 35 from eating to much butter and salt. I have low blood pressure, so I am okay in the salt department but, I do eat an alarming amount of butter. But it’s better with butter! It is. But sometimes I think maybe I should eat more vegetables and exercise more. I was thinking this the other day as I struggled into my skinny jeans. So I decided to make olive oil cake. Practically health food right? I mean olive oil helps prevent heart disease. Genius.

So instead of spending 17 dollars to go to hot yoga I spent 14 on good fruity olive oil and baked a cake. Yes friends, I am not only healthy but also frugal.

Then I made a really amazing icing with some kumquats because I am the sort of person who keeps kumquats handy, just in case. But if you are not similarly obsessive regular old oranges would be lovely too. I didn’t plan on it being a burnt orange frosting but, well, I burnt it, and it smelled so good burnt I just decided to go with it. And I’m glad I did.

1 cup extra-virgin olive oil
3/4 cup all-purpose flour
2-1/2 teaspoon baking powder
1/2 cup flour
1/2 teaspoon salt
1/4 cup brandy
3 extra-large eggs
6 extra-large egg yolks
2 cup sugar
1 tsp vanilla extract

Preheat oven to 350F

Butter and flour a bundt pan or a 8 inch round cake pan

Sift together dry ingredients.

In an electric mixer fitted with the whisk attachment mix eggs and yolks and beat on high speed until light and fluffy, about 7 minutes.

Slowly pour in sugar and continue to beat for another minute

Very slowly pour the olive oil and brandy and vanilla into the the bowl, letting it drip against the side of the bowl to prevent it deflating as much as possible.

Remove bowl from mixer and fold in dry ingredients by hand.

Pour into prepared pan and bake until an inserted skewer comes out with only a few moist crumbs, about 35 minutes.

Let cool for about 5 minutes in the pan, the carefully invert it onto a wire rack and allow to fully cool before icing

Burnt orange frosting

1 cup sugar

2 cups water

5 Kumquats, sliced, or the zest of 2 Oranges peeled with a vegetable peeler into thick strips.

1 cup Icing sugar

3-4 tbsp Whipping Cream

1 vanilla bean split in half and seeds scraped.

Bring sugar and 1 1/2 cups of water to a boil. Add in kumquats or oranges and vanilla bean and seeds and cook on high heat.

Let oranges begin to soften and become translucent.

After about 20 minutes the mixture will begin to caramelize.

Don’t stir it! Let it get a deep amber and the oranges start to get dark

Take off the heat and immediately add in the remaining half cup of water. Be careful, it will boil up!

Strain and allow to cool.

Mix in the icing sugar and as much cream as needed to get to the right consistency.

Drizzle over cake and serve it up!