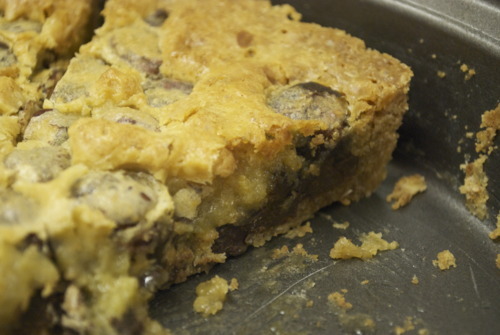
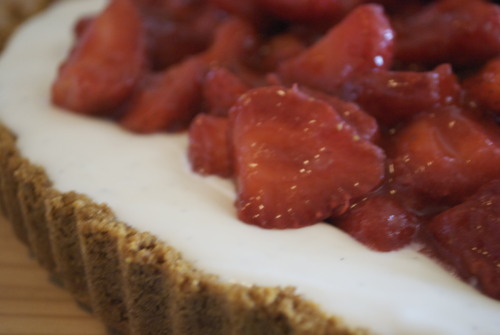
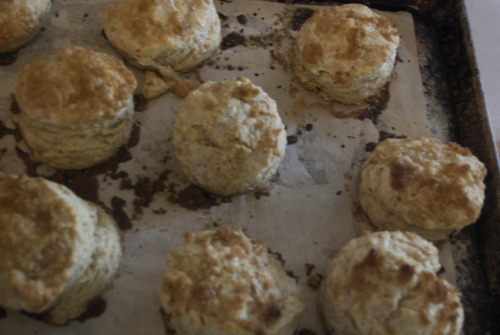
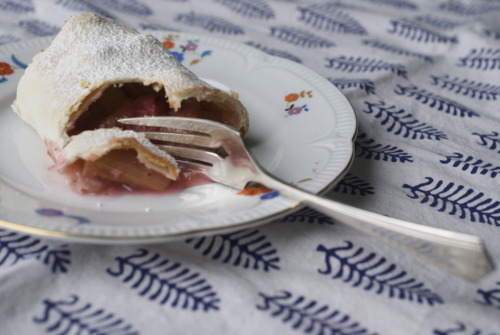
Chocolate Chip Peanut Butter Cookies
/
If you are lucky enough to actually like the family you were born into, I highly recommend not leaving the city they live in. Because if you do, the chances of you falling in love are very high. With a person, or with a city, or with a job and then you will be stuck. Stuck in a city, with a person and a job that you are in love with, which is, by most measures, is a pretty fabulous situation to be in. But if you are lucky enough to actually like the family you were born into, there will always be a part that is missing.
That’s how it is for me at least. I absolutely love Vancouver, and I can’t put into words how wonderful Jordan is, and I get giddy every time I think about how I work for myself. But it is tough sometimes, and never more so than right after I’ve visited home. I’ve been super lucky lately, my Mom came out to visit this summer for a whole week, and then I got to visit my whole extended family in Boston a month ago, and last weekend I was back in Toronto for a family wedding. By all accounts, I’ve seen more of my family than I usually do, but somehow that just makes it harder. It’s always so perfect when we’re all together, and now I’m here thinking about how I’m not sure when I’ll see them again, Which is a miserable situation.
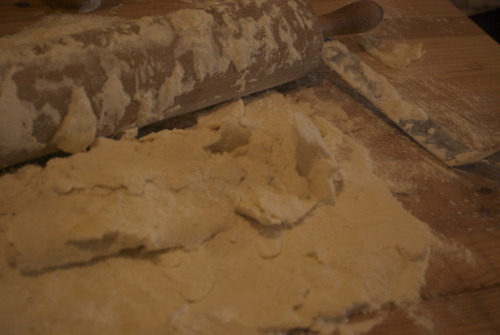
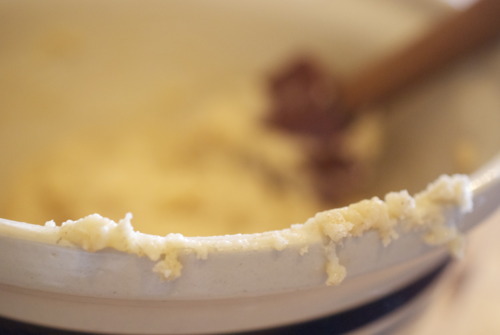
And whenever I’m this hopeless and lonely, the only thing that does any good is to make cookies. Not fussy cookies, not fancy cookies, and not anything wild or crazy cookies. The kind of cookies I can imagine my Mom baking, the kind that you just drop on a pan and they turn into soft and caramel-y and glorious sweet bits of comfort that make everything a little bit better.
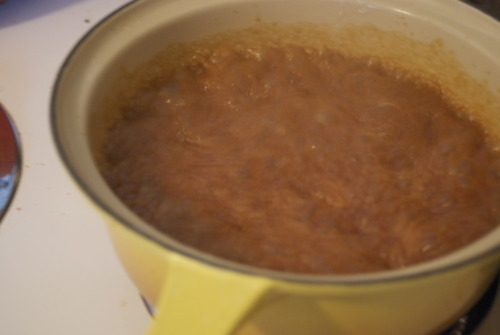
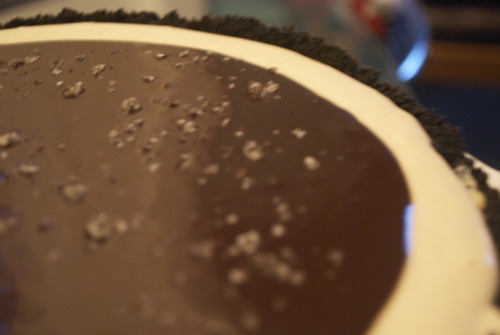
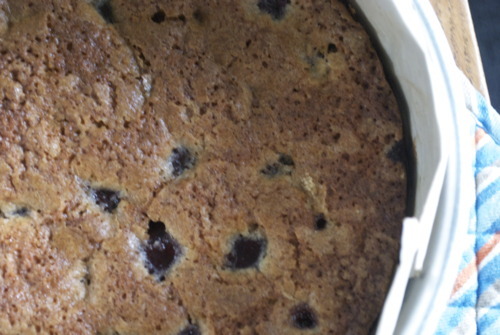
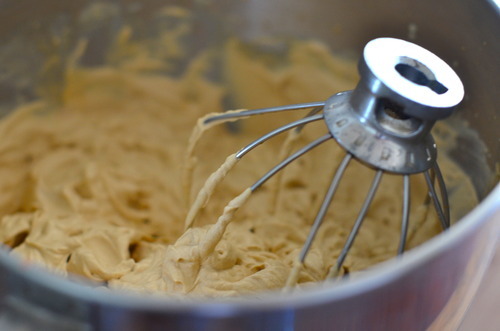
These cookies in particular are especially comforting. They are full of brown sugar and chocolate and copious amounts of peanut butter and sprinkled with Maldon salt on top for crunch. It will make you feel better when you’re sad, and that’s about all you can ask for from a cookie I think.
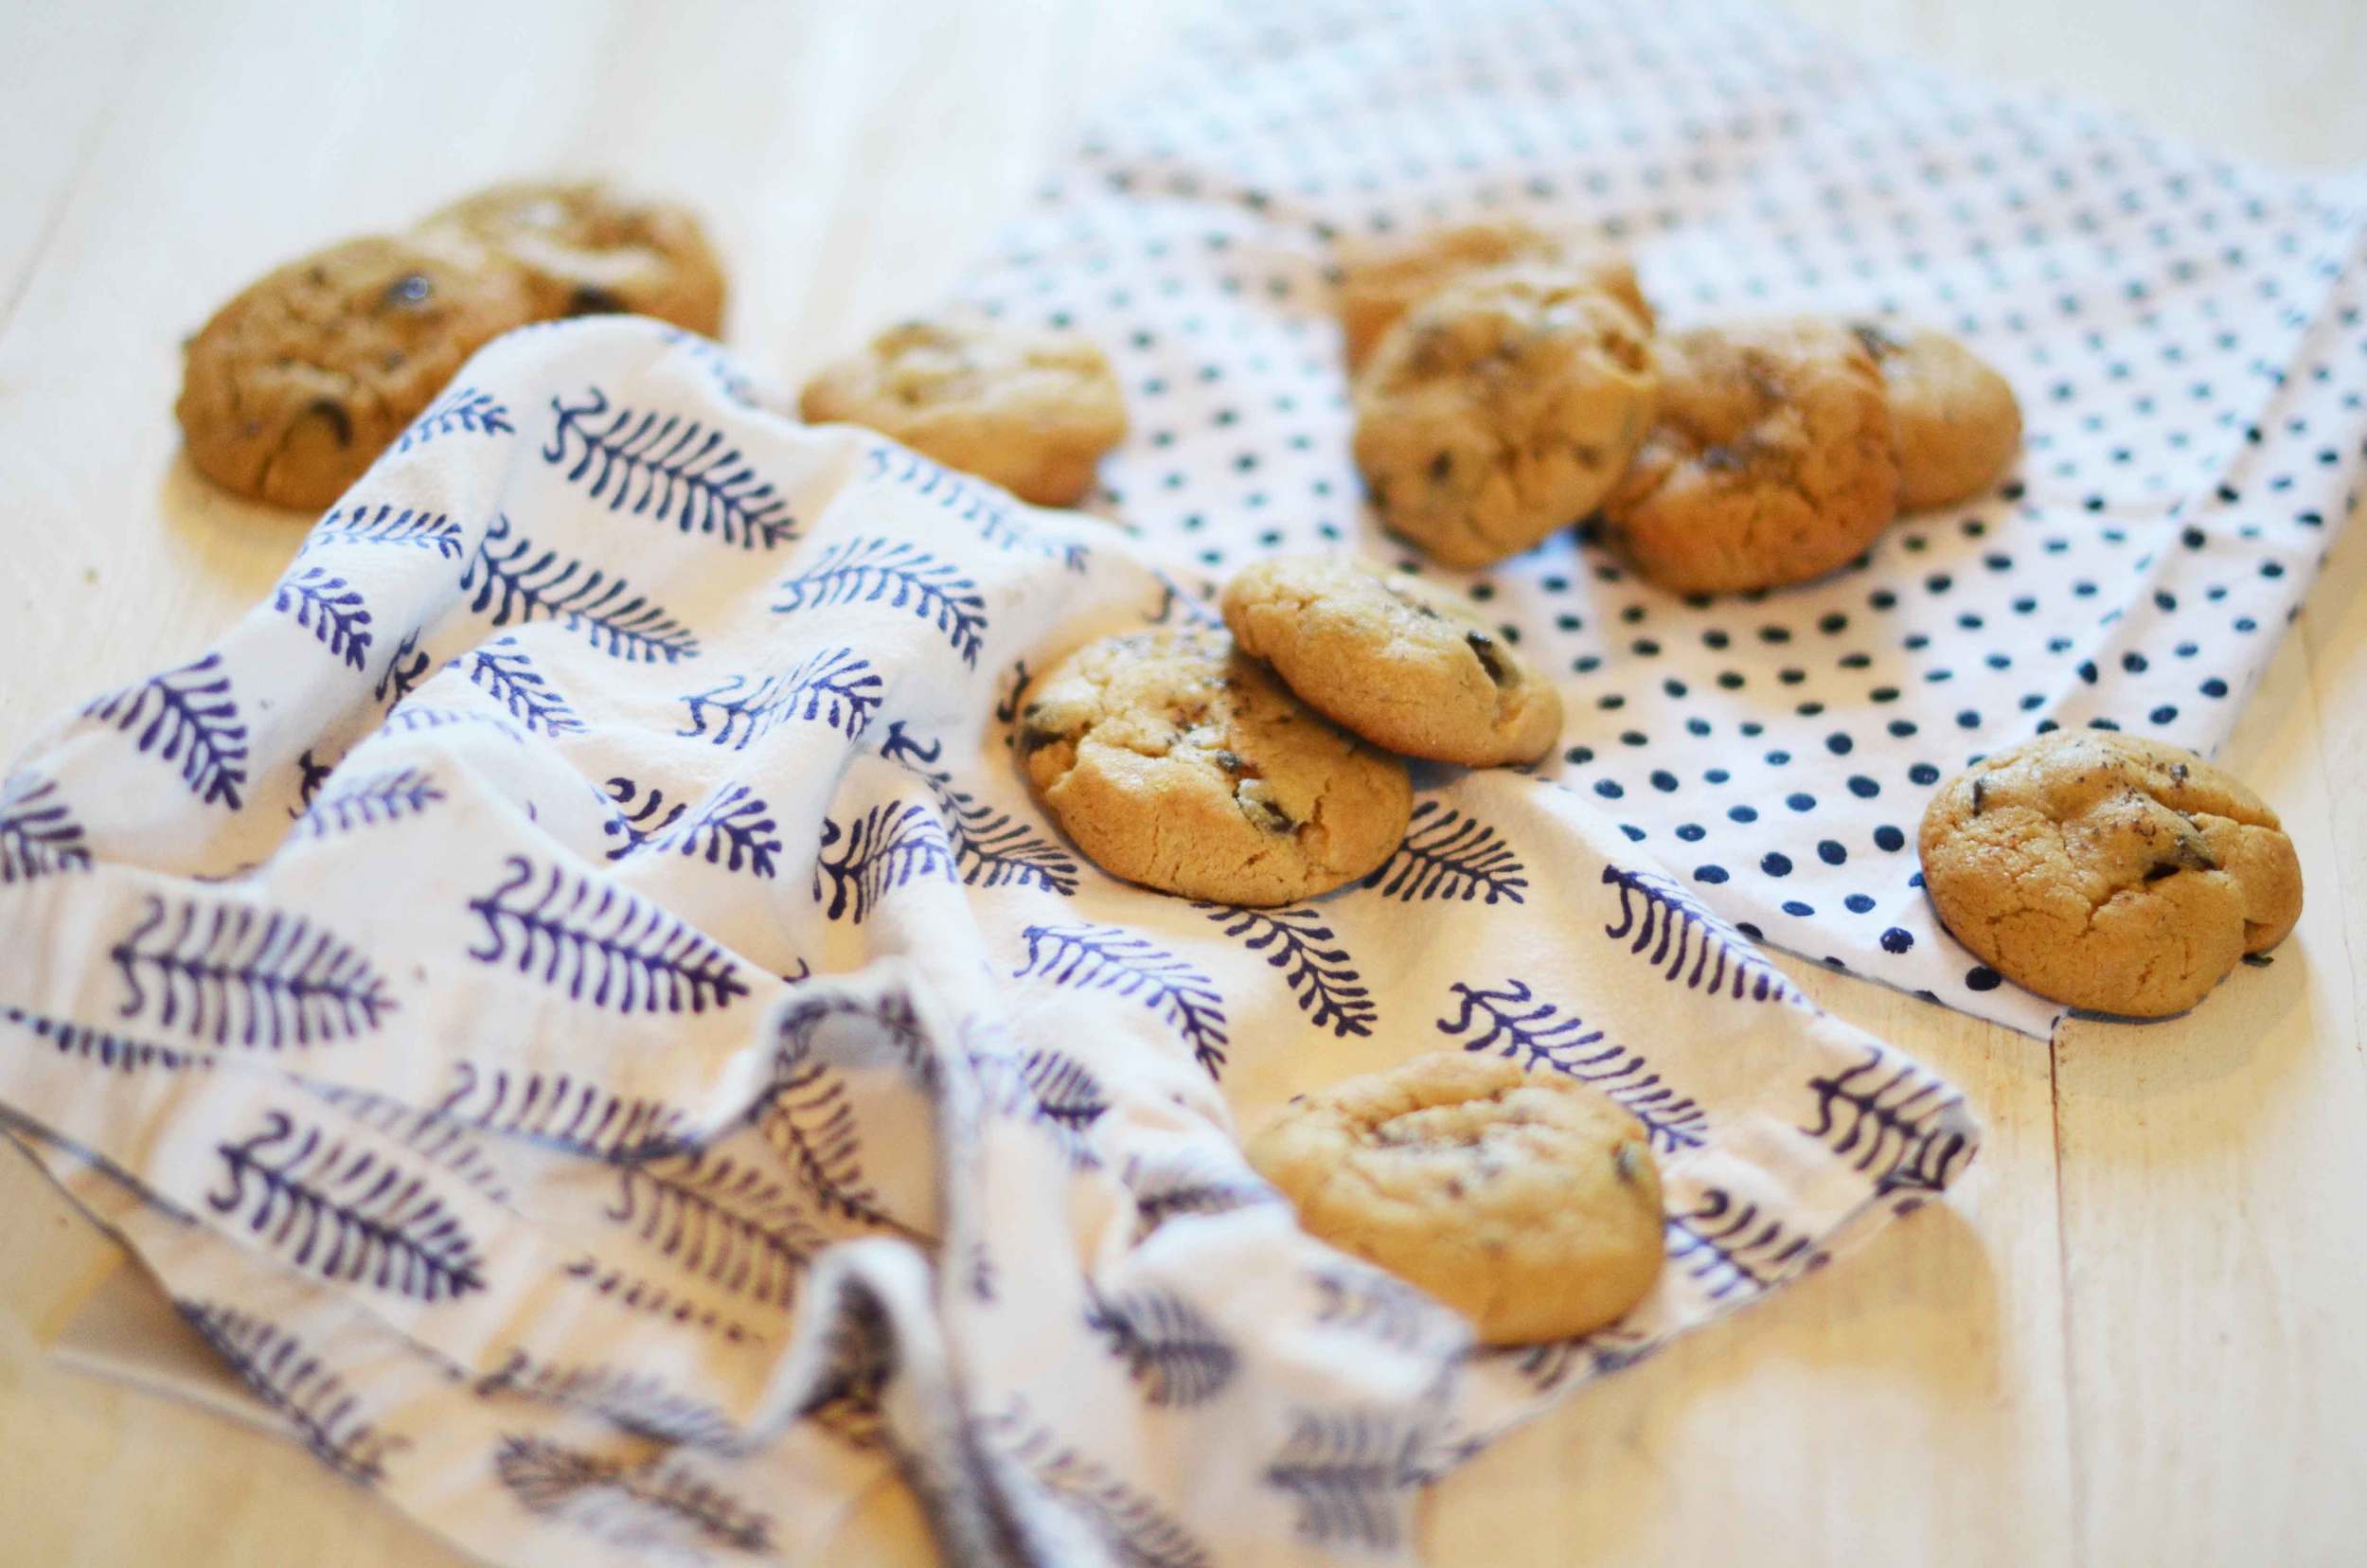
Chocolate Chip Peanut Butter Cookies
1 cup Butter, room temperature
2 cups Brown Sugar
2 Eggs
1 ¼ cup Peanut Butter
2 tbsp Vanilla Extract
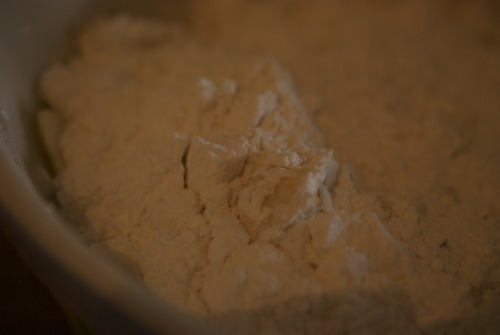
2 1/2 cups All Purpose Flour
2 tsp Baking Soda
1 ½ cups Chocolate Chips
Maldon Salt for sprinkling.
Preheat oven to 400F.
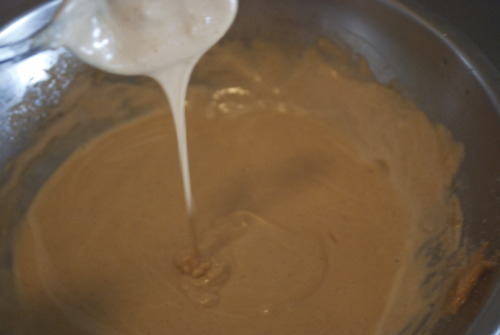
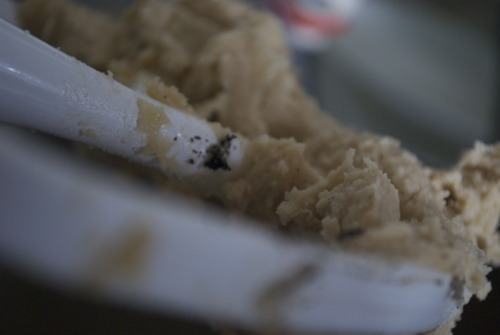
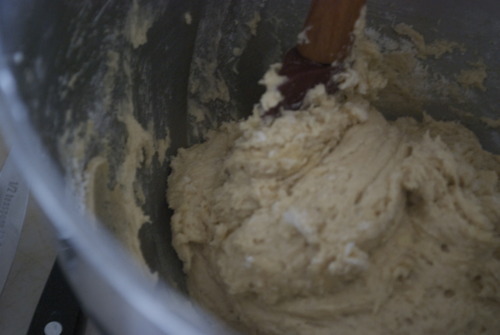
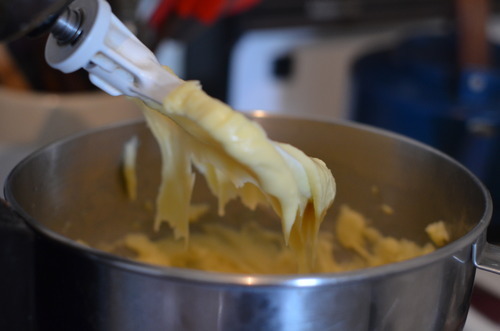
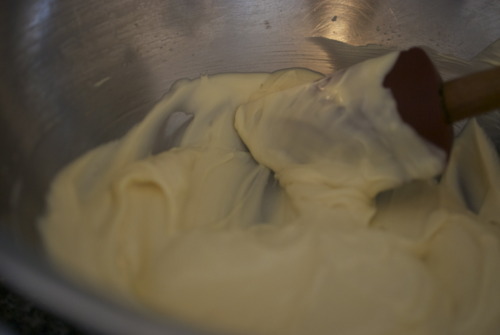
Cream together butter and sugar.
Add the eggs one at a time stir in between.
Slowly mix in the peanut butter until it is totally combined.
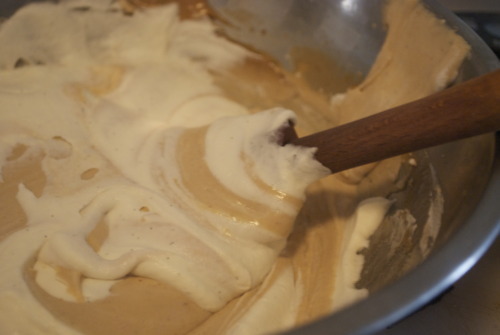
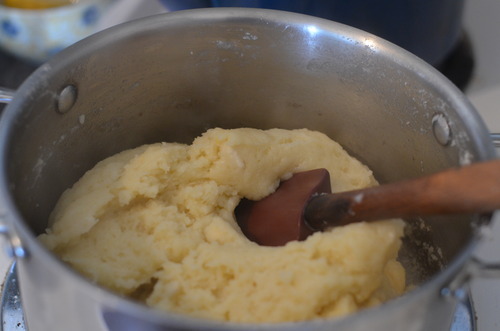
Mix in all the other ingredients except the Maldon salt. Chill dough for an hour.
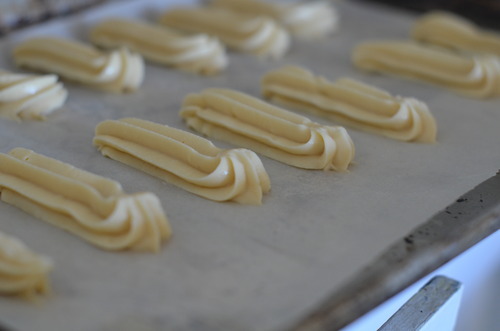
Line baking sheets with parchment paper or a Silpat.
Roll dough into 2 tbsp pieces. Press them down a bit on top and sprinkle them with maldon salt.
Bake for 8-10 minutes until they are slightly browned but still very soft in the inside.
Cool for at least 20 minutes before eating too many at once!


 Most people who have ever talked to me for more then 5 minutes has probably heard be complain about my landlord. He is a glorified slumlord, who fixes nothing and does nothing and is exceedingly cranky more often then not. He doesn’t do a good job when problems arise and so they keep happening over and over again and he blames you for his shotty work.