Pumpkin Loaf, and Fun New Jobs.
/
I think it’s safe to say that I always have a project on the go. I’m adding new things to roster all the time, and currently I juggle 6 jobs. Some of them pay, some of them don’t, some of them are things I love, and one of them, serving at a restaurant, is something I do just to make ends meet. It’s a hectic life. But it’s a fun one.
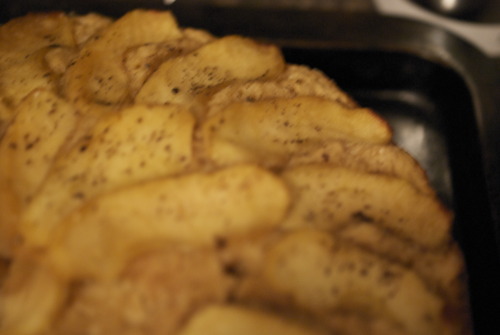
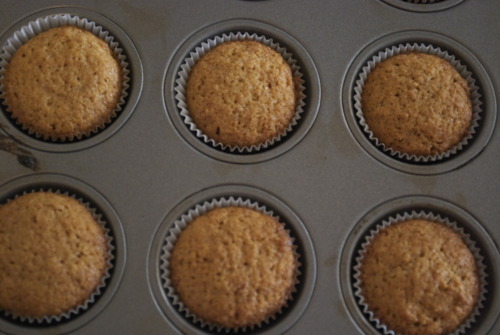
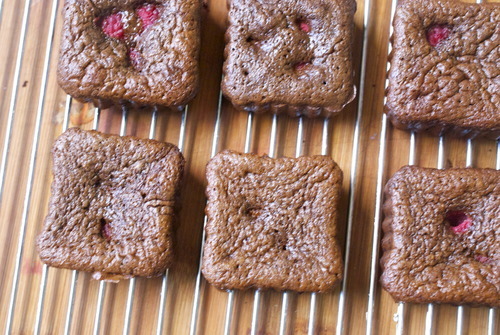
One of the best parts about it, is that I am always meeting new people, doing new things, trying new recipes. And one of my favourite projects right now is with my friend Brett Holland. He is an exceptionally handy guy, who built a solar powered coffee food cart on wheels, that he bikes throughout the city, selling great coffee, and some darn good pastries, if I do say so myself. It’s called On the Grind Cafe
As he’s working out the kinks of the cart, he’s parking at the corner of Union and Jackson (right on the Strathcona bike path!), and if you’re passing by the area, you should probably pop by, drink some coffee, and perhaps get a pastry that I’ve baked.
Right?
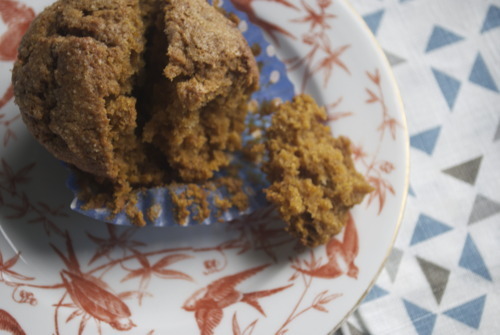
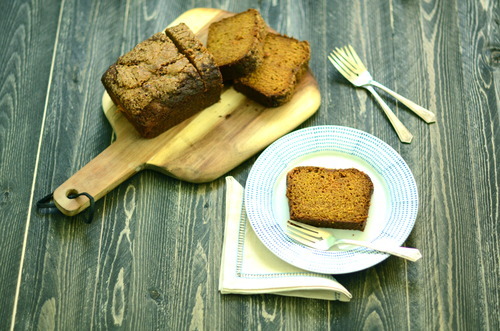
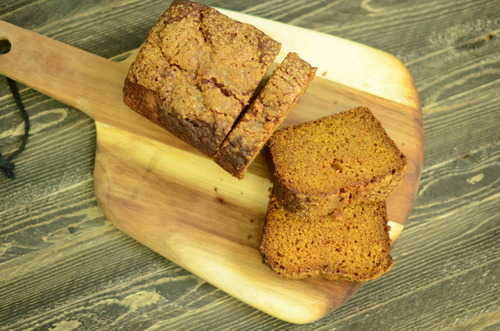
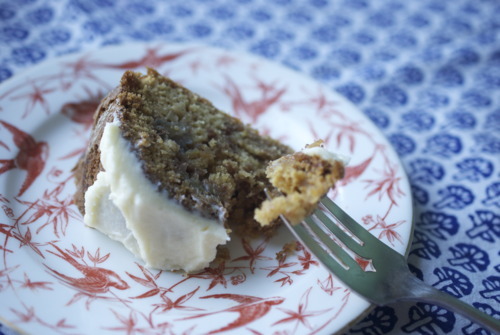
And if you don’t live close by, and can’t get a slice of my pumpkin loaf, you should definitely make some yourself.
It is so moist, and so simple to make, and it just feels like fall. It makes a great breakfast with a coffee in the morning, but it’s also darn good slightly warmed before bed, with a cup of tea.
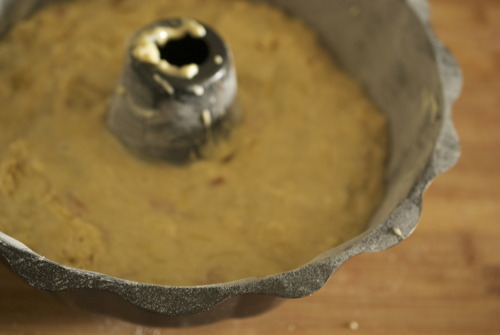
Pumpkin Loaf
Loosely adapted from Smitten Kitchen
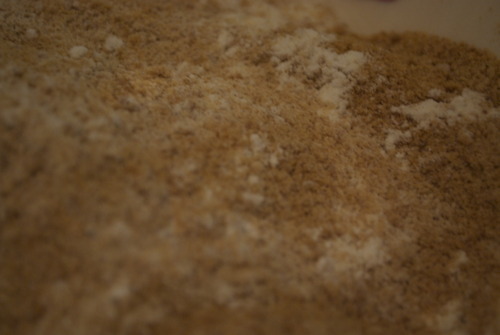
1 1/2 cups AP Flour (or whole wheat pastry flour)
1 tsp Baking Powder
1/2 tsp Baking Soda
1 tsp Cinnamon
1/2 tsp Nutmeg
1 cup Pureed Pumpkin
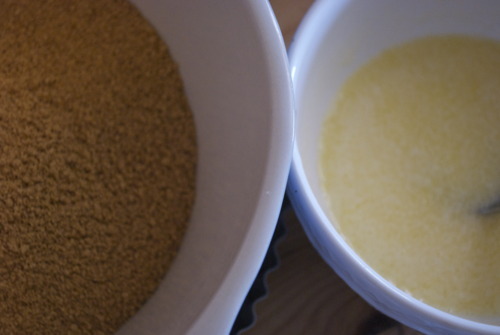
1/2 cup Olive Oil
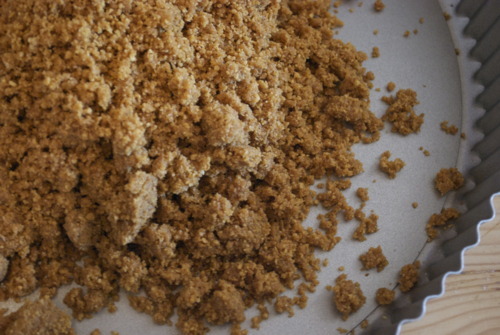
1 1/4 cup Brown Sugar
2 Eggs
Coarse Sugar to sprinkle on top.
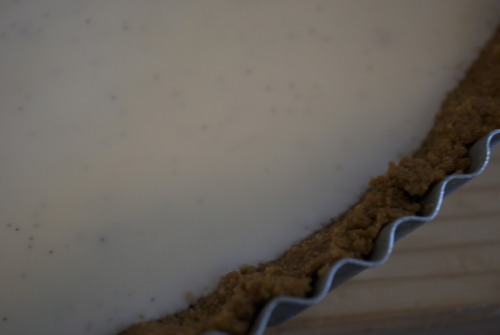
Preheat oven to 350F
Line loaf pan with parchment paper.
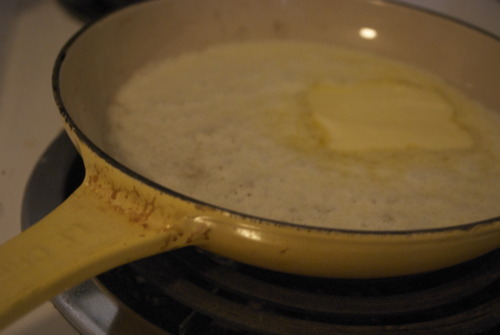
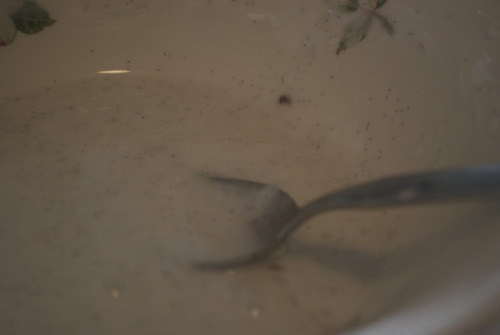
In a large bowl mix together to the oil and sugar.
Add in the eggs.
Mix in the pumpkin.
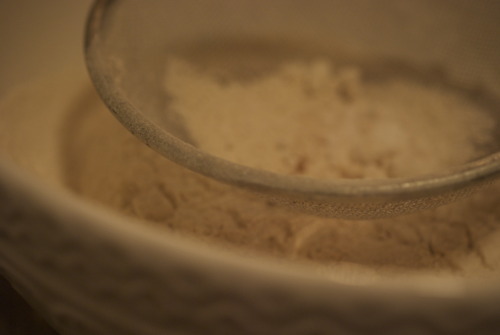
Gently stir the dry ingredients in until just combined.
Pour the batter into the prepared pan and level with a spatula.
Sprinkle the coarse sugar on top and cook until an inserted skewer comes back with only a few moist crumbs- about 30 minutes.
Allow to cool before removing from pan.


 Most people who have ever talked to me for more then 5 minutes has probably heard be complain about my landlord. He is a glorified slumlord, who fixes nothing and does nothing and is exceedingly cranky more often then not. He doesn’t do a good job when problems arise and so they keep happening over and over again and he blames you for his shotty work.