've been doing a lot of thinking about this little spot in the blogosphere lately. About what makes this little piece of the pie (no pun intended) more special, more worthy of your attention than any other, and the thing that kept coming to mind, is that I am a professional. I have not only gone to school to be a baker but I have worked for countless talented people who have shown me so many tricks along the way. Most people who write on the internet don't have that advantage, and so begins “Tuesday Tutorials” in which I share these tricks of the trade with you, my loyal readers. The idea being that once a week I will write something kind of fundamental, a basic, and show you how I make it, and the way I do that makes it so good.
And to start, pie.
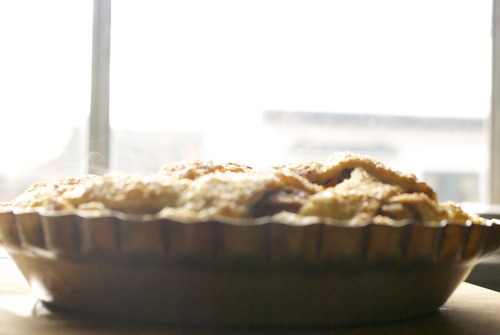
There are few things better than the smell of homemade apple pie. It is so quintessentially North American, so perfectly Fall, so designed for November weather. Apple pie is darn near perfect.
My mother makes a mean apple pie. A mean pie in general really, despite her absolute failings on many a cake, my mom kills pie. Seriously.
This is a recipe for a pie that is both hers and mine, I make mine with more butter than hers, she adopted her recipe from her mother, and growing up in The Depression, shortening was easier to come by than butter, but in these modern times I have no trouble at all with the subsition.
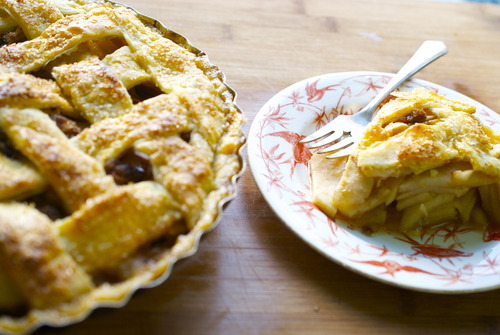
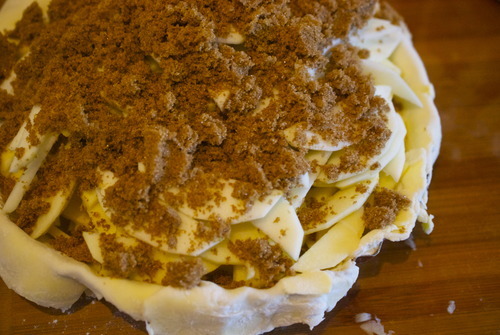
There are two ways of making pie filling though. You can cook the fruit before hand, add in corn starch or flour and thicken up the juices or you can put it all in raw. You get very different results with these methods, and in bakeries you almost always get the cooked before variety. And while I think this method is great for juicy berry pies, when I make an apple pie I put in the fruit raw, then top it all with brown sugar, cinnamon, and flour to thicken it up. It’s how my mom made it, and so it tastes like home to me. And that, good friends, is what apple pie is all about.
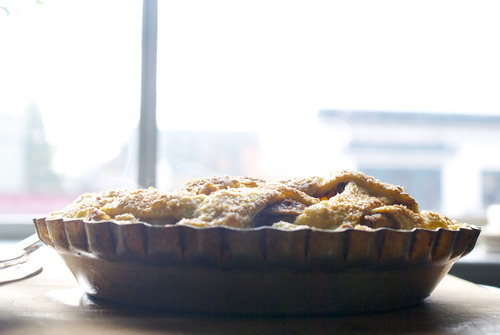
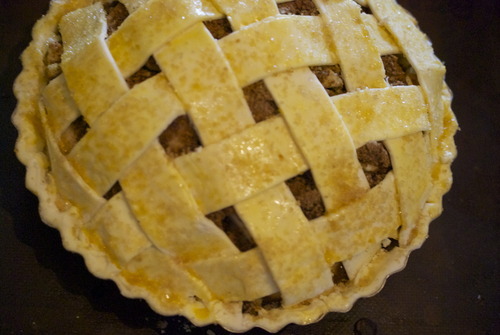
The real tutorial here though is how to make a perfect lattice top to your pie, the kind that friends will ooh and ahh over, and you can revel in self satisfaction when you sit it on the counter to cool. A lattice top pie is not something to brush off, it takes some skill, and it demands it when you put it on the counter. Unless of course, you follow this tip, which just makes it so easy.
The thing to do is freeze it. Make the lattice on a baking sheet and freeze it, it will only take about half an hour, just enough time to cut up all the apples and make yourself a cup of tea. And then slowly put the top of the pie onto the pie crust, you get a perfect crust every time, and you save the stress of making the lines perfect on an imperfect surface like a rounded pie top. And you get to schedule yourself tea making time, and that friends, is always a perk.
Lattice Top Apple Pie
2c AP Flour
1c Cold, salted Butter, cubed
Ice water
Filling:
8 cups of chopped apples, a mix, I used ambrosia, pink lady, granny smith and macintosh.
1c AP Flour
2c Brown Sugar
1tbsp Cinnamon
topping
1 egg yolk mixed with 1 tbsp cream or milk
3 tbsp Coarse Sugar
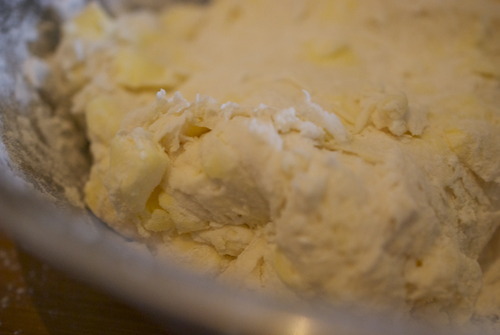
In a large bowl mix together the flour and butter. Using either a pastry cutter or, like I do, your hands, break apart the butter into lima bean sized pieces.
Slowly incorporate the water, stirring with a fork, adding just enough for the dough to follow to fork as you stir.
With your hands bring the dough together and knead it gently- squish it out with your palms and then fold it over. Repeat this 4-5 times or until the dough gets even the slightest bit tough. Wrap with plastic wrap and keep it in the fridge for at least 30 minutes.
Unwrap the dough and cut in in half.
On a lightly floured surface roll out one half of the dough in a large circle until it will fit your pie dish. Gently place your rolling pin the center of the circle, then drape one side of the dough over top. Pick up the rolling pin and place it on the pie dish and smooth out the dough.
Put this in the fridge.
Put a silpat of a piece of floured parchment paper on a baking sheet.
Roll out the other piece of dough in a long strip, making sure that it is as wide as your pie dish.
Cut this into strips widthwise.
On the silpat arrange the strips as you see in the picture below, and slowly start weaving them together,
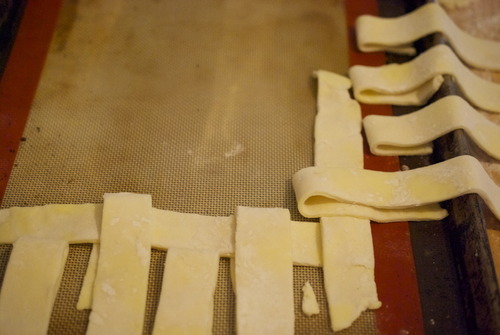
one over one under until you get a nice basket weave.
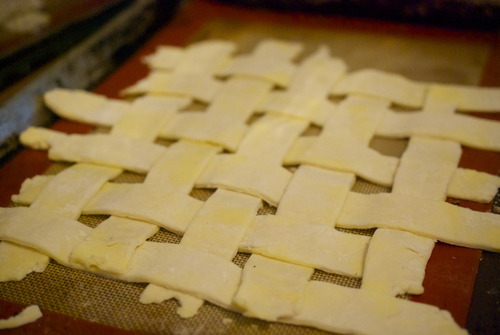
Now put this in the freezer and let it get nice and cold and hard. This is the trick- once the dough is hard you can just slide it on your pie, no finicking the edges or getting filling on the topping.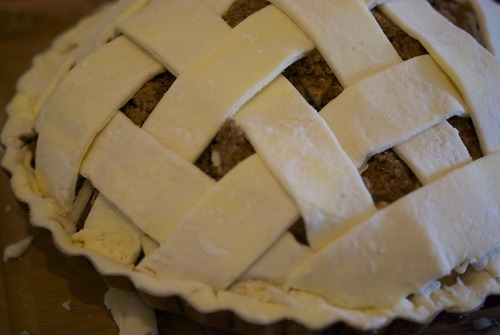
Preheat the oven to 400F
Pull out the bottom of the pie and shake half the flour onto the bottom of the crust.
While the top is freezing start chopping your apples. Peel and core then and slice them thinly and put them into the bottom shell, layering different kinds.
Top with the rest of the flour, the brown sugar and the cinnamon.
Take the lattice top out of the oven and gently put your hand underneath it and place it upon your pie.
Push the edges down into the corners and cut off any edges of your pie, or fold them over to create a a scalloped edge.
Wash with the egg wash and sprinkle with the coarse sugar.
Put in the oven and immediately bring the temperature down to 325F.
Do not open the oven door for at least the first 20 minutes or cooking.
After twenty minutes rotate the pie and cook for another half hour or until the juices start bubbling in the center an an inserted paring knife meets little resistance when pushed into the center of the pie.
And there you have it, the easiest most delicious apple pie.