Chocolate Chip Peanut Butter Cookies

peanut-butter-cookie-3.jpg


If you are lucky enough to actually like the family you were born into, I highly recommend not leaving the city they live in. Because if you do, the chances of you falling in love are very high. With a person, or with a city, or with a job and then you will be stuck. Stuck in a city, with a person and a job that you are in love with, which is, by most measures, is a pretty fabulous situation to be in. But if you are lucky enough to actually like the family you were born into, there will always be a part that is missing.


That’s how it is for me at least. I absolutely love Vancouver, and I can’t put into words how wonderful Jordan is, and I get giddy every time I think about how I work for myself. But it is tough sometimes, and never more so than right after I’ve visited home.  I’ve been super lucky lately, my Mom came out to visit this summer for a whole week, and then I got to visit my whole extended family in Boston a month ago, and last weekend I was back in Toronto for a family wedding. By all accounts, I’ve seen more of my family than I usually do, but somehow that just makes it harder. It’s always so perfect when we’re all together, and now I’m here thinking about how I’m not sure when I’ll see them again, Which is a miserable situation.


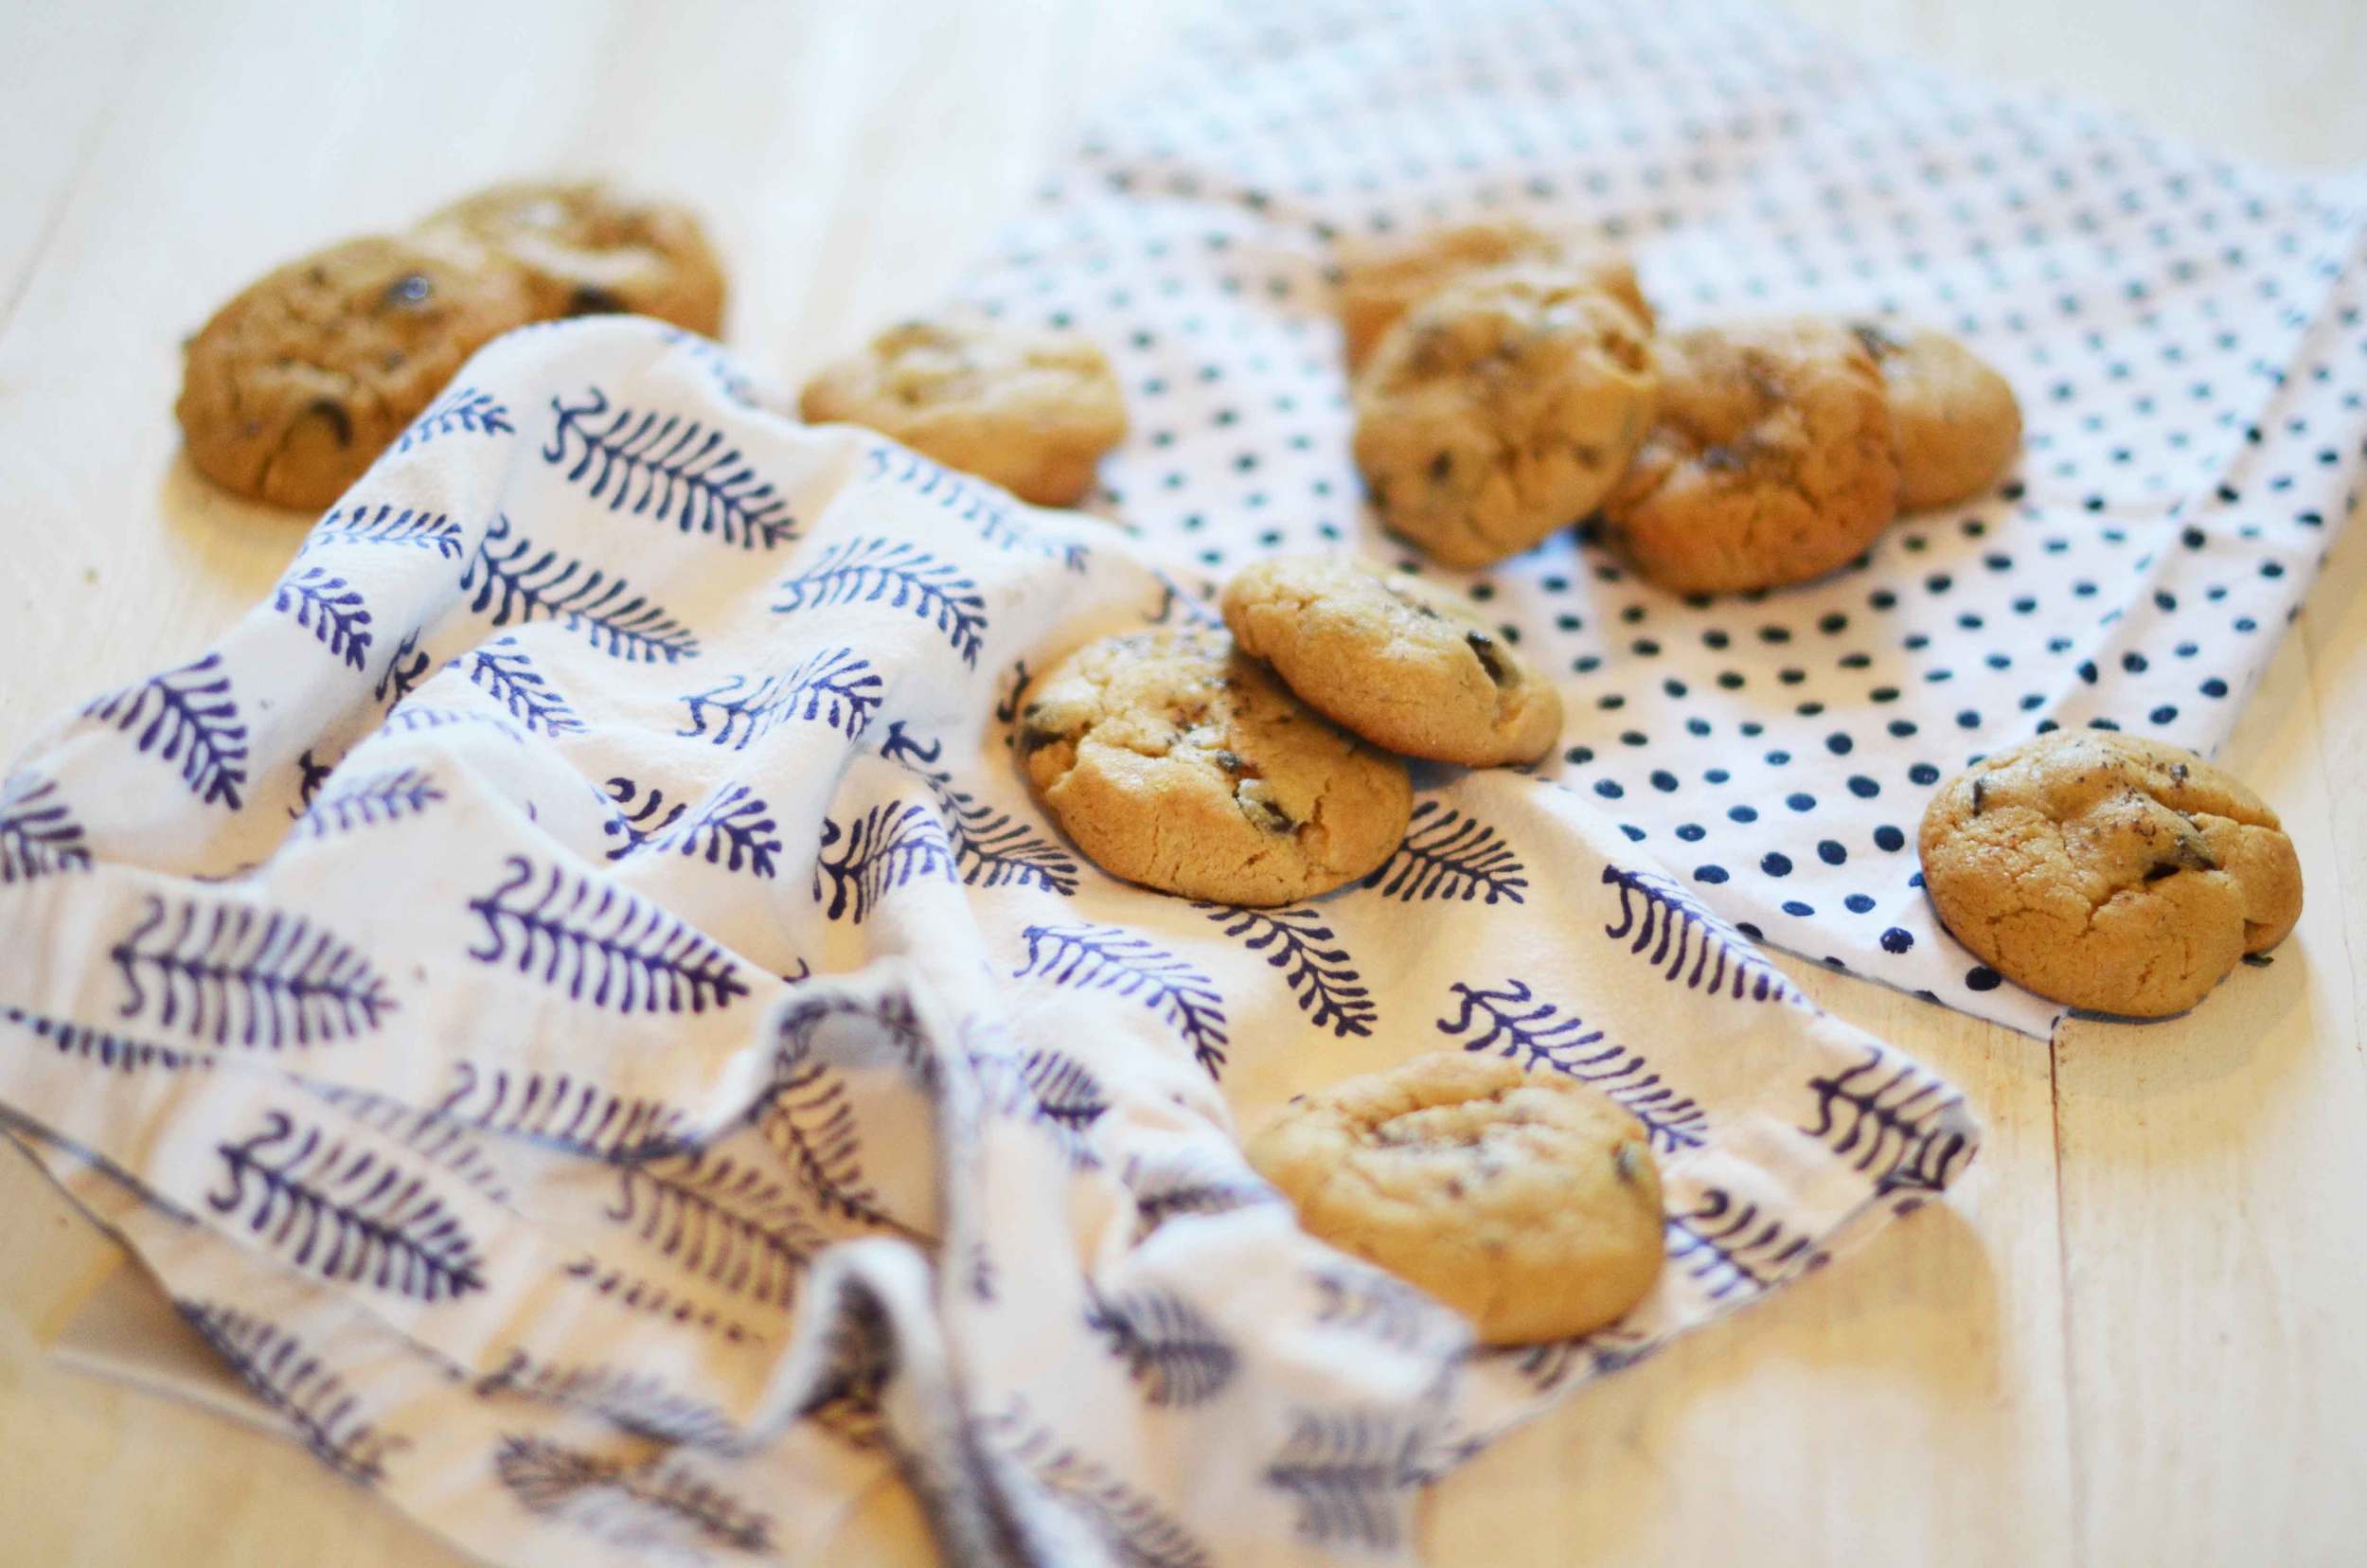
And whenever I’m this hopeless and lonely, the only thing that does any good is to make cookies. Not fussy cookies, not fancy cookies, and not anything wild or crazy cookies. The kind of cookies I can imagine my Mom baking, the kind that you just drop on a pan and they turn into soft and caramel-y and glorious sweet bits of comfort that make everything a little bit better.


These cookies in particular are especially comforting. They are full of brown sugar and chocolate and copious amounts of peanut butter and sprinkled with Maldon salt on top for crunch. It will make you feel better when you’re sad, and that’s about all you can ask for from a cookie I think.
 

peanut-butter-cookie


Chocolate Chip Peanut Butter Cookies


1 cup Butter, room temperature


2 cups Brown Sugar


2 Eggs


1 ¼ cup Peanut Butter


2 tbsp Vanilla Extract

2 1/2 cups All Purpose Flour


2  tsp Baking Soda


1 ½ cups Chocolate Chips


Maldon Salt for sprinkling.


Preheat oven to 400F.


Cream together butter and sugar.


Add the eggs one at a time stir in between.


Slowly mix in the peanut butter until it is totally combined.


Mix in all the other ingredients except the Maldon salt. Chill dough for an hour.


Line baking sheets with parchment paper or a Silpat.


Roll dough into 2 tbsp pieces. Press them down a bit on top and sprinkle them with maldon salt.


Bake for 8-10 minutes until they are slightly browned but still very soft in the inside.


Cool for at least 20 minutes before eating too many at once!

Marshmallow Birds Nests, and Other Cute Things

 tend to have an issue with food that values being cute over being delicious. It’s just not my cup of tea. It’s not that I have a problem with food that looks sweet, but like cake pops, or cakes covered in fondant, I just don’t totally get it.

And yet… Easter. It just wants you to make overly cute things. And it wants you to give those overly cute things to the insane cuteness that is your niece and nephew.

Friends, I am obsessed with my niece and nephew. They are the kids I want one day, they are the kids you dream your boyfriends sister will have, and they are the kids you dream of babysitting. They are that cute, that well behaved, and that affectionate.

And so my thoughts on overly cute foods has been over ridden, by my love of overly cute kids.

I’m sorry.

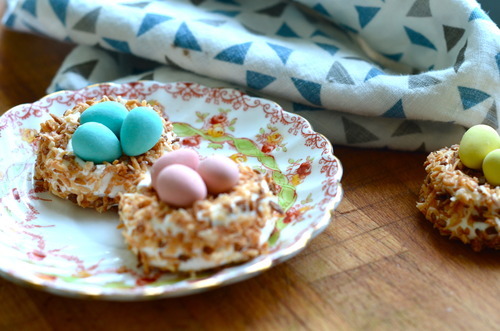
Except I’m not really, because these are also super tasty. They are basically just toasted coconut marshmallows (delicious) with Cadbury Mini Eggs on top, and I’m not going to pretend that I’m above a Cadbury Mini Egg at Easter time. I’m totally not above it.

*PS don’t forget to enter the giveaway from earlier in the week! The winner will be decided on Wednesday!

3 pkgs Unflavoured Gelatin

1 1/2 cups Sugar

1 cup Corn Syrup, Brown Rice Syrup or Cane Syrup

1 tbsp Vanilla Extract

1 tsp Coconut Extract

2 cups Shredded Coconut, toasted*

2 tbsp Icing Sugar

3-6 drops Lemon Juice,

Cadbury Mini Eggs

*Toast the coconut by putting it on a tray in a thin layer in an oven preheated to 325F.

When it get’s nice and brown you’re in business.

Line two baking sheets with a silpat or parchment paper. Spray them with cooking spray or put a bit of a neutral oil, like canola, on a cloth and wipe it on the parchment/silpat. Marshmallows can be very sticky.

In the bowl of an electric mixer fitted with the whisk attachment, stir the gelatin with 1/2 cup of cold water. Let sit.

Meanwhile in a medium pot mic together the sugar and syrup with 1 cup of cold water. Put the lid on and over medium heat bring to a boil, stirring occasionally to make sure all the sugar has dissolved.

Once the sugar is completely dissolved take the pot lid off and turn the heat to high. Put in your candy thermometer and cook until the syrup comes to 240F

Pour the syrup into the mixing bowl and quickly turn the mixer on to medium, and then once it starts to thicken, to high.

Keep it on, after about 10 minutes your mixture will be thick and white, and starting to pull away from the edges as it turns.

It will thicken quickly so this part has got to be quick!

In a piping bag fitted with a medium plain piping tip, pipe the nest. Pipe a small circle and then go around the edges to create the sides. They will slump down a bit as they cool.

Allow to cool and harden for at least 6 hours, or overnight.

Put the toasted coconut into a bowl and put your marshmallows in, one at a time. Depending on how long you let them dry you may need to press the coconut in to make them stick. That’s okay.

Now mix together the icing sugar and lemon juice.

Dip one side of each egg into the frosting and use it as glue to stick the eggs into the nests.

AND now give them to cute small children and be merry.  

Spring Coloured Meringues

image

When I first moved into this little apartment it was all sorts of crazy colours, there was purple, and lots of yellow and the living room was a bright Tiffany’s blue. And I hated all of them, I painted it all white, but the blue. For some reason I just needed the blue. After living here for 5 years, I think I’ve finally figured it out- it reminds me of the sky that we only get a couple months here.

See, Vancouver does this thing, this dreadful thing where it rains all the bloody time. It starts in late September, early October if we’re lucky and it keeps raining until May, or June, or sometimes, even July. I’m not joking, we sometimes only get 3 months of sunshine. Last year was one of those years, and maybe that’s why I feel like I’m struggling so much with it right now.

My saving grace in all this rain is the flower shop I live on top of. It regularly wins best florist in the city and with good reason, it has the most gorgeous blooms in every imaginable colour, all the time. And even when everything is grey and gloomy and damp when I walk out my door I see heaps and heap of fresh flowers. They even take the old roses and sprinkle their petals half way down the block, to bring a bit of colour even further. They really are the best.

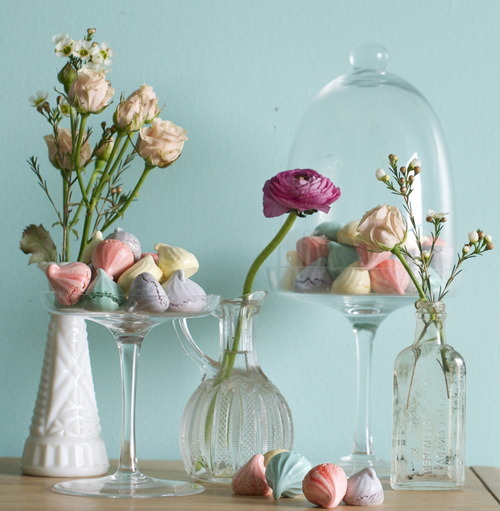
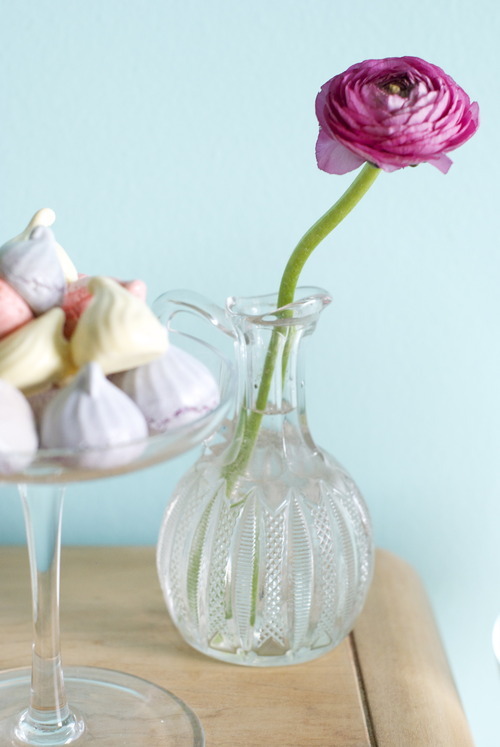
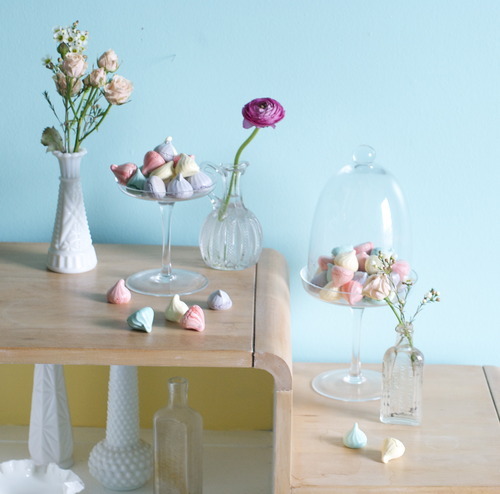
So lately I’ve become obsessed with their colours, the soft peachy ranoculous, the bright red of the tulips, and these soft yellow roses, oh those roses. They give me hope that it is sunny somewhere in the world. And so I made these meringues to bring some more of that colour in, because in this dreary grey city, sometimes you just need colour.

Spring Coloured Meringues

6 Egg Whites

1/4 tsp Salt

2/3 cup Sugar

1 cup Icing Sugar

1 Vanilla Bean, OR 1 tsp Vanilla Extract

Food colouring

Preheat your oven to 200F

In the bowl of a standing mixer fitted with the whisk attachment, whisk the egg whites and the salt until they hold soft peaks. 

Tablespoon by tablespoon add in the granulated sugar, letting the sugar you added before be mixed in completely before adding in the next. 

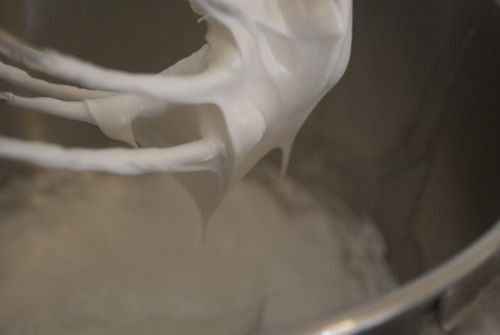
Now let it keep running until it holds very stiff peaks, if you’re unsure just keep it on for another 20 seconds or so. It’s very important that it is very stiff. 

Add in your vanilla bean or extract. 

Now dump in all the icing sugar and mix that in- bring the speed down to low so the sugar doesn’t fly everywhere. 

Divide the meringue into as many bowls as you want colours- I did 4. 

Add the colouring and mix until they are all combined, or not and let it be swirly- it’s up to you!

You can use any piping tip you want to here, star tips are popular, so are just a plain circle. It’s up to you!

Now just pipe them onto trays lined with parchment or a silpat (don’t grease the trays though!! Your meringues will ruin if you do!) and bake for about an hour and a half until they are completely dried out. Check them every 25 minutes or so to make sure they aren’t getting any colour. If they are browning turn down the heat and rotate the trays. 

Allow to cool completely then eat, decorate, or put in baggies for gifts- these will store for up to a month in an airtight container. 

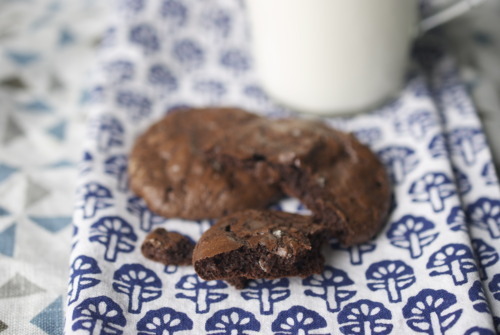
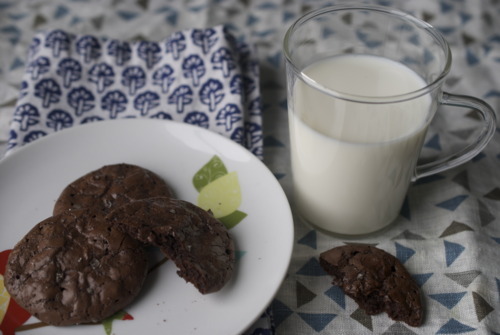
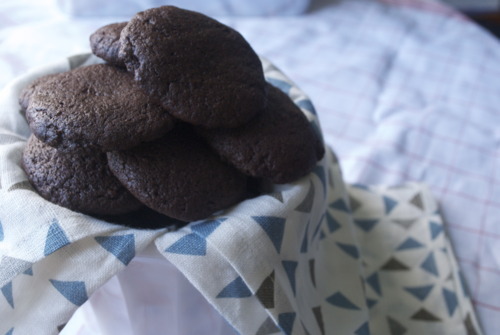
Salted Dark Chocolate Flourless Cookies

I’m not going to lie, I made these cookies entirely out of curiousity. King Arthur Flour, which gives recipes that usually involve, you know, flour, had a picture of the best dark chocolate cookies and said that they were flourless. 

The strange thing though, is that there is no starch in them. And no fat. They are not “healthy” cookies with quinoa flour and coconut oil. These ingredients are just flat out missing from the equation.  They are, by far the weirdest cookies I’ve ever made. Egg whites, cocoa powder, icing sugar and vanilla. That’s about all folks. 

Fudgey isn’t quite the right word for them even though that’s how King Arthur descubes them, they get very crispy on the edges, almost they way you would excpect them to if there was corn starch in them, but the centers stay very soft. And, they don’t get stale. At least, I made them 3 days ago and the are still sitting on my counter on a plate without having been wrapped and they are still soft in the middle. 

This is no small miracle friends. 

So without further ado, here is a painfully simple recipe, for very strange, but very delicious cookies

  • 2 1/4 cups confectioners’ sugar
  • 1/4 teaspoon salt
  • 1 cup cocoa powder, Dutch-process 
  • 3 large egg whites
  • 2 teaspoons vanilla extract
  • Fleur de Sel- a couple tsp for sprinkling on top

Preheat the oven to 350F

Mix all the ingredients together in a bowl

Spoon 1 tbsp sized blobs on to a piece of parchment or silpat. Sprinkle some fleur de sel on top.

Bake for about 7-9 minutes, until the top is set but still a bit soft if you touch them. Let cool for a couple of minutes on the pan, and then transfer them to a cooling rack. Enjoy!

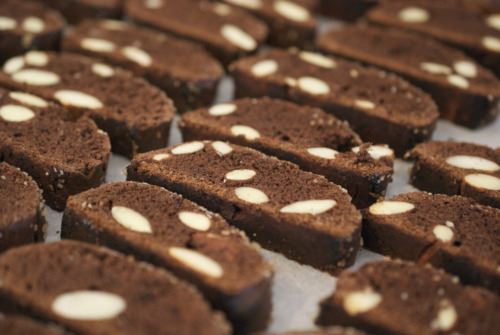
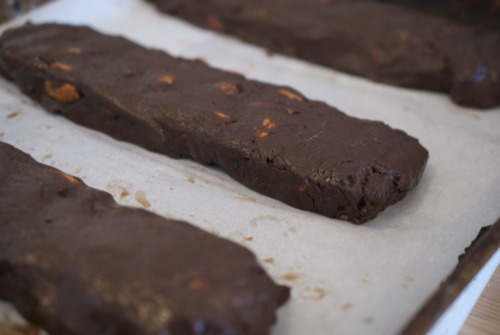
Salty Sweet Chocolate Biscotti

If there is a baked good you should always have on hand it’s biscotti. Mostly because it’s easiest to make it in large batches and keeps for nearly ever, but also because it’s delicious and you can eat them with lunch, lunch, dinner, or a late night espresso. (Or if you, like me, can’t drink coffee, a hot chocolate is a wonderful substitute.) 

This is a wonderful recipe for lots of reasons, but mostly because it’s not too sweet. The addition of coffee into it helps bring out the very dark slightly bitter taste of the chocolate, and the sprinkling of salt, alongside the sugar on the top makes you not feel guilty when eating one for breakfast with a hot chocolate!
Salty Sweet Chocolate Biscotti

1 cup Brown Sugar

12 cup Butter, melted

1/4 cup Brandy,

1 tbsp Vanilla Extract

1 tbsp Coffee

1 cup Whole Almonds

3 Eggs

1 3/4 cup AP Flour

1 1/2 tsp Baking Powder

1 cup Cocoa Powder

1/2 cup Dark Chocolate Chips

1/2 cup Coarse Sugar-For sprinkling

2 tbsp Coarse Salt- For sprinkling

Preheat oven to 350F

In a large bowl mix together the butter and sugar.

Add in the eggs one at a time mixing well between each addition.

Add in the brandy, vanilla and coffee.

In another bowl sift together the flour, baking powder, and cocoa powder.

Gently mix the flour mixture into the butter-sugar-eggs mixture. When it’s nearly all combined add in the chocolate chips and the almonds and mix until it’s just come together.

Divide the dough into 3 pieces and roll each one out into a log, and then flatten it gently on the top. If it’s sticking to your fingers get them a little bit damp and then try again. Do this on a lined baking sheet.

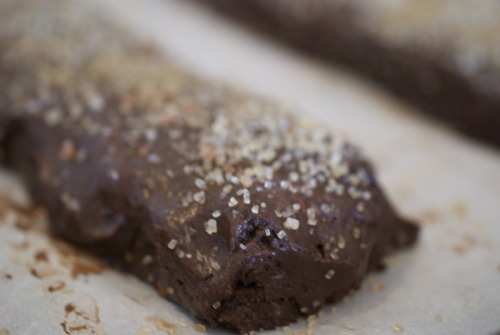
Gently brush the tops of the rolls with water and then sprinkle the salt and sugar on top.

Bake for about 20 minutes or until the rolls are completely cooked throughout. Let cool.

On a cutting board with a serated knife cut the logs into thin pieces, about 1/2 inch thick. Put them back on the baking pan, lying flat, and bake again until they are crisped nicely, about 10 minutes.

Let cool and enjoy- these will last at least 6 weeks in a closed container.

Double Chocolate Cookies

I make a slight variation of these cookies at my work, and one of my very favourite things about it is that one of my very favourite people that I work with, loves them. Like, truly loves them and always walks by the oven when they’re in and breaths in the chocolatey smell and tells me how good she thinks they are. And then if there are any left over she sort of squeeks with excitement because she gets to eat one for breakfast. Which, if I’m being totally honest is what I do too, they are seriously good cookies, if not the healthiest of breakfasts. But it’s very gratifying at 7am to have someone that excited about what you do for a living. But I supposed that’s why I started baking in the first place. It makes people happy, way before they normally are in a day.

This is not the first place I’ve made these cookies at, and in fact it’s totally not my recipe. But if the fine people at the Tartine Bakery know anything, it’s how to make a good cookie, and they really do that here.

In the note before the recipe in the cookbook she notes that the amount of chocolate might look like a typo, but it’s not, it just really puts these cookies over the edge into heaven.

Double Chocolate Cookies

(Loosely adapted from the Tartine Bakery)

12 oz Dark Chocolate, either chips or chunked

1 cup AP Flour

2 tsp Baking Powder

1/2 cup Butter

1 cup Brown Sugar

3 Large Eggs

1 tbsp Vanilla Extract

2 tbsp Milk

Preheat oven to 325F

Line a baking tray with a silpat, parchment or butter, depending on what you have handy!
Over a Double Boiler, or a bowl ontop of a pot of simmering (but not boiling!) water melt 8oz of chocolate.

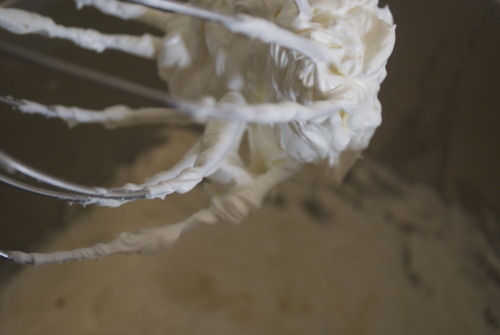
Meanwhile cream together your butter and sugar.

Add in your cocoa powder, your vanilla and your milk.

Add in the chocolate.

Mix in your eggs, but barely, you don’t want to over mix these or they will be cakey instead of chewey.

Add in the flour and baking powder and remaining chocolate until just combined.

Scoop out onto your baking tray.

Wet your hands and turn the little lumps into balls and then squish them into disks. It will be hard to do this with your hands dry.

Bake for about 7-11 minutes depending on the size, but err on the side of undercooked.

Madeleines

A few years back my sister, a few friends and I went on a croissant-athon. Basically we looked up all the places in Toronto for the best croissants and biked around the city trying one at each place (we did split them, or else we wouldn’t have been able to keep riding!) and my meticulous sister took notes.

My main criteria is what I call the crunch-to-gush factor.

This is not a technical term.

But it is important. It’s the contrast from perfect crisp exterior to meltingly tender interior. It’s something the french do very well. In creme caramel? Check. Parisian macarons? Check. Madeleines? Check Check.

Madeleines are my new obsession. I decided I wanted to make them for the baby shower I threw last week and so, because I was putting so much work in (aka was having so much fun planning it!) I decided to give myself a gift and buy a madeline pan. And then lie to my boyfriend about when I bought it because he’s threatening to leave because me if I fill our apartment with more kitchen gadgets.

Anyways.

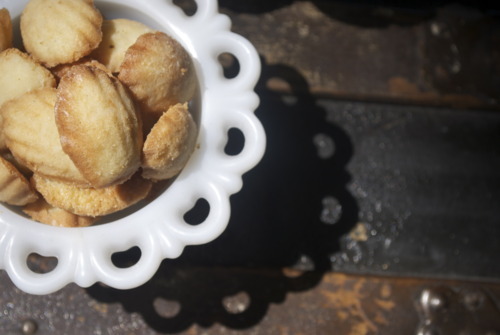
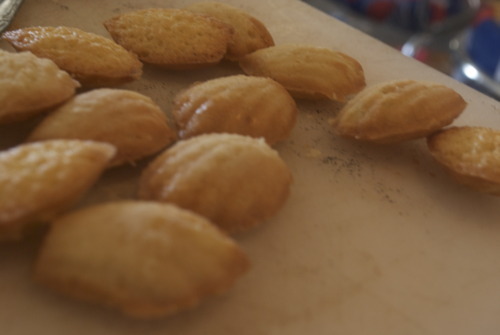
Man madeleines are good! And their good because of the crunch-to-gush factor. The perfect browned edges that lead the way into the most moist vanilla scented cakey center. It’s danm near perfect. And very easy if you have a standing mixer, and of course a fancy madeline pan. I bet you could make these in a mini cupcake holder to, if your really jonesing for them, but there’s just something so wonderful about the little scalloped edges.

Madeleines

Adapted from 101cookbooks

1 1/2 sticks unsalted butter (6 ounces)
2 tablespoons softened unsalted butter (for greasing pan)
3/4 cups unbleached all-purpose flour
4 large eggs
a pinch fine-grain sea salt
2/3 cups sugar
zest of one large lemon
1 teaspoon vanilla extract
powdered sugar

a bit of extra flour for dusting baking pan

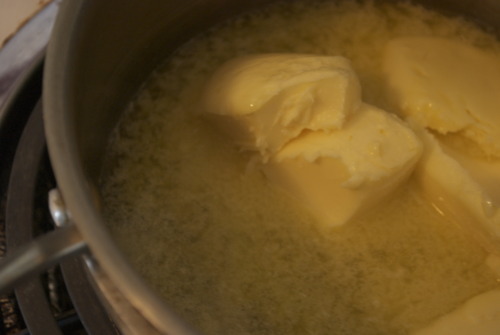
Brown the butter: melt it on a low heat until it gets frothy on top, and the milk solids get beautifully brown and it smells like hazelnuts, be careful not to burn it!


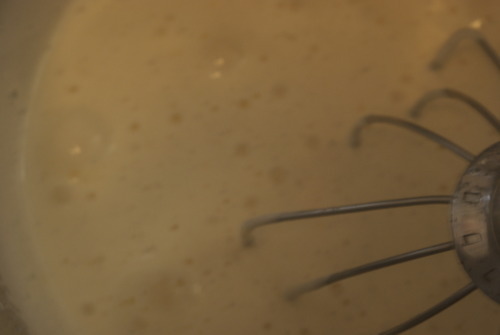
In the bowl of your standing mixer beat the eggs on high speed until light and fluffy. Then slowly add in the sugar tablespoon by tablespoon while keeping mixer on high speed.

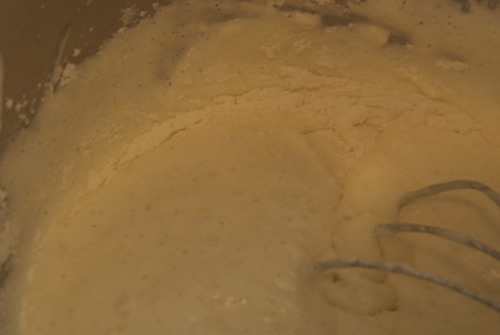
Now carefully fold in the flour, salt, and lemon zest, by hand.

Then fold in the vanilla and butter, being very careful not to over mix.

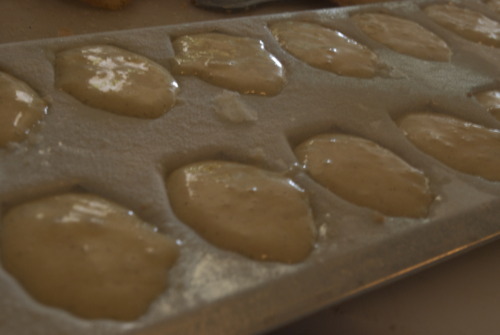
Then carefully pipe the prepared molds 3/4 full of batter.

Bake for about 8 minutes or until beautifully golden brown. Most recipes say to pop them out right away but I found waiting a few minutes made them come out easier!

Darn Close to Perfect Macarons

I have made macarons many times before. I’ve made them with chocolate, with raspberries, with caramel. I’ve made them at work, at home and even in a classroom in Paris, and every time I’ve made them, I’ve done them the Pierre Herme way, which is much more complicated, because I’ve eaten macarons at Pierre Herme and that man knows a thing about macarons. Seriously.

But here’s the thing of it, I’ve made all these macarons in all these places, to great success, except in my own home. They never work.

Sometimes I blame myself, but mostly I blame my oven and the ridiculous rain in Vancouver, but I thought today that maybe I would try blaming the recipe and try another one.

I have never thought of myself as practical so this seemed like a totally logical solution.

BUT bam. Miracles do happen, and they worked.

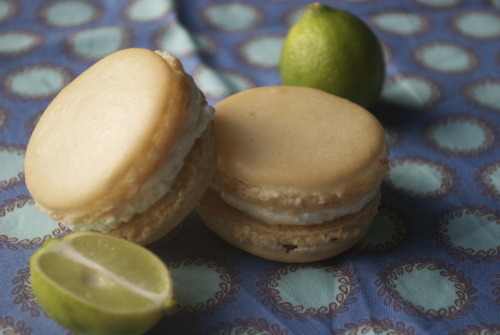
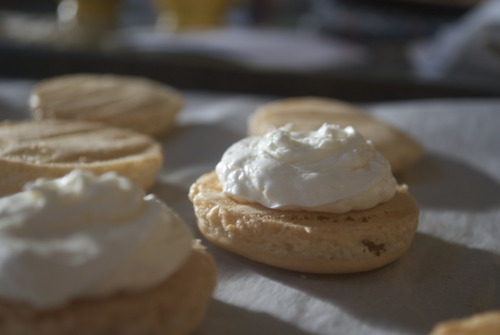
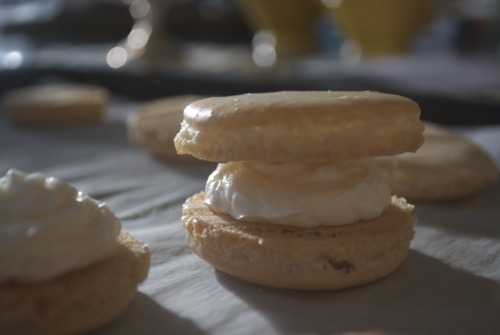
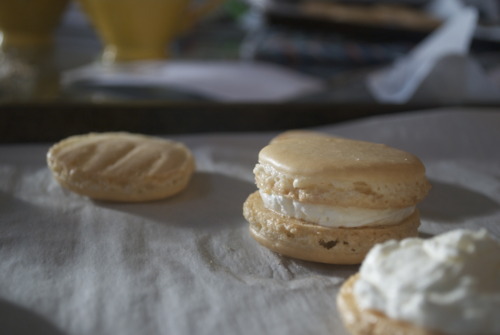
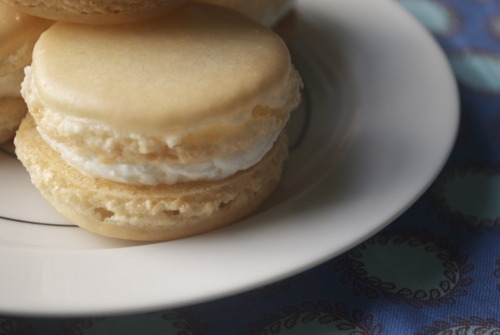
Maybe I was feeling the Cinco de Mayo feeling but I made them coconut and lime macarons, and they were darn good. I found fresh grated coconut at my Chinese grocer which gave them that really fresh coconut taste but these would also be lovely with dried coconut I reckon.

Macarons

2 cup Icing Sugar

1 cup Ground Almonds (sometimes called almond flour)

3 Egg Whites

2 tbsp Sugar

Sift together the almonds and the icing sugar into a bowl.

In your standing mixer fitted with the whisk attachment whisk the egg whites until frothy.

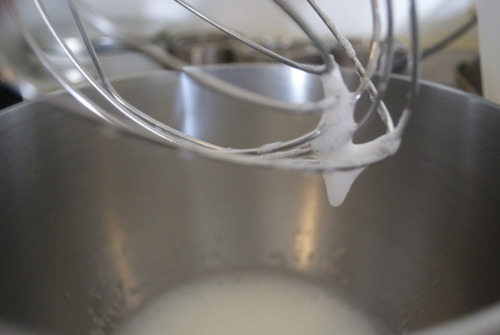
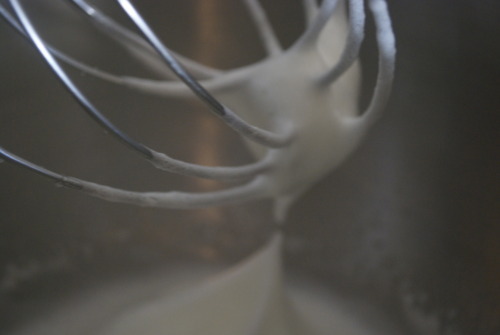
Slowly add in the sugar while whisking and then let run on high until stiff peaks form.

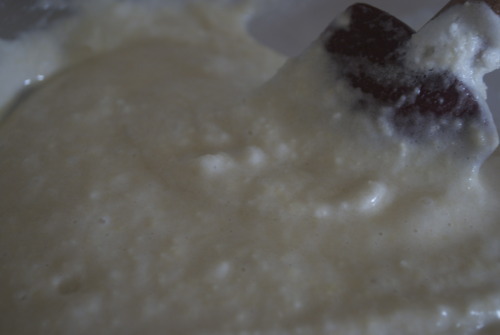
Carefully fold the egg whites into the almond mixture. This is really the only tricky part because you want to mix it until the batter is soft enough to spread out a bit when you stop stirring it.

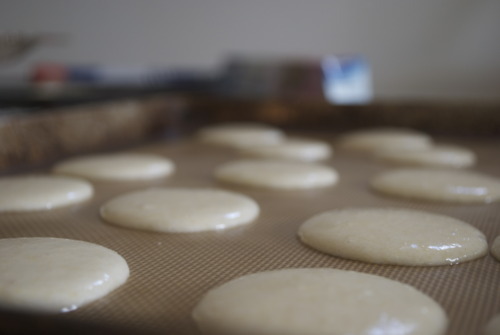
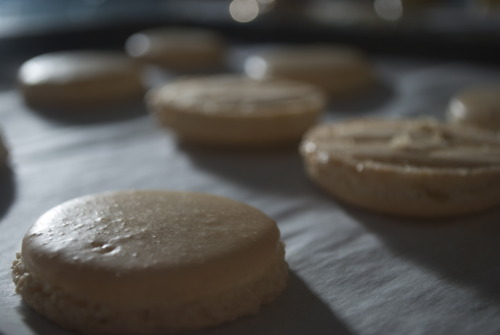
Put mix into a piping bag and pipe into 1 inch circles and spread about 1 inch apart, they will spread out a bit as they bake.

Let them sit at room temperature for at least 20 minutes or until a soft filmy skin has formed on the top the cookies.

Preheat oven to 350F

While the cookies are cooling make the coconut buttercream.

Coconut Buttercream

1 Egg White

1/4 cup Sugar

1/2 cup Butter, room temperature

3 tbsp Freshly grated coconut or dried unsweetened coconut flakes

1 tbsp Coconut Cream

1/4 tsp Lime Zest

 Get a small pot of water on the stove with 2 inches of water in it.

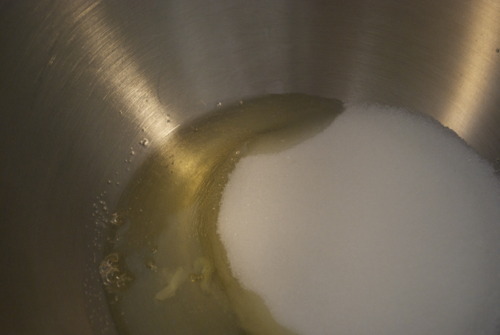
In the bowl of a standing mixer mix together the egg white and the sugar

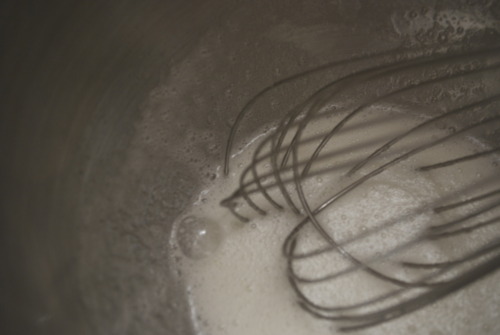
Place the bowl over the pot and whisk the egg mixture into it is hot to the touch.

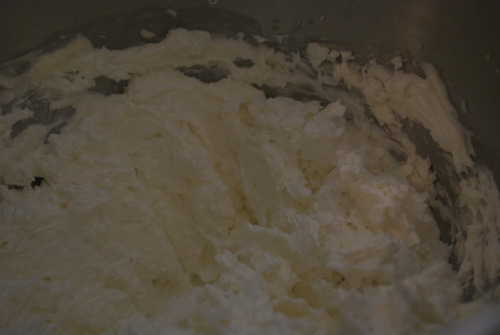
With your standing mixture fitted with the whisk attachment whisk the egg mixture until its smooth and glossy and holds stiff peaks

Slowly add in the butter, tablespoon by tablespoon until it’s all incorporated.

Add in the coconut and the lime zest.

Put icing into a piping bag and carefully pipe onto half of the cookie shells

Place the top cookie on top.

Gently pick up the cookie and press both sides together, again gently.

If you have the patience, chill them overnight in the fridge and then bring back to room temperature the next morning, for the very best texture.

But of course, you can eat one now. They look too good not to don’t they?