Sriracha +Maple Roasted Pecans

pecans-1.jpg

Here’s the thing: I have not been blogging enough lately. This little part of the internet has been in my thoughts so much these days, but I haven’t actually been writing and photographing and putting up here. It’s gotten a bit lost. I’ve been writing and photographing for other people. People like Edible Vancouver and the Vancouver Observer and HelloGiggles. But not here.

And I’ve been baking a lot too, for Merchants Oyster Bar, which just got a great review in the Globe and Mail, and even if the woman reviewing it made it sound like the chef was making the pastries, it was me, and she said nice things.

But mostly I’ve been baking for Livia Sweets the company. The super-exciting-can’t-contain-my-smile-when-I talk-about-it company that I own. That I make pastries for and sell. That people buy, and say nice things about on the internet. That fills me with so much joy I can barely handle it.

I’ve also been working hard with a design team to get this website spick and span with a new look, updated pages, lots more pictures of myself (which I’m a bit self conscious of truthfully) and that’s much more user friendly. You can leave comments again now! I can update the recipe index! I can add pages about my exciting new projects! It’s a lot of big improvements.

It’s been a very busy couple of months, the kind that knock you over sideways a bit and make you so exhausted that you end up getting strep throat that makes you cough so hard you have to take all sorts of herbs, and watch an entire season of Nashville in one week just get better.

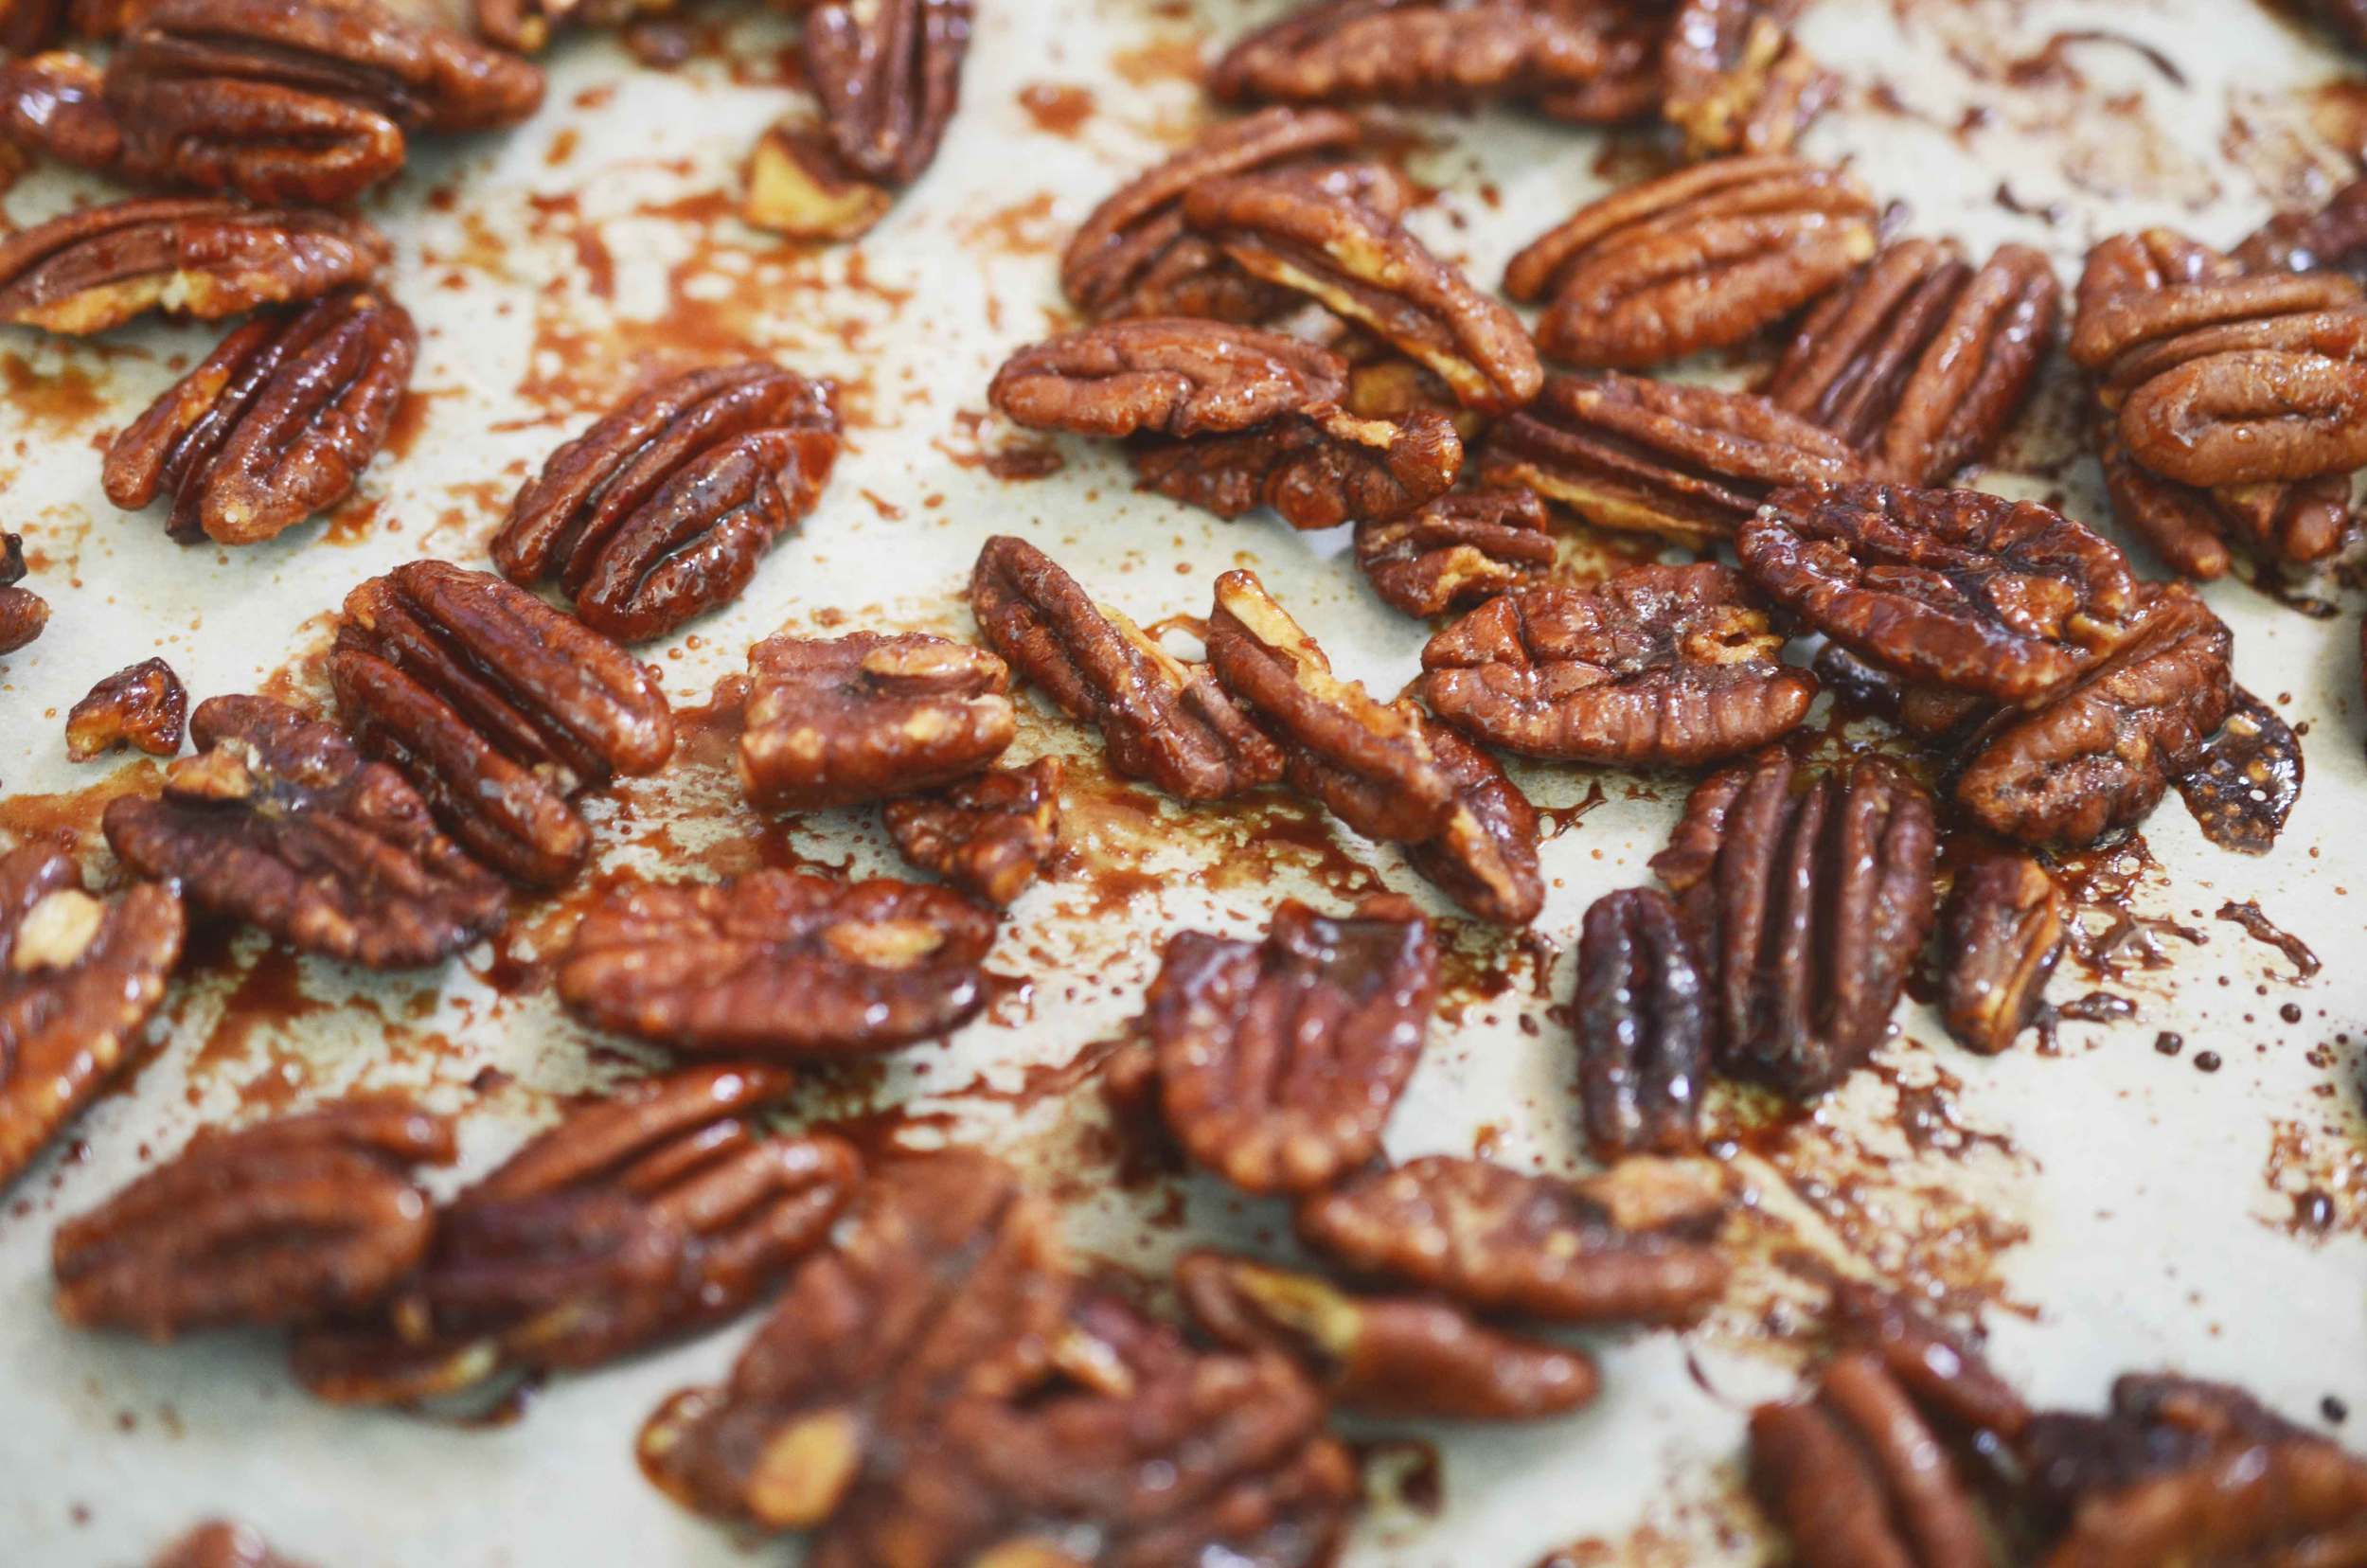
But now I’m feeling pretty good. I’m feeling pretty on top of things. And I’m going to ease you into a recipe with this one because it’s so painfully easy it feels like a cheat to give it to you, except you would all hate me if I didn’t because it’s so darn good. It’s crunchy and salty and spicy, but also earthy and sweet and exactly what I want in a bowl of pecans on my table. And also on my friends table because I’ve already been enlisted to bring her some after she saw my instagram picture of them only a few minutes ago. They are wonderful. And so are all of you, thank you for your patience these last few weeks.

pecans-2

Sriracha and Maple Roasted Pecans


2 cups Pecans

½ cup Maple Syrup*

1 tbsp Sriracha

2 tsp  Coarse Salt

*If you think maple syrup is a bit indulgent, or you just don’t have any kicking around, you can easily substitute honey or brown rice syrup, and it was be nearly as delicious.


Preheat your oven to 325F

Line a baking tray with parchment paper.

Mix together all the ingredients with your hands in a medium sized bowl and then sprinkle them out on the parchment lined tray and spread them out.

Bake for about 20 minutes, stirring every 5 minutes.

You’ll know they’re done when the sugar around them has stopped bubbling but instead looks crystallized onto the nuts.

Cool, and try not to eat them all in 5 minutes.


Tuesday Tutorials- Ganache and Coconut Truffles

Today, let’s take about Jordan.

He’s handsome, and charming. He’s so kind, sometimes it blows me away. He also has no problem saying no to me, which I find to be an incredibly great thing about him. He will bend over backwards to do anything for me, but if I’m bring a brat, he won’t hesitate to tell me.

He’s tall, but not too tall. He makes great cocktails.

Generally, he is an exceptional guy. I’m very fond of him.

His greatest fault though, is his lack of a sweet tooth. I am constantly shoving pastries around him, and he’ll eat a bite or two, and then move on. He’s supportive, he tells me if it’s great, but he’s not into eating a huge bowl of something.

Unless it’s chocolate. That man can down chocolate. Brownies, ice cream, cookies, consider it gone.  And above all, he has absolutely zero control when it comes to ganache.

He gets a sneaky look in his eye, and if I leave him near a bowl of it for an hour, the bowl will be scraped clean when I return. It’s actually kind of crazy.  And for that reason, I don’t make it often.

Except after Valentines. I always feel like guys have a rough go on Valentines, I mean, no one wants to be told that they have to be extra nice one day or they’ll get in trouble, even though no one really knows why they have to be extra nice. But none the less, off they go. Jord bought me some gorgeous flowers, made me a beautiful meal of pistachio roasted lamb and wild mushroom risotto, and took me to an awesome show. It was a wonderful night. And as such, I made some ganache.

This is the ganache recipe to end all ganaches. It is perfect in every way. I so wish that I had come up with it, but the geniuses at Eleven Madison Park did.

To make a ganache you are basically emulsifying chocolate with fat and liquid, and it can be a bit finicky. This one uses honey (well, if we’re being totally real here it uses cornsyrup, but I use honey because it’s more delicious and non GMO) and it helps the whole thing stay together. The butter we whisk in at the end makes it just the tiniest bit richer, and the whole thing has the perfect consistency for making truffles, or glazing cakes, or eating by the spoonful out of the bowl.

Sometimes, you have to give the man a treat.


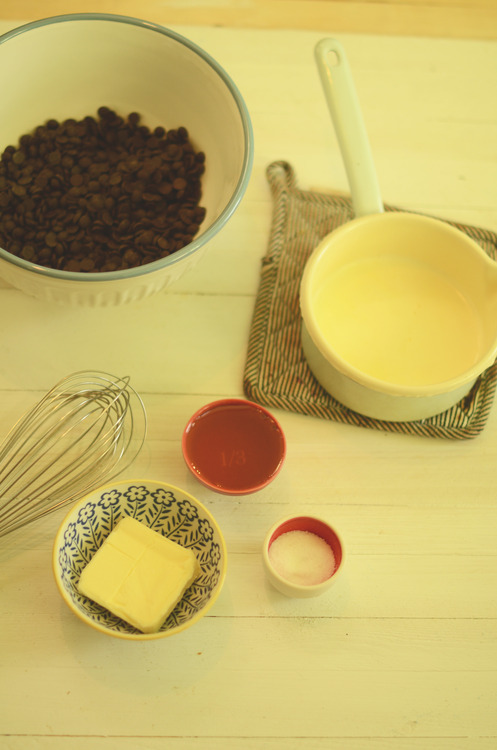
Honey Ganache

2 2/3 cup Heavy Cream (or Coconut Milk)

1/3 cup Honey

½ cup Butter

4 cups Chocolate chips, 60% cocoa or higher

1 tsp Salt


In a medium pot bring the honey, salt, and cream to a simmer.  Milk is apt to boiling over so be mindful.

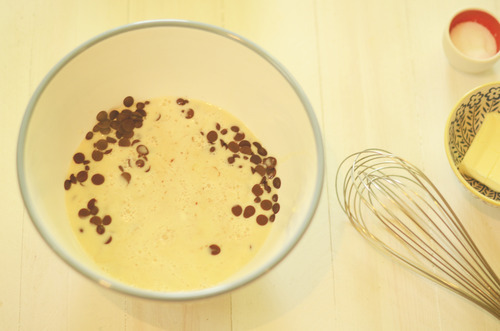
Pour the cream mixture over top of the chocolate and let sit for 1 minute.

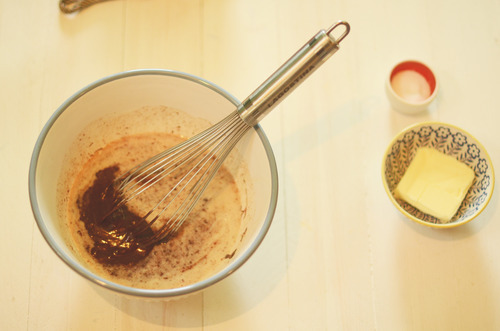
Use a whisk and gently stir the ganache to emulsify it, working just in small twirls in the center of the bowl until it is all mixed in together.

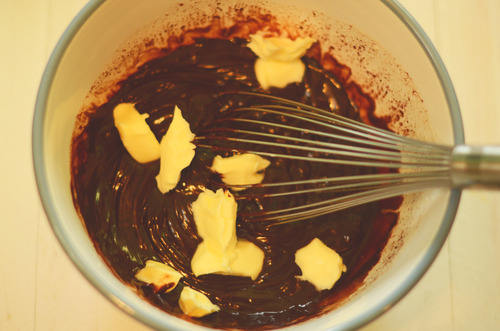
Add the butter piece-by-piece whisking until each piece is emulsified in before adding the next.

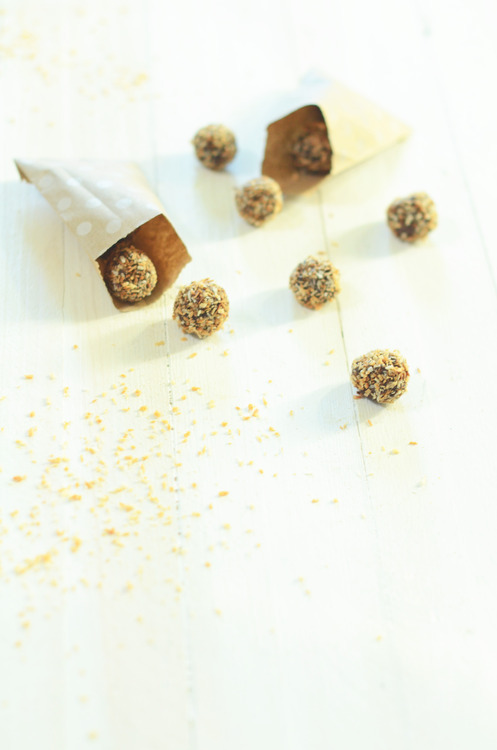
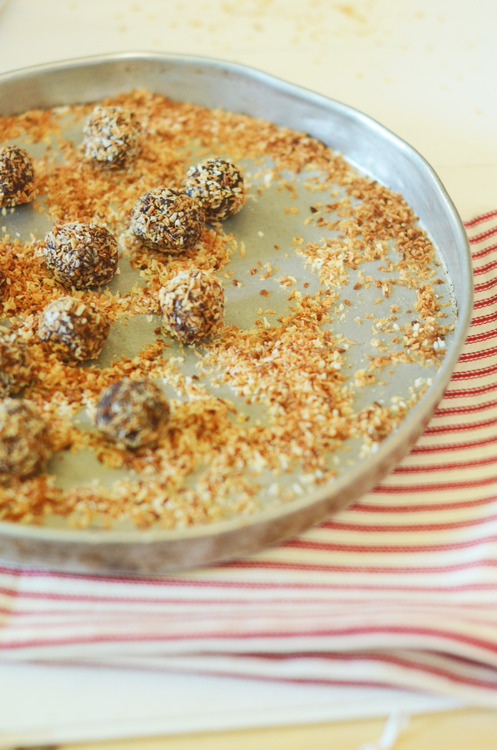
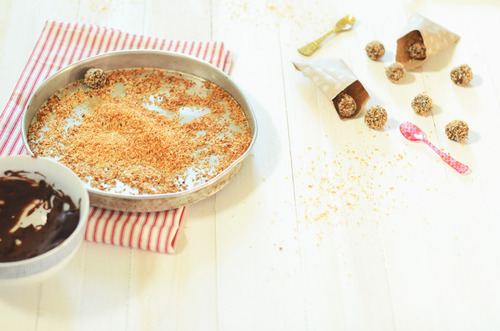
Use immediately if you are glazing a cake, if you want to make truffles or use it as a frosting allow to sit, covered with seran wrap at room temperature for at least 12 hours.  For these ones I used coconut milk instead of cream, and rolled the set truffles in toasted coconut. 

Stocking Stuffer Sundays- Caramel Bourbon Marshmallows with Free Downloadable Labels!

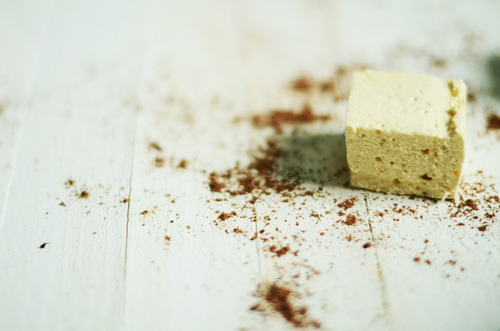
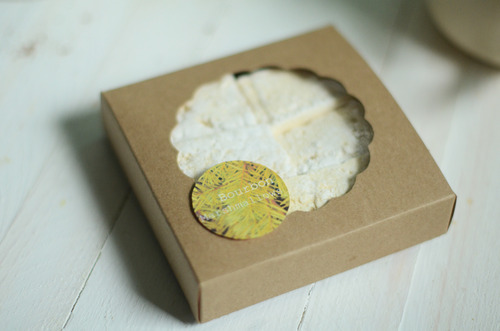
Have you ever made marshmallows? And then given them away? I mean you eat a few for yourself first, but then you put some in a cute little box and give them to a friend who’s sick, or stash some into a stocking. And then that person becomes your best friend.

Because homemade marshmallows are amazing.

They are the best ever.

They are soft, squishy, melt-y and most of, flavorful!

These aren’t those strange hardened pieces of sugar from the supermarket. They are filled with whatever your heart desires.

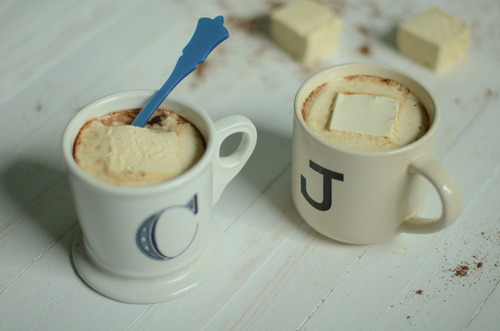
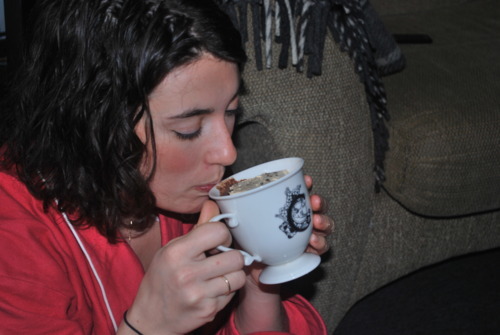
These days,  my heart desires bourbon. Which changes hot chocolate from this super sweet thing into something much more adult, and much more compelling.

CLICK HERE for the labels.

Caramel Bourbon Marshmallows

2 tbsp + ½ tsp Powdered Gelatin

2 cups Sugar

½ cup Corn Syrup

2 Egg Whites

1 tbsp Vanilla Extract

1 tsp Salt

2 oz Bourbon

In a small bowl mix together the gelatin and ½ cup cold water.

Mix ½ cup of water with the corn syrup.

In the bowl of a standing mixer fitted with the whisk attachment put the egg whites.

In a medium pot stir together the sugar and another ½ cup of cold water.

Put over medium heat with a lid on.

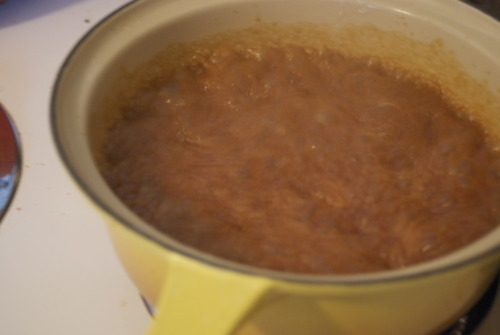
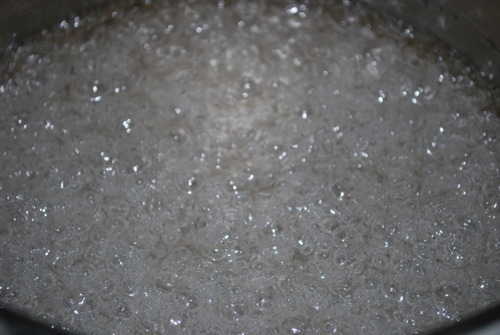
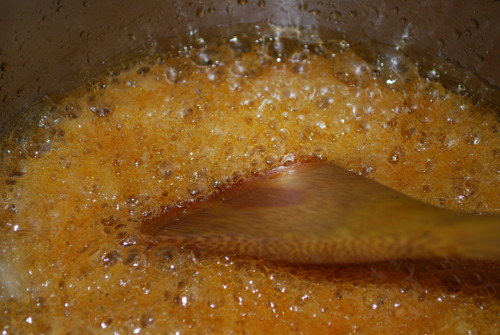
When the sugar is totally dissolved take the lid off and let the sugar bubble away until a auburn caramel color is achieved. Immediately add in half of the corn syrup mixture. It will bubble and spit like crazy so be careful! Stir for a moment, then put in the rest of the corn syrup.

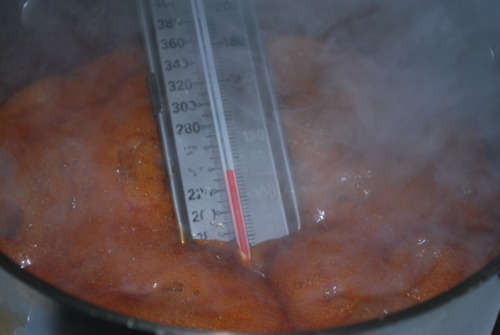
Put your candy thermometer in and, stirring occasionally, bring it up to 240F.

As the sugar heats up scrape the gelatin mixture in with the egg whites and turn the whisk on medium high.

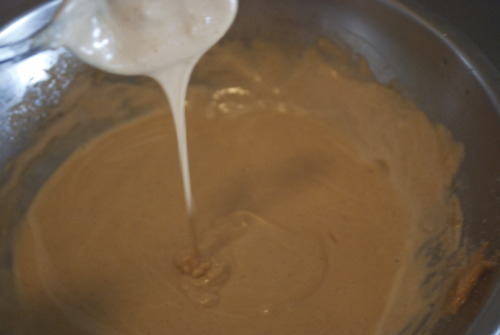
When the sugar is 240F slowly pour it down the edge of the bowl with the whisk running.

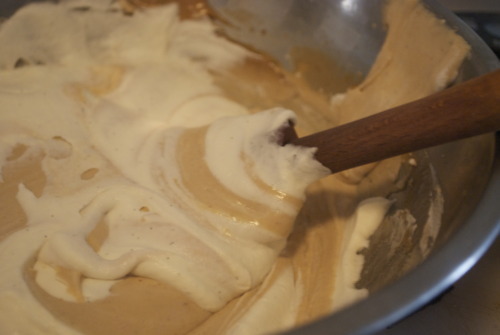
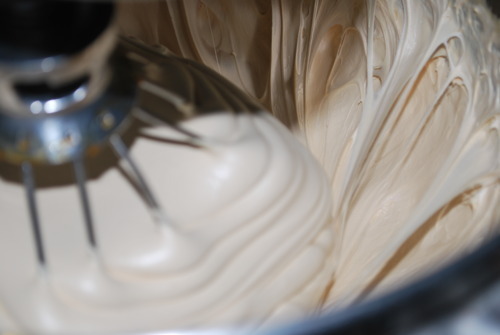
Turn it up to high and keep it running for about 10 minutes, until the mixture is very thick and pillow-y. Stir in the vanilla and bourbon.

While it’s running line an 8 inch square pan with parchment and grease liberally with canola oil.

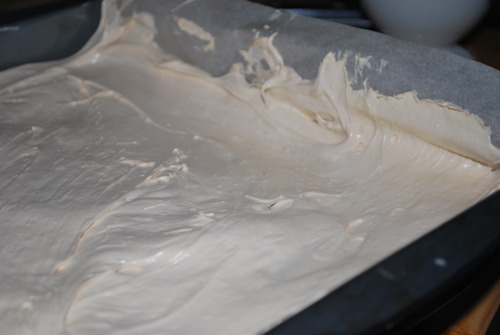
Pour the marshmallows into the prepared pan and let set for at least 6 hours.

Cut and bag!


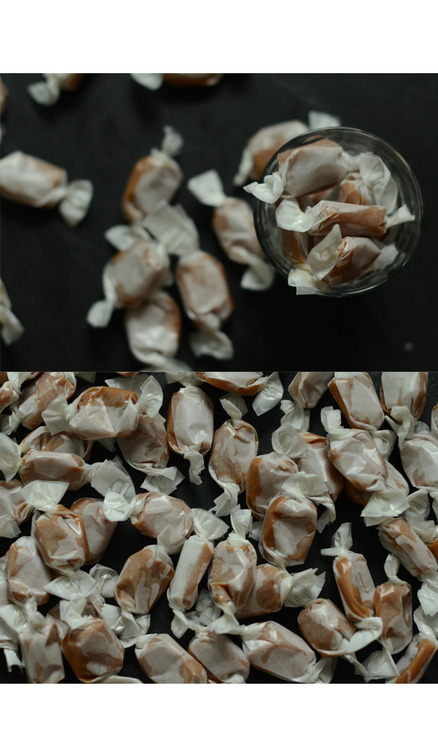
Stocking Stuffer Sundays- Calvados Caramels

Last Christmas was awful. Beyond that actually, last December was awful. It was single handedly the most stressful month of my working life, I learnt the important lesson of saying no, I can’t do that, albeit too late. And poor Jordan had major hip and knee surgery and couldn’t do much of anything without a lot of assistance. Which is why this year I decided we needed to truly get into the Christmas season and do everything we could do make up for last year.

This means dinner parties with friends, decorating our apartment even though we’ll be out of town for the actual day, and trying to just do little festive things for each other to get us in the spirit.

And then today it snowed! It never snows in Vancouver! I am so excited. It’s a little ridiculous.

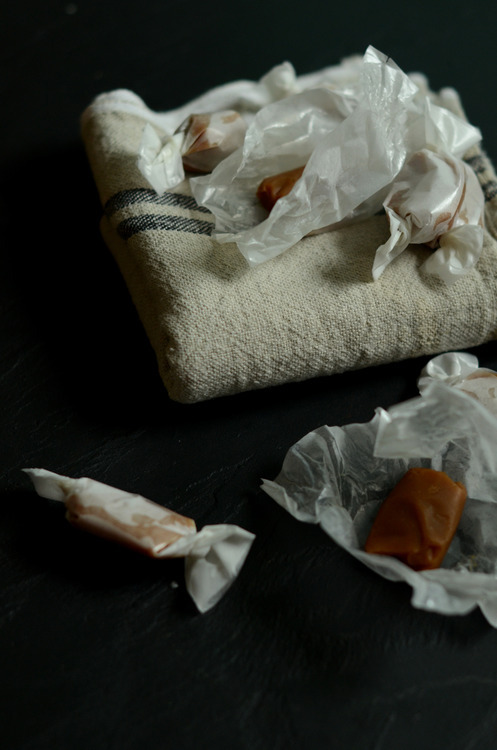
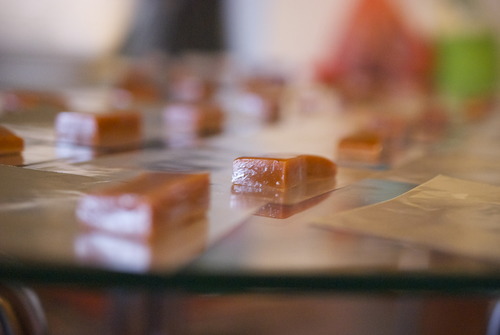
Also ridiculous are these calvados caramels. It’s like eating a candy apple, only much richer and unctuous. Little bags of these will be going in everyone’s stocking this year, and while you might be intimidated by any recipe that needs a candy thermometer, I promise these are actually very easy to make. 

Calvados Caramels

3 ½ c Sugar

1/3 cup Corn Syrup

¼ cup Water

200mL Heavy Cream

100mL Apple Cider

100mL Calvados

3 ¼ c Butter, cut into pieces

1 tbsp Salt

Line a baking sheet with parchment, and lightly grease. Put aside.

In a large heavy bottomed pot stir together the sugar, corn syrup and water.

Put a lid on it and bring it to a simmer over medium heat.

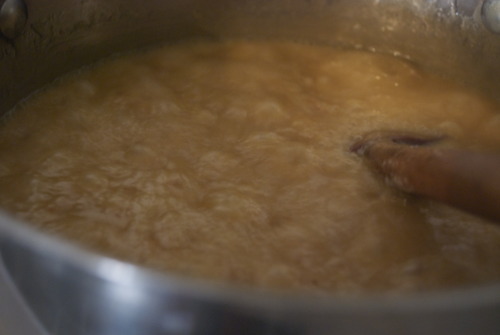
Allow all the sugar to dissolve with the lid still on- this helps keep sugar from crystallizing on the edges.

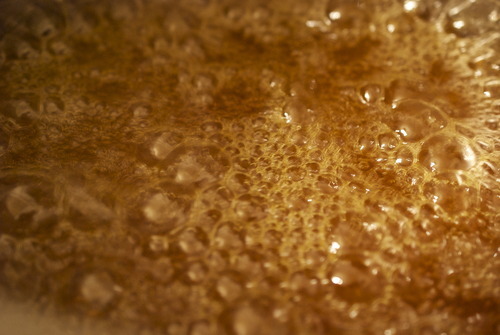
Remove the lid when it’s all dissolved and, without stirring, allow the sugar to caramelize.

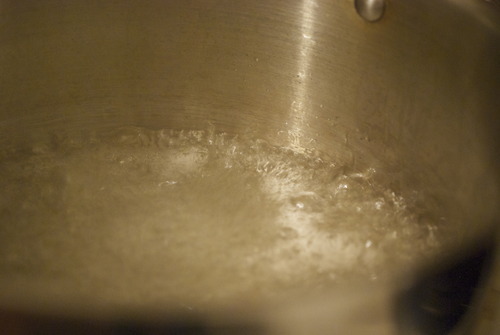
When it is a nice auburn colour add in the cream. It will spit and boil like crazy- it’s okay, just be careful!

Add in the apple cider and 50 mL of the calvados. Stir in the butter, piece by piece, with a whisk. DO not stop whisking, this will make sure it’s totally emulsified.

Put in your candy therometer and, while stirring constantly bring the caramel sauce up to 254F

Stir in the remaining calvados (again it will bubble and hiss, again be careful!)

Pour into prepared pan.

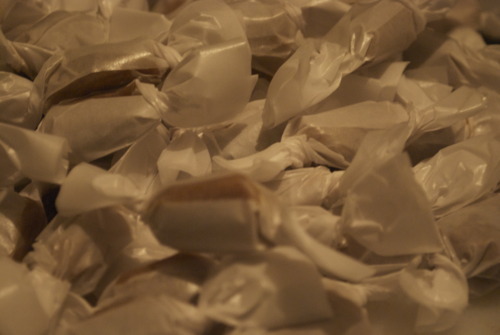
Allow to sit for at least 4 hours before cutting and rolling. 

Nutella Marshmallows, and some very fun times

image

I am a very lucky person. I am lucky for a whole lot of reasons, for my family, for my friends, for my job. But everyday I wake up and think, how did I get so lucky not only to find such a tremendous person to spent my days with, but also for him to have come from such a terrific family.

The horror stories about mothers-in-law do not apply. Mean sisters are not a concern, and grumpy fathers do not exist. Jordan’s family is a small miracle to me, because not only are they such great people, but they also have welcomed me in with reckless abandon, which is so appreciated when my own family is so far away. (which is my fault, I know.)

So when it was decided that we would throw Jordan’s parents a surprise party for their 40th wedding anniversary, I got excited.

image

(They were very very surprised!)

Here is something you should know about me- I love throwing parties. Like, a lot.

image

(Jordan’s Dad, Steve, looking very pleased with a stiff drink and a cigar)

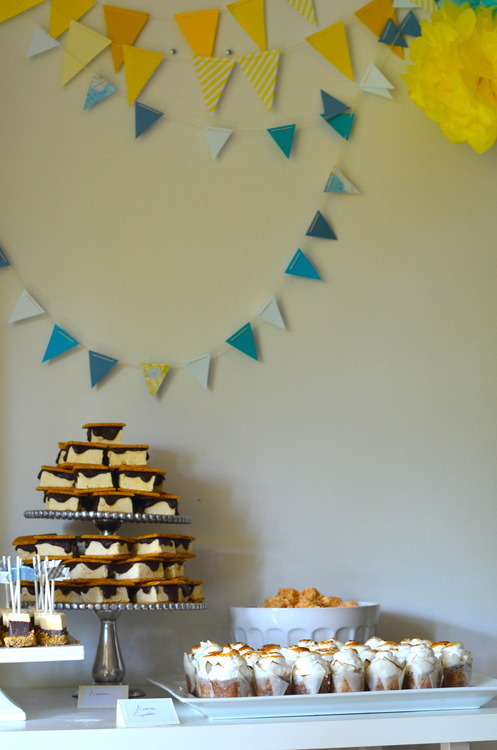
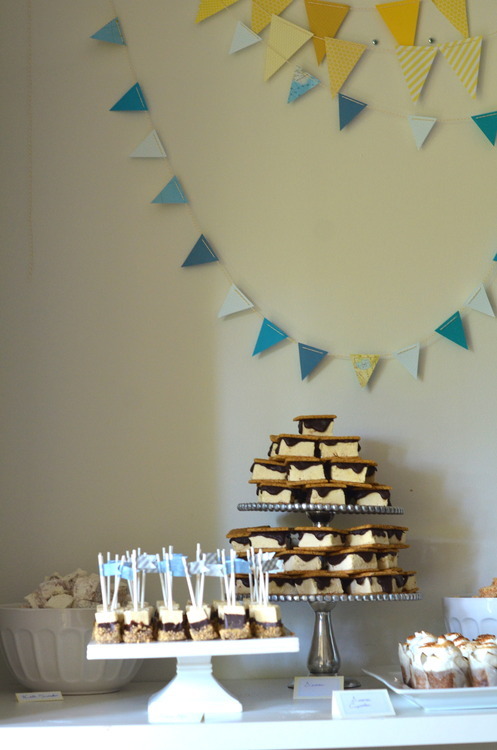
It was held at his older sisters house, because she has an incredible back yard, and as a group we made some pretty fabulous food (halibut sliders on brioche buns anyone?) made some great drinks (last weeks post on cherry bourbon for starters!) and I spent several weeks cutting out triangles of yards and yards of bunting, and spent hours deliberating what to do for dessert.

There was a lot of pressure on this.

In the end, I went with a s’mores theme. It was a backyard party after all. I made s’mores pops, s’mores cupcakes, straight up s’mores (with my caramel marshmallows to get that burnt sugar taste, and smothered in ganache) and laid out bowls of coconut marshmallows and Nutella marshmallows.

Guys, I’m not going to lie, I thought it looked pretty spectacular.

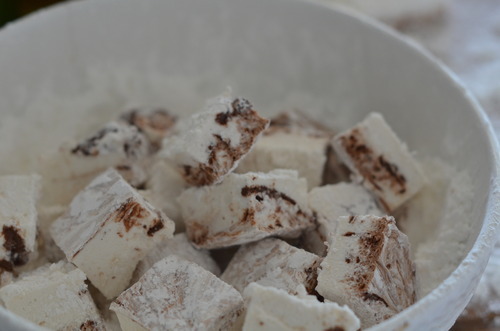
And while there wasn’t a lot left over, the biggest hit might have been the Nutella marshmallows. They were killer.

image

Actually, everthing was killer, it was a terrific party. His parents were so surprised (and as they’re anniversary is actually in a couple weeks they took several minutes just to figure out what we were yelling “Surprise!” about.) His dad was ecstatic, and his mom was thrilled, we drank, we danced, we played bocci, and we had a really really great time. With a really great family.

Nutella Marshmallows

2 tbsp + 1/2 tsp Unflavoured Powdered Gelatin

2 cups Sugar

1/2 cup Corn Syrup

2 Egg Whites

1 tbsp Vanilla

1 tsp Salt

1 1/2 cups Nutella

Icing sugar for coating.

Line an 8 inch square pan with parchment paper and oil it generously.

Sprinkle gelatin over 1/2 cup of cold water.

Put your egg whites in a standing mixer fitted with the whisk attachment.

In a medium pot mix together the sugar, corn syrup, and just enough water to give it the texture of wet sand (about 1/2 cup)

Put a lid on it, and put it on a burner with medium heat.

In a couple minutes give it a quick stir and then put the lid back on- this build up of steam in the pot will prevent crystals from forming.

Once the sugar has COMPLETELY dissolved, remove the lid.

Bring the heat up to high and put in your candy thermometer.

When the thermometer reads 230F start your mixer.

When the thermometer reads 240F mix the gelatin into the sugar mixture, and start carefully pouring the sugar into the mixer with the whisk running. It is important not to pour into the middle of the bowl- or all the sugar will splash to the edges. Instead pour the mixture down the side of the bowl, it’s okay if it sticks to one spot, as the marshmallows whip up in size they will pull any left over sugar in.

Keep the motor running for about 10 minutes or until the marshmallows have become big, white, fluffy, and marshmallow-y looking. The bowl should be nearly cool by now.

While you’re waiting for that to happen, warm up the Nutella either in a microwave or in a double boiler, until it is fairly thin.

When your marshmallows are ready, pour them into your prepared mold- move quickly! They will firm up quickly now!- and spread them out with an offset spatula.

Now pour the nutella on top and swirl in with toothpick, or chopstick. It’s important to mix them in really well.

Allow for them to firm up completely, about 4 hours, or overnight.

When they are ready to cut use ample icing sugar on every surface! Cut into the desired shape, roll in icing sugar, and eat!

image

Marshmallow Birds Nests, and Other Cute Things

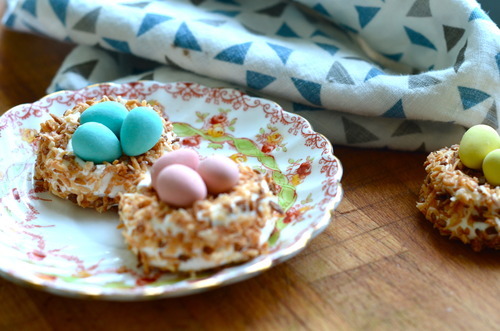
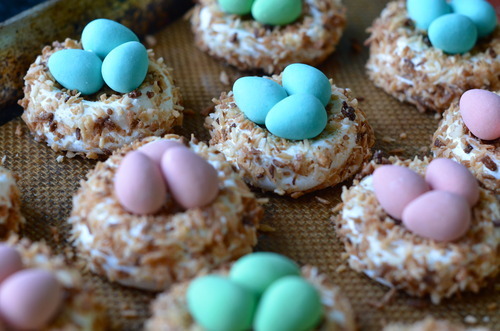
 tend to have an issue with food that values being cute over being delicious. It’s just not my cup of tea. It’s not that I have a problem with food that looks sweet, but like cake pops, or cakes covered in fondant, I just don’t totally get it.

And yet… Easter. It just wants you to make overly cute things. And it wants you to give those overly cute things to the insane cuteness that is your niece and nephew.

Friends, I am obsessed with my niece and nephew. They are the kids I want one day, they are the kids you dream your boyfriends sister will have, and they are the kids you dream of babysitting. They are that cute, that well behaved, and that affectionate.

And so my thoughts on overly cute foods has been over ridden, by my love of overly cute kids.

I’m sorry.

Except I’m not really, because these are also super tasty. They are basically just toasted coconut marshmallows (delicious) with Cadbury Mini Eggs on top, and I’m not going to pretend that I’m above a Cadbury Mini Egg at Easter time. I’m totally not above it.

*PS don’t forget to enter the giveaway from earlier in the week! The winner will be decided on Wednesday!

3 pkgs Unflavoured Gelatin

1 1/2 cups Sugar

1 cup Corn Syrup, Brown Rice Syrup or Cane Syrup

1 tbsp Vanilla Extract

1 tsp Coconut Extract

2 cups Shredded Coconut, toasted*

2 tbsp Icing Sugar

3-6 drops Lemon Juice,

Cadbury Mini Eggs

*Toast the coconut by putting it on a tray in a thin layer in an oven preheated to 325F.

When it get’s nice and brown you’re in business.

Line two baking sheets with a silpat or parchment paper. Spray them with cooking spray or put a bit of a neutral oil, like canola, on a cloth and wipe it on the parchment/silpat. Marshmallows can be very sticky.

In the bowl of an electric mixer fitted with the whisk attachment, stir the gelatin with 1/2 cup of cold water. Let sit.

Meanwhile in a medium pot mic together the sugar and syrup with 1 cup of cold water. Put the lid on and over medium heat bring to a boil, stirring occasionally to make sure all the sugar has dissolved.

Once the sugar is completely dissolved take the pot lid off and turn the heat to high. Put in your candy thermometer and cook until the syrup comes to 240F

Pour the syrup into the mixing bowl and quickly turn the mixer on to medium, and then once it starts to thicken, to high.

Keep it on, after about 10 minutes your mixture will be thick and white, and starting to pull away from the edges as it turns.

It will thicken quickly so this part has got to be quick!

In a piping bag fitted with a medium plain piping tip, pipe the nest. Pipe a small circle and then go around the edges to create the sides. They will slump down a bit as they cool.

Allow to cool and harden for at least 6 hours, or overnight.

Put the toasted coconut into a bowl and put your marshmallows in, one at a time. Depending on how long you let them dry you may need to press the coconut in to make them stick. That’s okay.

Now mix together the icing sugar and lemon juice.

Dip one side of each egg into the frosting and use it as glue to stick the eggs into the nests.

AND now give them to cute small children and be merry.  

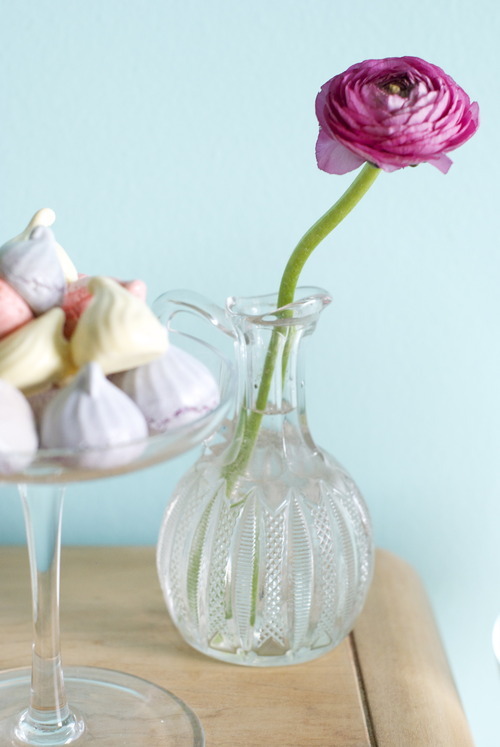
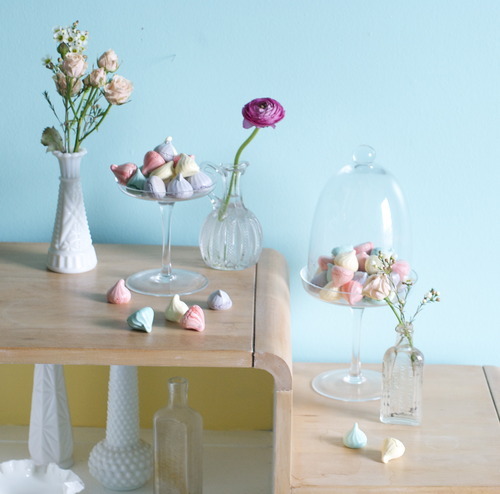
Spring Coloured Meringues

image

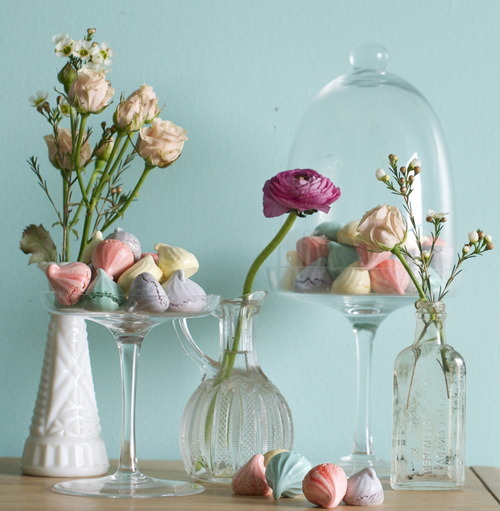
When I first moved into this little apartment it was all sorts of crazy colours, there was purple, and lots of yellow and the living room was a bright Tiffany’s blue. And I hated all of them, I painted it all white, but the blue. For some reason I just needed the blue. After living here for 5 years, I think I’ve finally figured it out- it reminds me of the sky that we only get a couple months here.

See, Vancouver does this thing, this dreadful thing where it rains all the bloody time. It starts in late September, early October if we’re lucky and it keeps raining until May, or June, or sometimes, even July. I’m not joking, we sometimes only get 3 months of sunshine. Last year was one of those years, and maybe that’s why I feel like I’m struggling so much with it right now.

My saving grace in all this rain is the flower shop I live on top of. It regularly wins best florist in the city and with good reason, it has the most gorgeous blooms in every imaginable colour, all the time. And even when everything is grey and gloomy and damp when I walk out my door I see heaps and heap of fresh flowers. They even take the old roses and sprinkle their petals half way down the block, to bring a bit of colour even further. They really are the best.

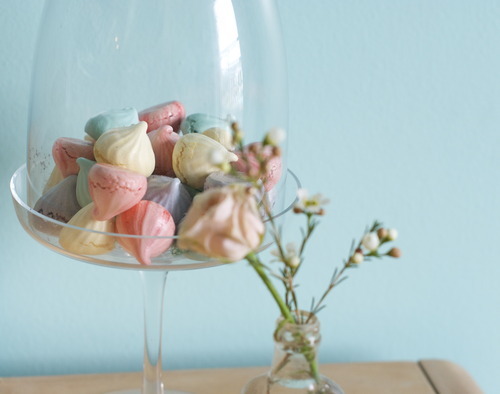
So lately I’ve become obsessed with their colours, the soft peachy ranoculous, the bright red of the tulips, and these soft yellow roses, oh those roses. They give me hope that it is sunny somewhere in the world. And so I made these meringues to bring some more of that colour in, because in this dreary grey city, sometimes you just need colour.

Spring Coloured Meringues

6 Egg Whites

1/4 tsp Salt

2/3 cup Sugar

1 cup Icing Sugar

1 Vanilla Bean, OR 1 tsp Vanilla Extract

Food colouring

Preheat your oven to 200F

In the bowl of a standing mixer fitted with the whisk attachment, whisk the egg whites and the salt until they hold soft peaks. 

Tablespoon by tablespoon add in the granulated sugar, letting the sugar you added before be mixed in completely before adding in the next. 

Now let it keep running until it holds very stiff peaks, if you’re unsure just keep it on for another 20 seconds or so. It’s very important that it is very stiff. 

Add in your vanilla bean or extract. 

Now dump in all the icing sugar and mix that in- bring the speed down to low so the sugar doesn’t fly everywhere. 

Divide the meringue into as many bowls as you want colours- I did 4. 

Add the colouring and mix until they are all combined, or not and let it be swirly- it’s up to you!

You can use any piping tip you want to here, star tips are popular, so are just a plain circle. It’s up to you!

Now just pipe them onto trays lined with parchment or a silpat (don’t grease the trays though!! Your meringues will ruin if you do!) and bake for about an hour and a half until they are completely dried out. Check them every 25 minutes or so to make sure they aren’t getting any colour. If they are browning turn down the heat and rotate the trays. 

Allow to cool completely then eat, decorate, or put in baggies for gifts- these will store for up to a month in an airtight container. 

Stocking Stuffer Sundays- Malted Chocolate Marshmallows

I am very very lucky to have such a wide network of incredibly creative people. And I am even more lucky to have a wide network of creative people with whom I barter. I make cakes for my friend who cuts my hair and I baked for a friends gallery opening in exchange for a photo shoot. In high school I traded my (admittedly limited) seamstress-ing skills for clothes at a vintage shop, but recently I’ve noticed that if I just ask, people will just help out.

Which is what I did with my graphic designer when I started thinking about doing “Stocking Stuffer Sundays” and that is what the super talented Jen Cook did. She helped out.

Jen made my beautiful website, and now she’s made some beautiful labels for you.

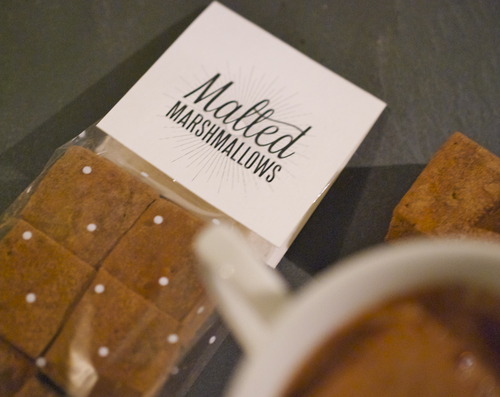
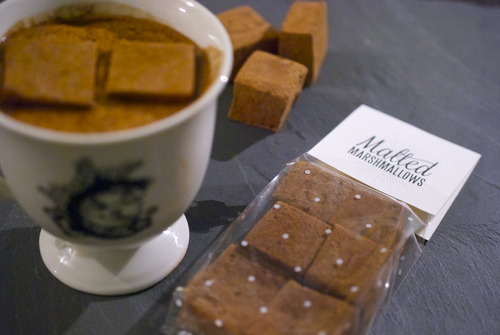
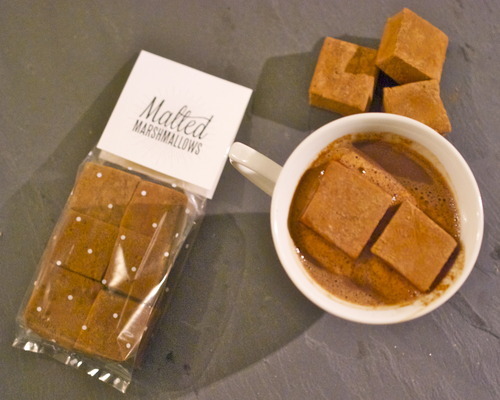
Every year I make marshmallows for stocking stuffers. Every year there a fan favourite. There is something that is all kinds of wonderful about homemade marshmallows. For starters they are completely unlike the store bought variety, they are softer, denser, and you can flavour them with just about anything. Anything, that is, that you want to put in hot chocolate.

I like marshmallows plain, I do, but the real home of a marshmallow is in hot chocolate. Let’s be clear on that.

These are chocolate marshmallows, with lots of cocoa powder in them, but they also have a bit of malt, which for me is very nostalgic. Partly because I drank ovaltine as a kid, and partly because I used to listen to the song “Malted Milk” by Eric Clapton all the time. So it’s twice the memories plopped into a steaming mug of hot chocolate.

So basically what I’m saying here, it tastes like happiness. 

For Labels Click Here

Chocolate Malted Marshmallows

Adapted from Shauna Server

2 tbsp unflavored powdered gelatin
1/3 c cold water
1 cup granulated sugar
1/2 cup corn syrup, divided
Pinch of salt
1/4 c unsweetened cocoa powder
1/2 c malted milk powder
6tbsp boiling water
1tbsp vanilla extract

For Rolling

2/3 c Icing Sugar

1/3 c Cocoa Powder


Mix the gelatin and the cold water in a small bowl. Let sit for at least 5 minutes. 
In the bowl of a standing mixer, fitted with the whisk attachment, dissolve the cocoa and malted powders in the boiling water. Add in the vanilla. Mix in the gelatin mix. 

In a small pot mix the corn syrup with the corn syrup, the sugar, and 1/4 cup water. put the lid on it and on medium heat bring to a boil. When all of the sugar has dissolved take off the lid, turn it up to high heat and put in a candy thermometer. Bring the sugar mix to 242F. 

When the sugar is at 253F turn the mixer on medium. When the sugar mixture has come to 242F slowly pour into the mixer, creating a slow and stead stream down the side, being careful not to let it splash around the sides. 

Turn the mixer to high and let it run for 10-15 minutes or until it is thick and pale. 

While this is happening line a 10 inch square baking pan with cling wrap and grease it liberally. You can do with this with Pam or another spray or with some canola oil and a paper towel. 

When the marshmallows are ready pour the mixture into the prepared baking pan and  smooth with an offset spatula. Allow to sit for at least 8 hours. 

Cut up into whatever size you like, squares are most effective but I’ve seen really cute snowflakes and all sorts of shapes. Roll them in the sugar and cocoa mixture and package them up as you please!


Tuesday Tutorials- Gingerbread Caramels

People are intimidated by candy. Which seems odd to me, I mean, everybody I knows has a favourite candy, everyone I know has old memories about candy, and yet people are terrified to make it themselves.

Candy is all about sugar. Sugar does amazing things, keep it in a pan and it turns to caramel. Twist it at the right moment and it becomes toffee. It can be shatteringly crisp, soft and pliable, or melting and sandy, it just depends on how you treat it.

Caramels are one of the easiest pieces of candy to make, and I’m not just saying that because they’re my favourite. I promise.

Here are things to remember:

  • Sugar can crystalize. It can do this in several ways, and once it starts your whole caramel is toast. Sugar wants to crystalize, if there are bits of crystalized sugar on the edges it will spread, and if you can start it crystalizing by stirring it.

  • Preventing crystalization is really very easy. Most people tell you take a damp pastry brush and brush the sides of the pan to make sure that all of the sugar dissolves. This is silly. You can just put a lid on it. (if you like it then you shoulda putta…. sorry. I had too.) The condensation will make sure all the crystals dissolve.

  • Make sure you have everything ready when you start. Once the sugar starts to caramelize it will happen quickly, to be on top of it, be prepared. In a restaurant we call this “mise en place”

These are the best caramels I know how to make, and they are rivalled only by the ones I ate in Paris that were made with Normandy cultured butter and full of chopped hazelnuts. These ones are very buttery, and have a very strong caramel flavour without ever being bitter. They are all kinds of wonderful. You can make this recipe without the seasonal adjustment, they are fantastic as classic salted caramels, but it is December after all, so these are Gingerbread Caramels, and they are my favourite.

3 1/2 cups Sugar

1/3 cup Corn Syrup

1/4 cup Water

400mL Heavy Cream

2 3/4 cup Unsalted Butter

1tbsp Cinnamon

1tsp Cloves

1tsp Ground Ginger

1/2 tsp Nutmeg

1/4 tsp Ground Fennelseed

1tbsp Fancy Molasses

1tbsp Salt

*if you don’t want to make gingerbread molasses simply don’t add in the cinnamon, cloves, ginger, nutmeg, and fennelseeds, and instead add 2 tablespoons of salt.

In a large pot with deep sides and a secure lid mix together the sugar, corn syrup and water. Put a lid on it at put the pot on medium heat. After 4-5 minutes go and check on it. If it is totally clear and bubbling and there is absolutely no trace of sugar crystals take the lid off. If there are give it a quick stir and put the lid back on. Keep doing this- although don’t stir more then once every 3 minutes) until it is completely clear and there is no trace of a crystal anywhere. Then take off the lid. Once you have given it a last stir put that spatula in the sink. It will have bits of crystalized sugar on it which you don’t want to reintroduce to the mix. SO if your anything like me, you’ll need it out of arms reach or you’ll grab it accidentally.

In a small pot nearby mix the heavy cream with the salt, molasses and all the spices, if using and gently bring to a boil. Once it has come up put a lid on it and keep it on the burner so that it stays warm.

Keep an eye on your sugar. Don’t mix it once you take the lid off it, instead give it a bit of a shake every once in a while. Keep the heat on medium, it will take longer to caramelize but you will get a nicer more even flavour.

After a few minutes the sugar will start to turn brown, slowly. Give it a shake so that it’s not getting darker in one area.

Once the whole thing has come up to a nice deep auburn color turn off the heat and add in the cream.

The cream will hiss and steam and bubble. It will be alarming, but don’t be alarmed. Take a whisk and stir it being careful not to burn yourself from the steam.

Now add in the butter, piece by piece while whisking it like hell. You can use an emersion blender for this if you’d like, many people do, but mine doesn’t work very well so I do it by hand. It’s a bit of a workout.

Now bring the heat back up to medium and start cooking your caramel. You will have to stir it the whole time so use a rubber spatula so that you make sure you get into all the nooks and crannys and slowly, carefully watch the temperature rise with your thermometer.

When it comes up to 254F take it off the heat and immediately pour it into your prepared pan. Do not scrape the bottom of the pot, the temperature will have made the remaining bits harden, but do scrape the sides.

Allow the caramels to cool for at least 6 hours before cutting and wrapping them.

Pumpkin Spiced Caramels

image

Things I like about Halloween:

  1. Costumes- not the ridiculous slutty ones but the cool ones, the ones that let you dress up as people you admire or at least admire their style. I for one, have been Audrey Hepburn many times, and you know I love Audrey Hepburn.

  2. Candy, chocolate, caramel, toffee, caramel apples, chocolate covered marshmallows, nutty things. Candy and me, we go way back.

  3. Pumpkins, carving pumpkins, picking pumpkins, pumpkin seeds, I love me a gourd what can I say.

Things I don’t like about Halooween:

  1. Slutty costumes (I mean really, what is a slutty panda bear anyways!?).

  2. Scary movies, seriously. I am scared of everything. Harry Potter, Twilight, you know the non scary movies. I am totally scared in them. This is, needless to say, a huge disapointment to my boyfriend who’s dad had them watching the Excorsist at age 7.

  3. Halloween baked goods. I don’t want my cookies to look like spiders, I don’t want cakes with bloody fingers on them, and I don’t want bugs in my puddings. I just don’t.

image

Because of my love of Halloween one of my dearest friends in the world is coming over and we’re carving pumpkins, drinking mulled wine and joining the parade that happens on my street every year. I love my neighbourhood and the Parade of Lost Souls (which, before it started happening and we just saw signs we thought was an anti-abortion march. Not the case.) And because of my hatred of all things that look Halloween-y but my love of both pumpkins and candy, here is a wonderful recipe for Pumpkin Spiced Caramels, not nearly as hard as it might look, although you do need a candy thermometer. You also need friends because this makes about 100, and I have tried to get through them, and well, that’s what friends are for. Candy eating, wine drinking, and parade going right?

*Update: I recently made Gingerbread Caramels, and with that recipe wrote a bunch about the does and don’t of caramel making! You can get that information HERE if you so wish. 

Pumpkin Spice Salted Caramels:

1 cup Butter

1 1/4 cup Brown Sugar

1 cup White Sugar

1 1/4 cup Corn Syrup

1x 14oz can Sweetened Condesnsed Milk

2 tsp Cinnamon

1/2 tsp Numeg

1/2 tsp Cloves

Grease an 8in square pan. Line it with parchment paper , using two pieces to go both ways and then hang over the sides. then grease them too. Don’t skimp here, it will make your life easier in the long run.

In a pot with deep sides add in all the ingredients except the spices and the salt and bring it up to a boil. 

image

Put your candy thermometer in and, while stirring constantly, bring up to 245F.

Make sure you stir it the whole time, it will burn in a heartbeat if you let it. 

As soon as it comes to 245F add in the spices, stir to combine, make sure it’s all mixed in, and then quickly pour the mixture through a fine sieve into your prepared pan.

Sprinkle with salt, if you so wish!

image

Let this chill for several hours or overnight. This makes a lovely soft caramel but it is tricky to cut, so put it in the fridge for about 20 minutes before you do.

image

Cut into pretty little squares and wrap in your wrappers.

image

Wunderbar Tart

While I am not a big fan of my birthdays, nearly ever, I get borderline obsessed with other peoples. I will always go overboard.

I love giving presents, I love cards (seriously, I can spend days this shop) and, not surprising to any of you I’d guess, I love making cakes. A lot.

So you can imagine that there is a serious amount of planning in making Jordan’s birthday cake.

I deliberate over flavours-it has to be chocolate, but chocolate hazelnut? Chocolate caramel? Chocolate pumpkin?

And textures, are we wanting dense and rich? Or light and whipped? Maybe with a crunchy layer somewhere, perhaps a praline?

Basically, I go on like this for a long time. I write notes, then I doodle pictures of what I want it to look like. I check online for inspiration, then later then I should, I make something and barely get it done in time, if I’m being honest here.

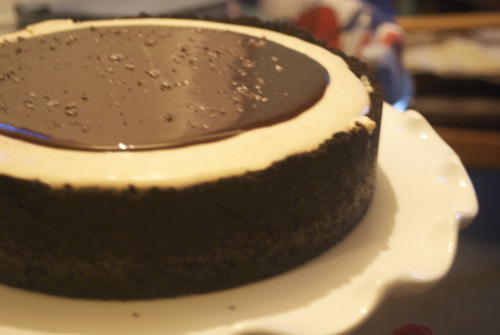
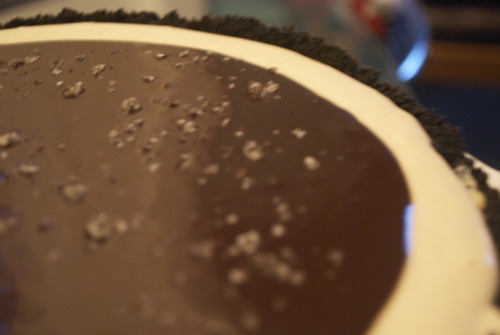
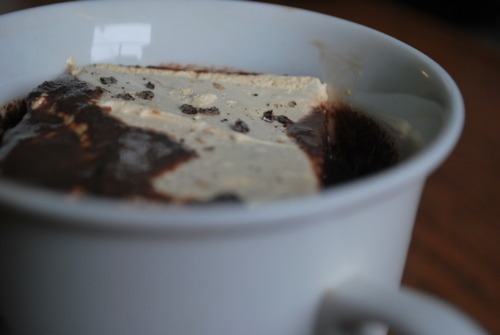
This year it wasn’t a cake per say, it was a mousse tart, a chocolate base, a thick layer of creamy caramel, a whipped mousse of peanut butter just firm enough to hold it’s shape when sliced, and topped with a layer of chocolate ganache gently sprinkled with maldon salt.

It’s an extremely grown up version of a Wunderbar, which just so happens to be Jordans favourite.

It’s also happens to be extremely good.

Wunderbar Tart/Peanut butter, Caramel Chocolate Tart

Adapted from this recipe

Crust

16 oz Chocolate wafers, or Oreo Crumbs

8tbsp Butter, melted

Caramel

1 cup Sugar

3/4 cup Whipping Cream

4 tbsp Butter

1 tbsp Vanilla Extract

Peanut Butter Mousse

1 cup Peanut Butter

3/4 cup Whipping Cream

4 tbsp Sugar

1 tbsp Vanilla Extract

Chocolate Mousse

8oz Chocolate

1/2 cup Cream

1tsp Salt-because I’m the sort of person who keeps vanilla salt around I used that and it was wonderful, but regular fleur de sel or maldon salt it lovely. Just make sure it’s a flaked salt not a chunked salt.

Caramel:

*Make sure you have everything you need for this measure out as caramel can go from light brown to black within seconds. Also, use an extremely clean pot.

Put sugar in pot with just enough cold water to give it the texture of wet sand.

On medium heat cook this mixture stirring occasionally until sugar dissolves.

Take out spoon and bring heat up to high. Shake pot occasionally and watch it carefully.

When it turns amber color immediately pour in the cream. It will bubble up and splatter so be careful!

Add in the butter and vanilla. Allow to cool completely.

Make Crust:

Preheat oven to 350F

Mix butter and crumbs together

Press into a 10inch spring form pan, or a pan with a removable bottom, or 10 small tart shells

Bake until the crust just begins to firm, about 10 minutes. Cool completely.
Make Mousse:

Bring a couple cups of water to a boil.

Slowly add the water a few tablespoons at a time to the peanut butter stirring well until it is smooth, easy to stir and forms slowly dissolving ribbons when you pick up a spoon and let the mixture fall back in. It took more water then I thought it would, don’t be alarmed!

Let cool.

Meanwhile whip the cream and sugar to stiff peaks.

Once the peanut mixture is cooled fold in the whip cream and the vanilla.

Make Ganache:

Bring cream to a boil

Pour over the chocolate and stir until it is smooth.

Assemble:

Pour the caramel into the cooled tart shell. Let it set in the fridge for at least 10 minutes.
Pour the mousse over the caramel and smooth with an offset spatula.

Pour the chocolate over the mousse and smooth.

Sprinkle with the salt.

If I Only Had A Fireplace...

A few years ago I threw my back out very badly. There were torn ligaments and much pain and I was forced to take several months off work. I couldn’t stand for more then an hour or so at a time so it was hard to much of anything. Except bake. Did you know you can bake almost anything and then sit down for a while. Baking is by nature the art of patience, you have to wait for things to bake, to cool, to rest. Baking is made for people with bad backs (this is only true of at home baking, professional baking requires lifting 20kilo bags of flour, kneading enormous pieces of dough, and standing on your feet for at least 12 hours a day.) So I baked. I baked and I baked and I baked. Christmas fell in that time period and I made every single thing from the Martha Stewart Christmas magazine. Every single thing. There were some hits, like her shortbreads, some misses, like the pomegranate jelly, but most things have faded into the recesses of my brain along with the other million things I’ve baked. The one thing I remember most accurately are the marshmallows.

If you’ve never made your own marshmallows before you might not know that they have a delicious flavour.

You might not know that they are lighter and less chewy then store bought ones.
You might not know of the amazing flavours you can give them.

You might not know a lot of things that you probably should know. So you should probably make them promptly.

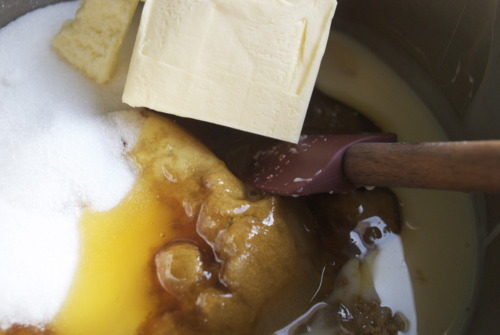
I have played around with my marshmallow recipe lately and so I am giving you the basic recipe which you can make but I have been caramelizing the sugar first so that it hints of the roasted marshmallows, and I have been putting salt on them because I’m trendy like that. If your wondering what the black stuff is on top of the marshmallows it’s vanilla salt because I am compelled to buy things like 17 dollar salt. But regular old salt is more then fine, and you’ll be $17 the richer. Which is a plus. I do wish I had your self control.
Marshmallows

2 tbsp + 1/2 tsp Unflavoured Powdered Gelatin

2 cups Sugar

1/2 cup Corn Syrup

2 egg whites

1 tbsp Vanilla

1 tsp salt

Sprinkle gelatin over 1/2 cup cold water

Line an 8inch square pan with parchment and oil it generously.

In a pot mix 1/4 cup water with the sugar

On medium heat stir until sugar is dissolved.

Bring heat to high and let caramelize to an amber colour

Immediately bring off heat and add in half cup of water and the corn syrup. (it will boil up like crazy so be careful!)

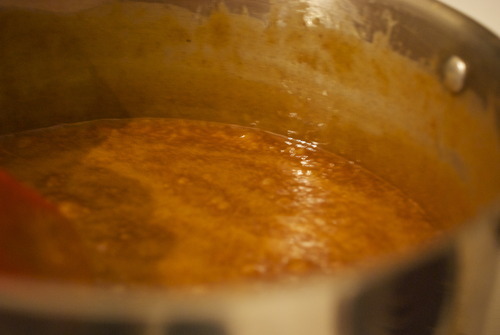
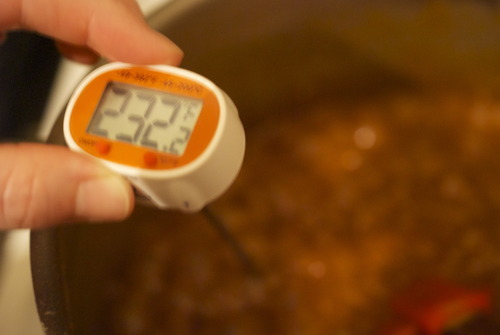
Put in your candy thermometer and bring to 240F or the soft ball stage. Don’t be alarmed at how dark it gets at this stage, but do stir it to prevent it from burning at the bottom.

Meanwhile in a mixer fitted with the whisk attachment whip the egg whites until soft peaks

As soon as the caramel is at 240F add in the gelatine and vanilla.

With the mixer on high pour the sugar mixture into the whites pouring down the side of the bowl so the whisk doesn’t whip it around.

Keep the mixer going until the mixture looks, well, like marshmallows. If in doubt give it another minute.

Pour into the prepared pan and sprinkle salt on top.

Allow to rest for at least 3 hours and up to overnight.

Cut them in the shapes you want and dust them in corn starch and put into airtight containers or bag them up and give them as goodies!