Arugula and Harissa Frittata
/
Breakfast is not my favorite meal of the day, at least during the week. During the week it’s an apple, maybe some green juice if I was on top of things to buy it (I don’t have a jucier, not do I have space in my tiny kitchen!). On a good day I’ll scramble and egg and throw some salsa on top. Totally premade, store bought crappy salsa. I’m too busy. I’m not organized enough to make overnight oats. Every few months I’ll make a batch of homemade instant oatmeal and think “I should do this more often!” and then I eat them all and don’t make it again for 4 months.
Breakfast is not my place to shine on a weekday.
Weekends though? That’s another story.
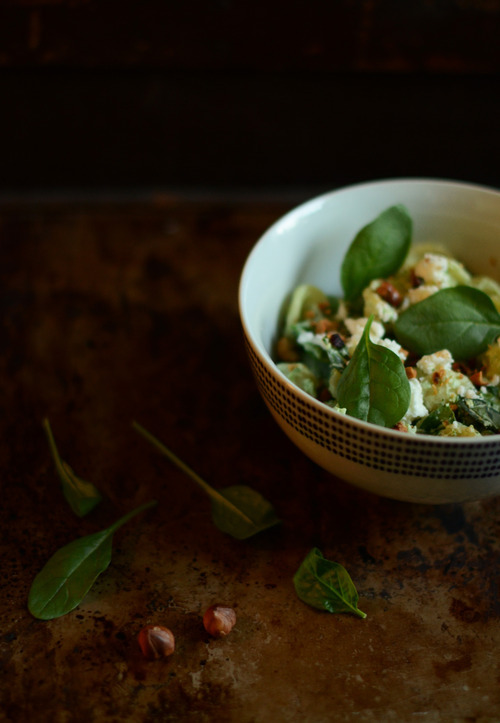
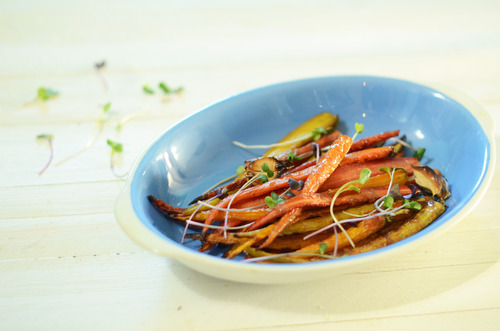
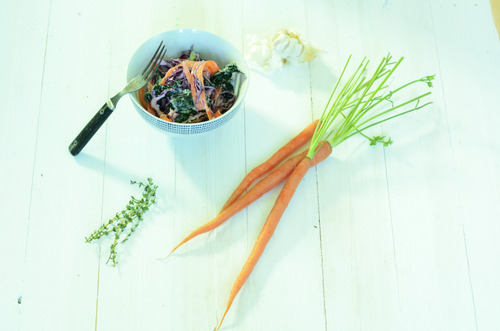
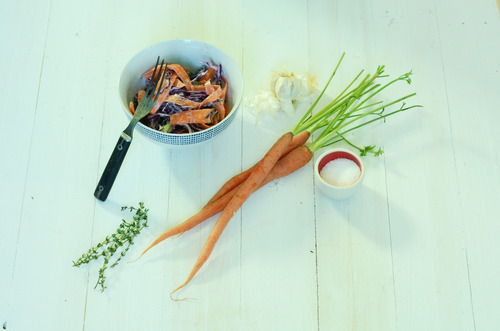
I love brunch, in a major way. Soft poached eggs, potatoes, vegetables cooked in interesting ways. Bacon. Sausages.
I have two qualms with most brunches though, the first, is that, unless I got too deep into some bourbon the night before, I want my brunch to be light enough that I still want to move afterwards. I love me some bacon, but maybe I need some salad with it, so shoot me. The second is that, and I am totally tooting my own horn here, but I’m pretty good at cooking brunch. If I go out I want those eggs to be perfect. And if they aren’t I’m going to feel a bit jilted. A good brunch doesn’t come cheap, and I want it flawlessly.
Which means I end up making brunch at home a lot of the time. I’m just a bit finicky about some things, especially in the mornings.
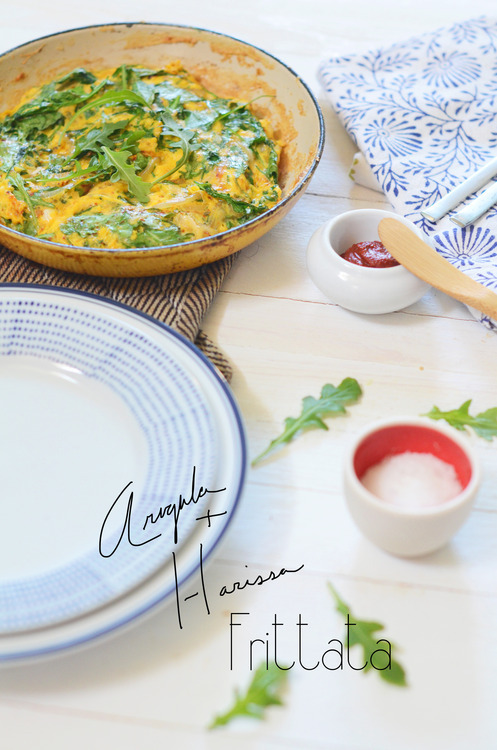
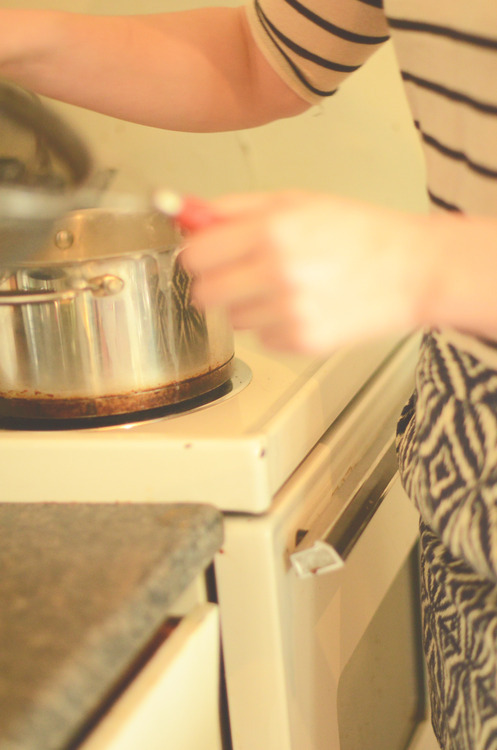
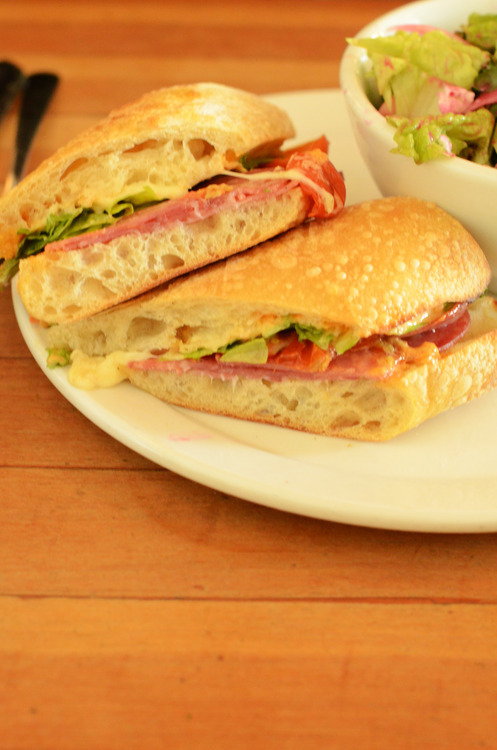
So this is the sort of thing I end up making. It’s incredibly simple, very satisfying, rich without being heavy, and almost foolproof to execute. It’s just the ticket for an no fuss brunch in .
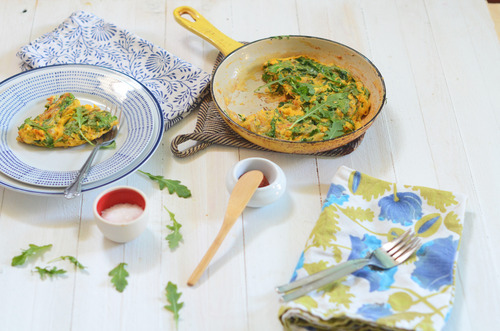
Arugula and Harissa Frittata
Serves 2
1 Shallot, peeled and thinly sliced
4 cups Baby Arugula
1 tbsp Harissa Paste*
2 tbsp Olive Oil
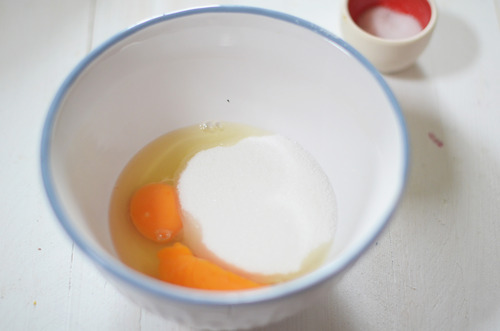
4 Eggs
Salt and Pepper

- Harissa is a Moroccan spice hot sauce. You can find it at most meditteranean stores, but in a pinch you can mix1 tsp Sambal (rooster sauce) with 1 tsp ground cumin for this recipe.
Preheat your oven to broil.
Crack the eggs into a small bowl and mix vigorously for 2 minutes.
In a small frying pan over medium heat warm up the olive oil.
Put in the shallots and let cook slowly for about 10-15 mintues until they start to color.
Add in a healthy pinch of salt and stir in the harissa.
Cook the harissa for about a minute and then add in the arugula, a handful at a time so it doesn’t overflow in the pan.
Let it start to wilt and then add in the next handful, You don’t want to cook the arugula entirely, just let it start to wilt.
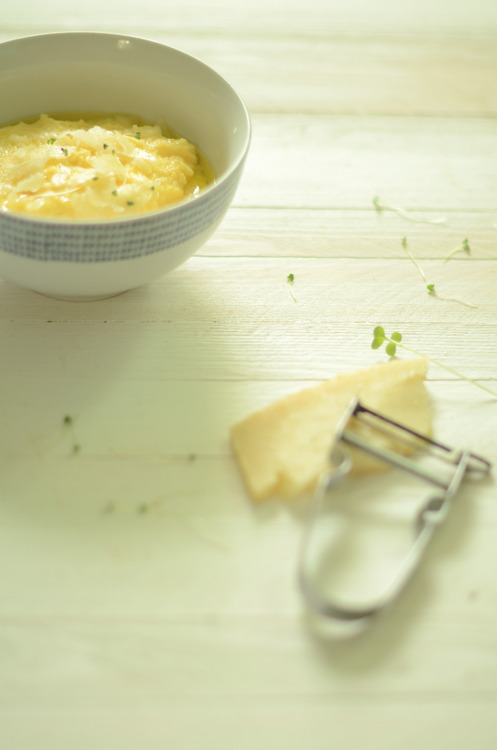
Add in the eggs with another pinch of salt and stir it up, like your making scrambled eggs. Keep stirring until it’s about half way cooked- but the top still is still smooth.
Take the pan off the heat and put it under the broiler.
Cook until the top gets puffy and the edges are a little bit browned.
Serve immediately.


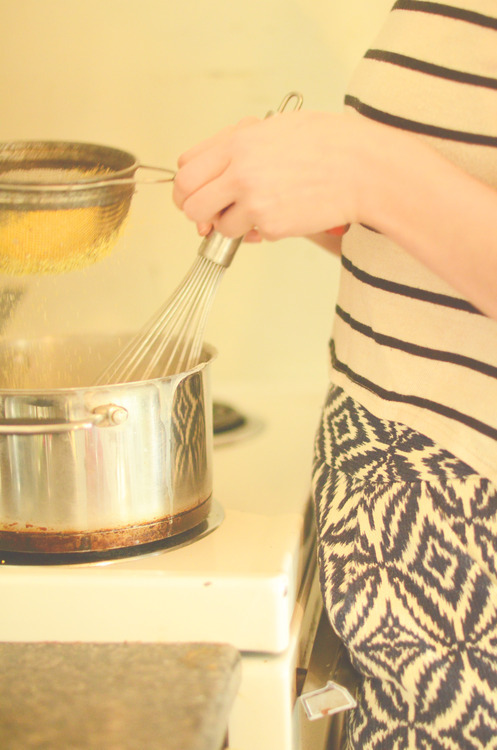


 Do you remember that wonderful post that Shelly from Vegetarian Ventures did here a few weeks back? Well she was kind enough to let me build on that and give you the secret to pureed soups, and put it up on her beautiful blog!